
Zalando Profile
To set up the Zalando Profile in the Prestashop Admin panel
- Go to the Prestashop Admin panel.
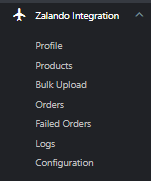
- In the left navigation panel, place cursor on the Zalando Integration menu.
The menu appears as shown in the following figure:
- Click on Profile,
The tab appears as shown in the figure:

- Here you can see all your created profiles. If you want to create a new profile, click on ‘Add new profile’
The tab appears as shown in the figure:
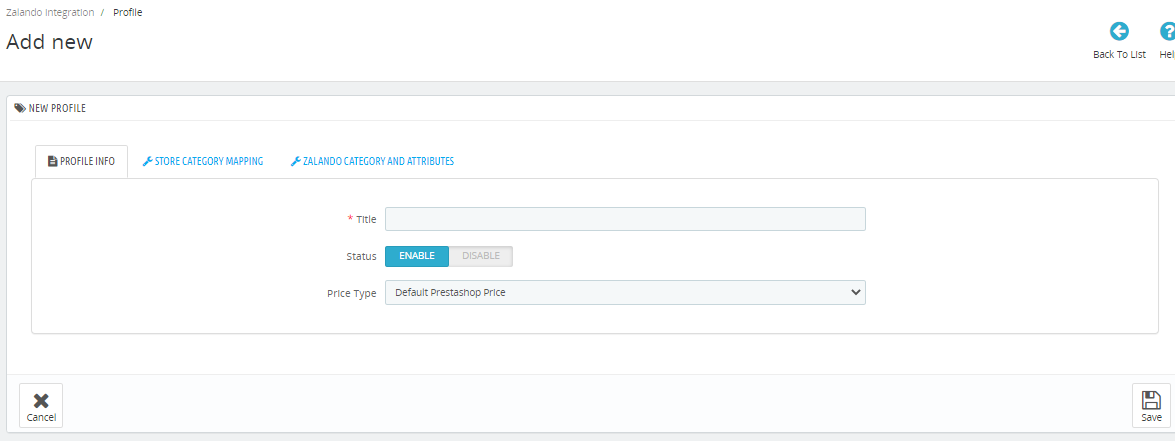
- In the Profile Info, do the following steps:
- In the Title, enter your profile title name. Ex: Clothes, Electronics, and so on.
- In the Status, click on ‘Enable’ to enable the profile.
- In the Price Type, you can change prices for a specific category by Default Price, Increase/Decrease by fixed Percentage, or Increase/Decrease by Fixed Amount.
- Move to next tab, Store Category Mapping,
The tab appears as shown in the figure:
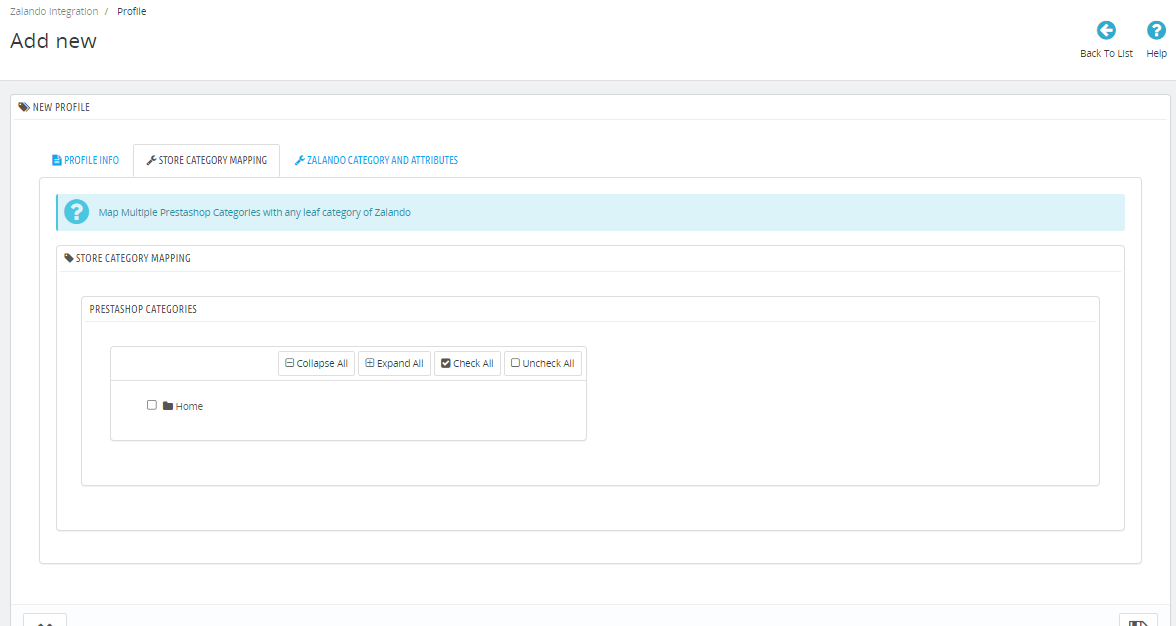
- In the Store Category Mapping, choose Prestashop categories you want to upload to Zalando.
- After that Move to the Last tab Zalando Category & Attributes.
The tab appears as shown in the figure:
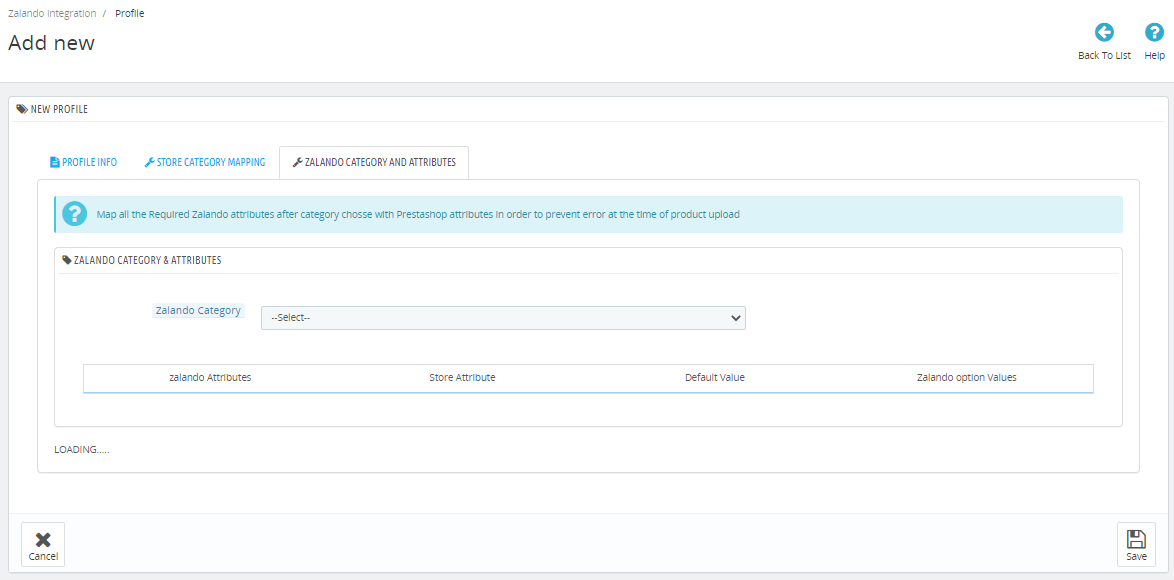
- In the Zalando Category & Attributes, do the following steps:
- From the above Zalando Category, choose the category on which you want to send Prestashop store category products.
- Accordingly, attributes will come you can choose values from the dropdown and if you need to send default values with all products then Enter in “Default Values”
- Click on the ‘ Save button’ to save the profile information.
×


