
Zalando Configuration Settings
To set up the configuration settings in the Prestashop Admin panel
- Go to the Prestashop Admin panel.
- In the left navigation panel, place cursor on the Zalando Integration menu.
The menu appears as shown in the following figure:
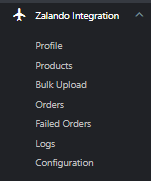
- Click on Configuration.
- Go to Settings
The tab appears as shown in the figure: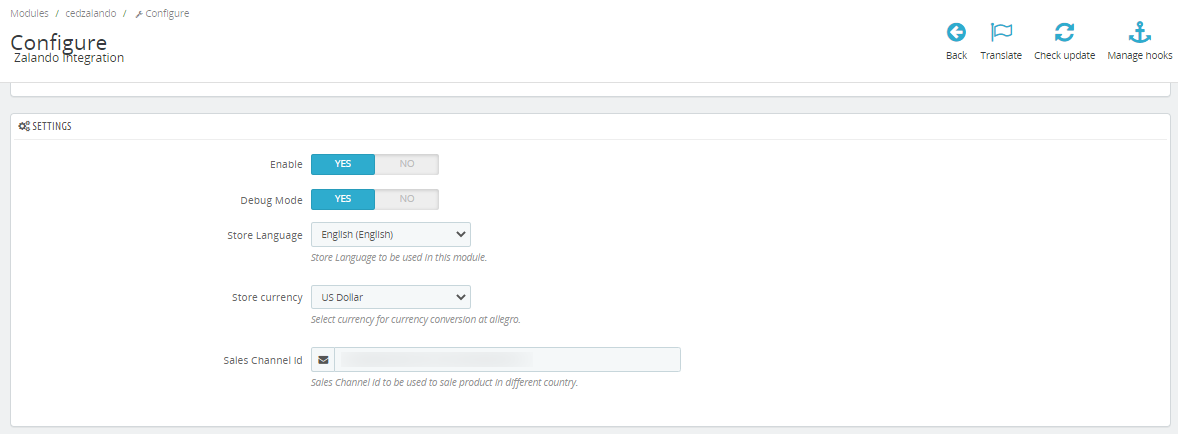
- In the Settings, do the following steps:
- In Enable, select ‘Yes‘ to enable the module.
- In Debug Mode, select ‘yes‘ to enable the debug mode.
- In-Store Langauge, choose the store language which you want to use for the module.
- In-Store Currency, choose your store currency.
- In Sales Channel ID, you can get these details from Zalando.
- Now Go to API settings,
The tab appears as shown in the figure:
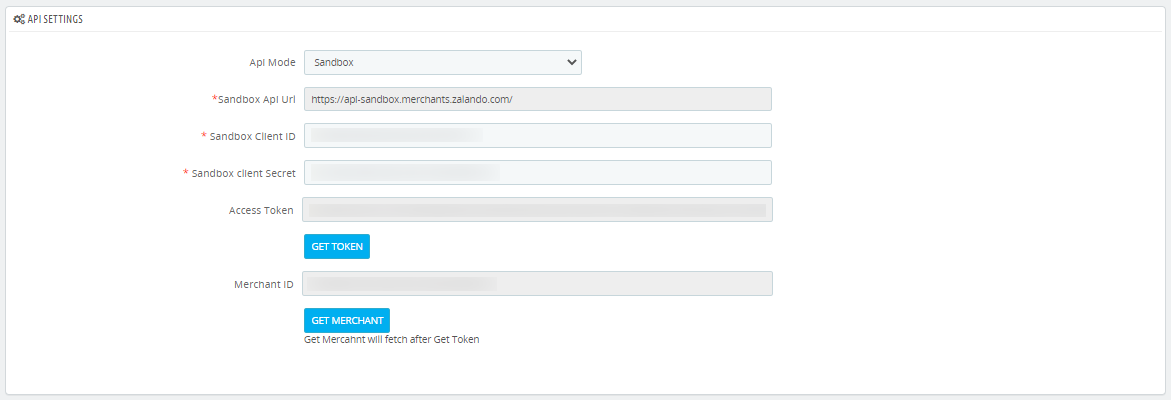
- In the API settings, do the following steps:
- In API mode, you can choose Sandbox or Live mode.
- These Client ID and Client Secret you can get from the Zalando seller panel.
- After that Click on ‘Get Token’ to generate token and click on ‘Get Merchant’ to generate merchant token.
- Now move to Product Settings,
The tab appears as shown in the figure:
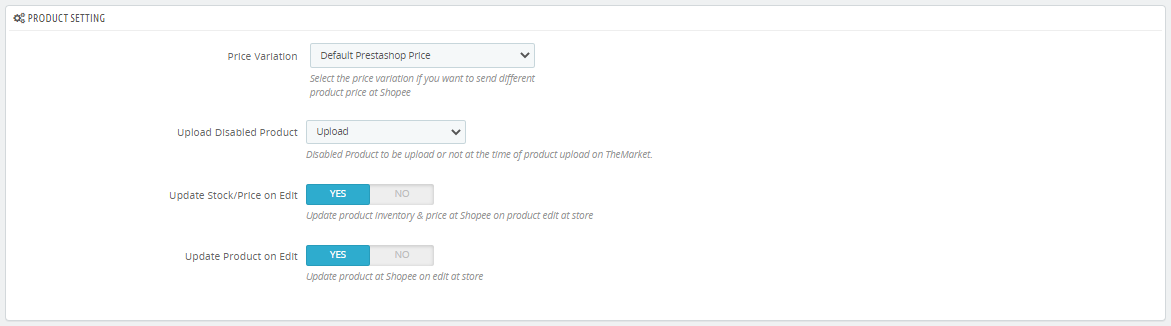
- In the Product Settings, do the following steps:
- In Price Variation, you can modify your price by Percentage or Fixed Amount.
- In Upload Disabled Product, you can upload disabled products you can choose ‘Upload’ otherwise ‘Skip’
- In Update Stock/Price on Edit, you can click on ‘Yes’ to enable the cron.
- In Update Product on Edit, you can update the product on Zalando on edit at the store.
- Now move to Order Settings,
The tab appears as shown in the figure:
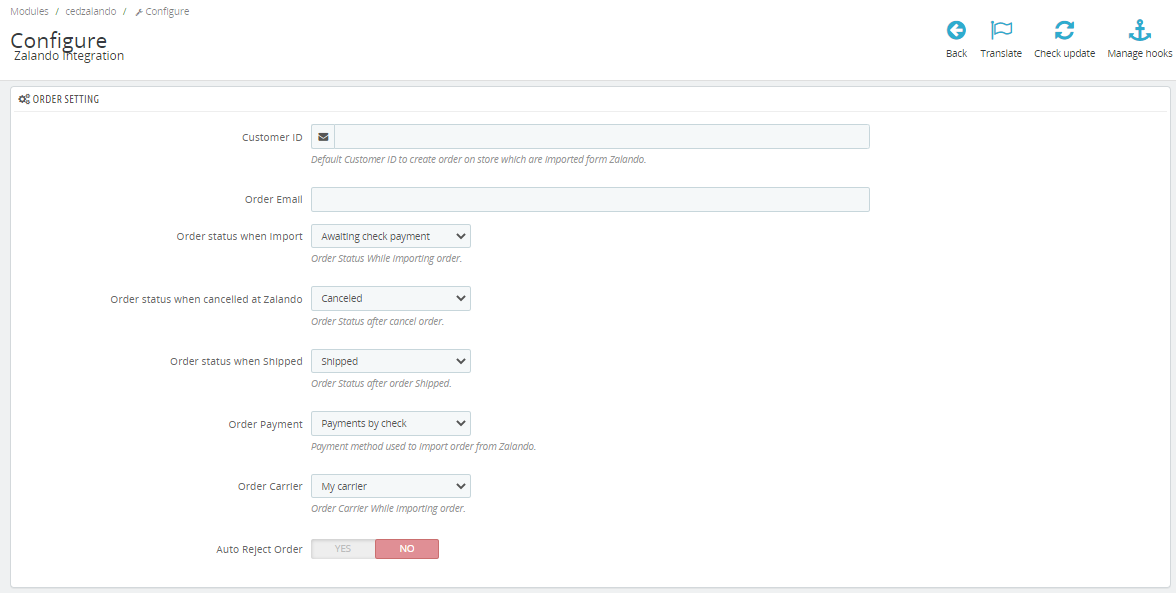
- In the Orders settings, do the following steps:
- In the Customer ID, Default Customer ID to create orders on stores that are imported from Zalando.
-
In the Order Email, you can enter the default email from which you want to create orders.
- In the
- In the
- In the ayment method used to import the order from Zalando.
- In the Order carrier, choose your carrier order Carrier while importing orders.
- In the Auto Reject order, click on ‘yes’ to auto-reject orders.
- Now move to last Cron Settings,
The tab as shown in the figure:
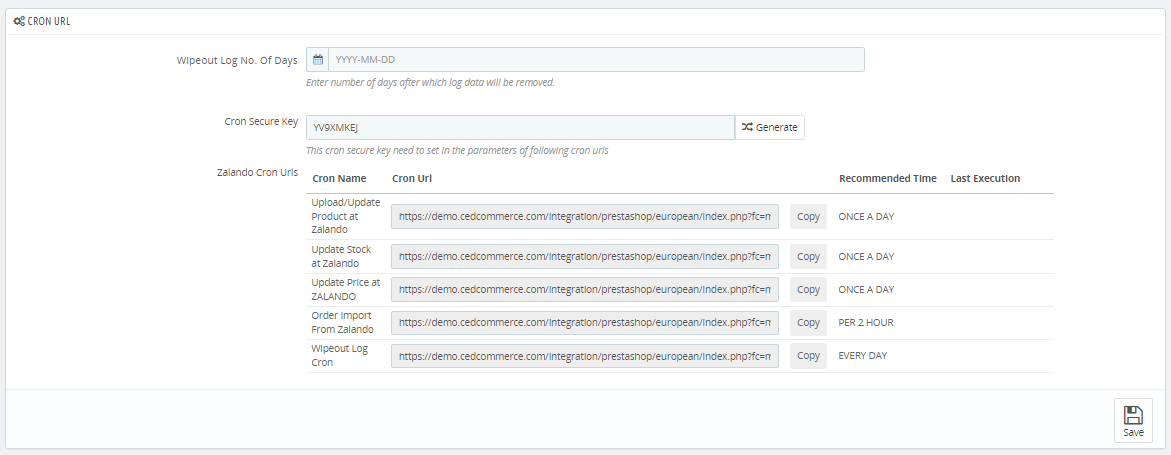
- Here you can see all cron URLs. You can copy the URLs and set them up on your servers for automatic update inventory, prices, orders, logs wipeout.
- After that click on the ‘Save’ button to save the configuration.
×


