
Reverb Configuration Settings
To set up the configuration settings in the PrestaShop Admin panel
- Go to the Prestashop Admin panel.
On the left navigation bar of your dashboard, place cursor on Reverb Integration,
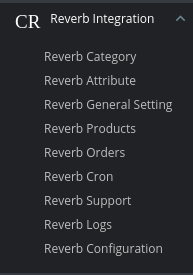
- Click on Reverb Configuration button.
- Move to General Settings,
The tab appears as shown in the following figure:
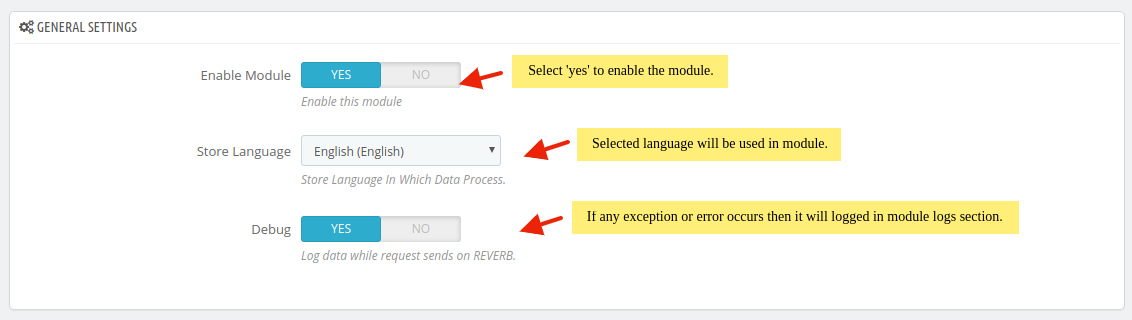
- In the General Settings, do the following steps:
- Click the YES button in Enable to enable the module.
- In Store Language, the selected language will be used in a module.
- In Debug, select YES if you want the data log to be created.
- In the General Settings, do the following steps:
- Move to API Settings,
The tab appears as shown in the following figure:
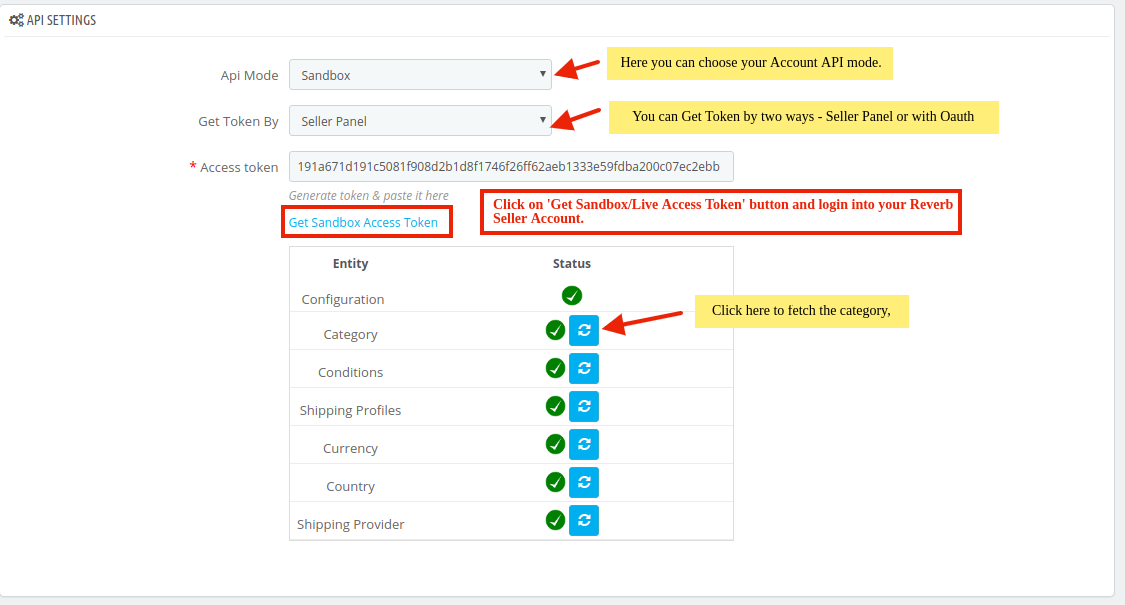
- In the API settings, do the following steps:
- In API mode, choose your Account API mode between Sandbox or Live.
- In Get Token by tab, here you can fetch token by two ways –
- Seller Panel
- OAuth
- Through ‘Seller Panel’, you can directly link on the ‘Get Sandbox/Live Access Token’ button, it will be redirected to your Reverb Seller Panel.
- Once you are Logged in into your account, you can get your Access Token. So from there you can copy your token and paste it into ‘Access Token’ button.
- Secondly, if you choose by ‘OAuth’.
The tab expands as shown in the figure:
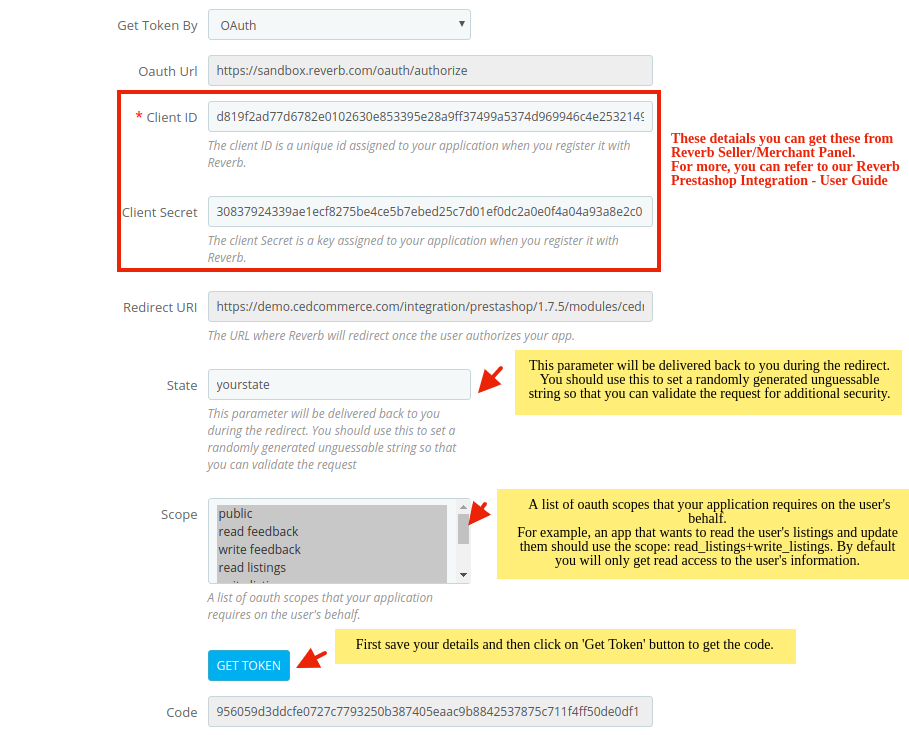
- For Client Id and Client Secret information you need to follow below steps:
- Go to your Merchant panel.
- Login to your Reverb Seller Account.
The page appears as shown below:
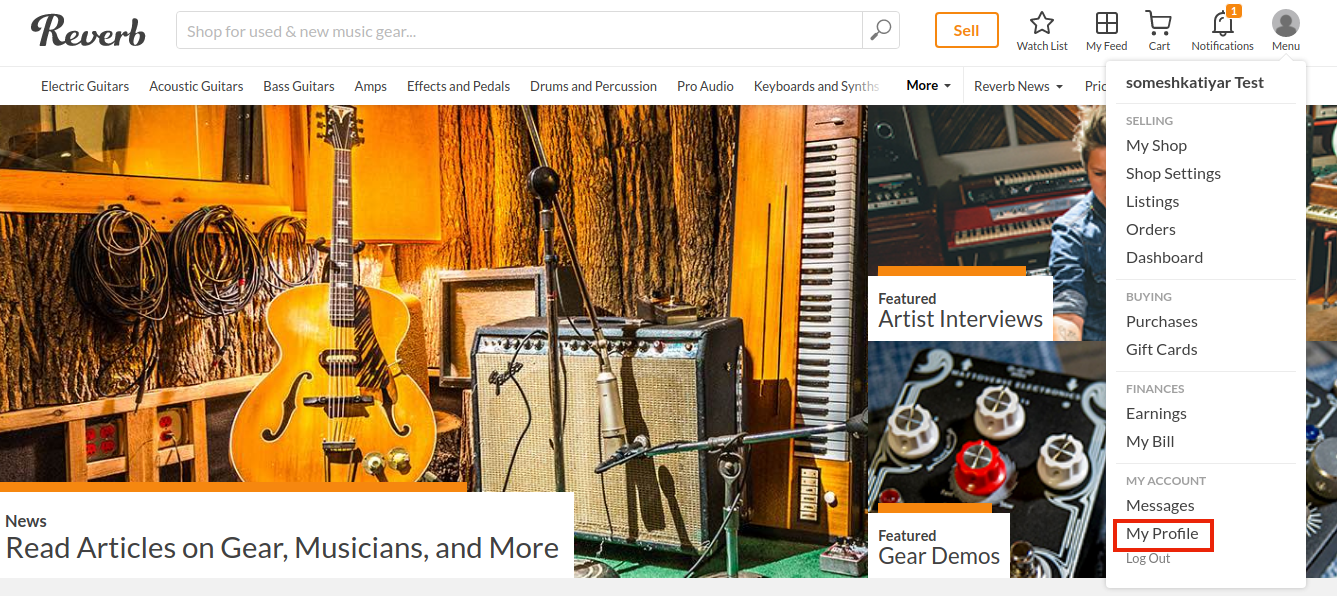
- After that Go to Menu and click on My Profile button.
The page appears as shown in the figure:
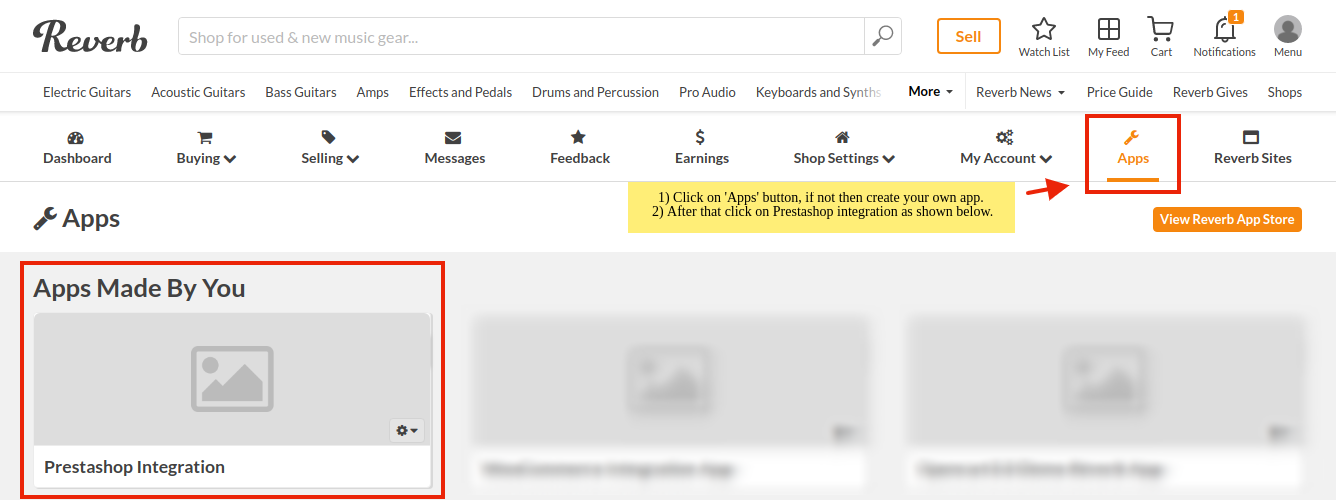
- Click on the Apps button, if you don’t have then you can create your own app.
- After that Go on Prestashop Integration and click on Credentials.
The page appears as shown in the following figure:
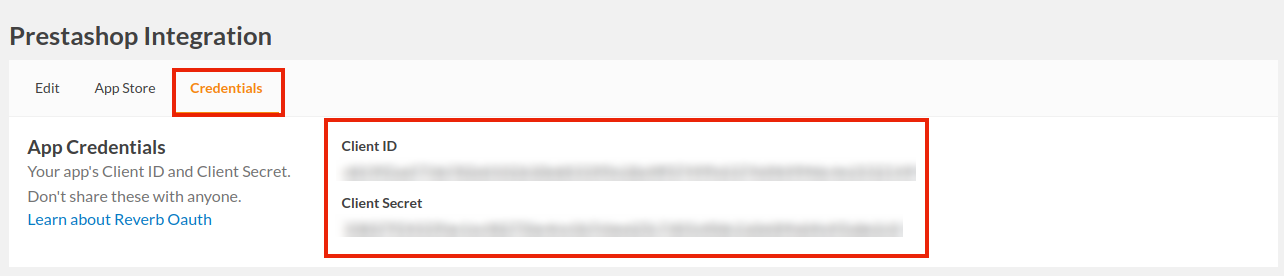
- From here you can copy the Client ID and Client Secret and paste it in your Reverb configuration section.
- After filling, your first click on Save Button.
- Once get saved, then click on Get Access Token button.
- Your Access Token gets filled automatically.
- In the API settings, do the following steps:
- Product Settings
- Go to Product Settings,
The tab appears as shown in the following figure:
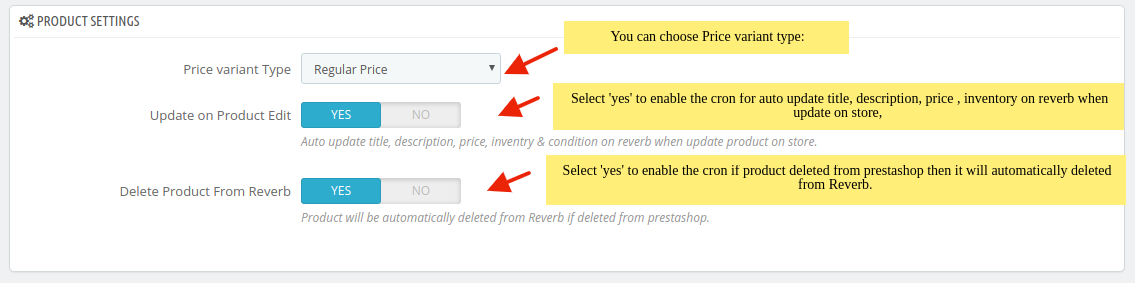
- In the Products Settings, do the following steps:
- In Price Variant Type, select the price option that you want for your products on Reverb marketplace.
- Regular Price: If you don’t want any change in the price of your PrestaShop store products on Reverb marketplace.
- Increase Fixed Amount: You may select this option if you want your product price to be increased on Reverb as compared to your PrestaShop store.
- By choosing this option, you may enter in the Price Variant Value box the amount by which you want your product price to be Increased on Reverb as compared to your PrestaShop store. Suppose if you enter 50 in this field and your product is for 100 on your PrestaShop store, then the amount that your product will be available for on Reverb would be 150 (as the amount entered is 50 for Increase by fixed price, so the price entered would be added to the price for which product is available on PrestaShop).
- Decrease Fixed Amount- You may use this option if you want the price of your PrestaShop product to be decreased on Reverb.
- By choosing this option, you may enter in the Price Variant Value box the amount by which you want your product price to be decreased on Reverb as compared to your PrestaShop store. Suppose if you enter 50 in this field and your product is for 100 on your PrestaShop store, then the amount that your product will be available for on Reverb would be 50 (as the amount entered is 50 for Decrease by fixed price, so the price entered would be subtracted from the price for which product is available on PrestaShop).
- Increase Fix Percentage- You may use this option if you want the price of your PrestaShop product to be increased on Fruugo by a certain percent.
- By choosing this option, you may enter in the Price Variant Value box the percentage amount by which you want your product price to be increased on Reverb as compared to your PrestaShop store. Suppose if you enter 20 in this field and your product is for 100 on your PrestaShop store, then the amount that your product will be available for on Reverb would be 120 (as 20% of 100 is 20 which gets added to 100).
- Decrease By Fix Percent- You may use this option if you want the price of your PrestaShop product to be decreased on Reverb by a certain percent.
- By choosing this option, you may enter in the Price Variant Amount box the percentage amount by which you want your product price to be decreased on Reverb as compared to your PrestaShop store. Suppose if you enter 20 in this field and your product is for 100 on your PrestaShop store, then the amount that your product will be available for on Reverb would be 80 (as 20% of 100 is 20 which gets subtracted from 100).
- In the Update on Product Edit, select Yes to enable the auto-update title, inventory/Price on Reverb when you edit a product on store.
- In the Delete Product Data on Product delete, select Yes to enable the cron if you delete product on store then it gets deleted on Reverb.
- In Price Variant Type, select the price option that you want for your products on Reverb marketplace.
- Go to Product Settings,
- Order Settings
The page appears as shown in the figure:
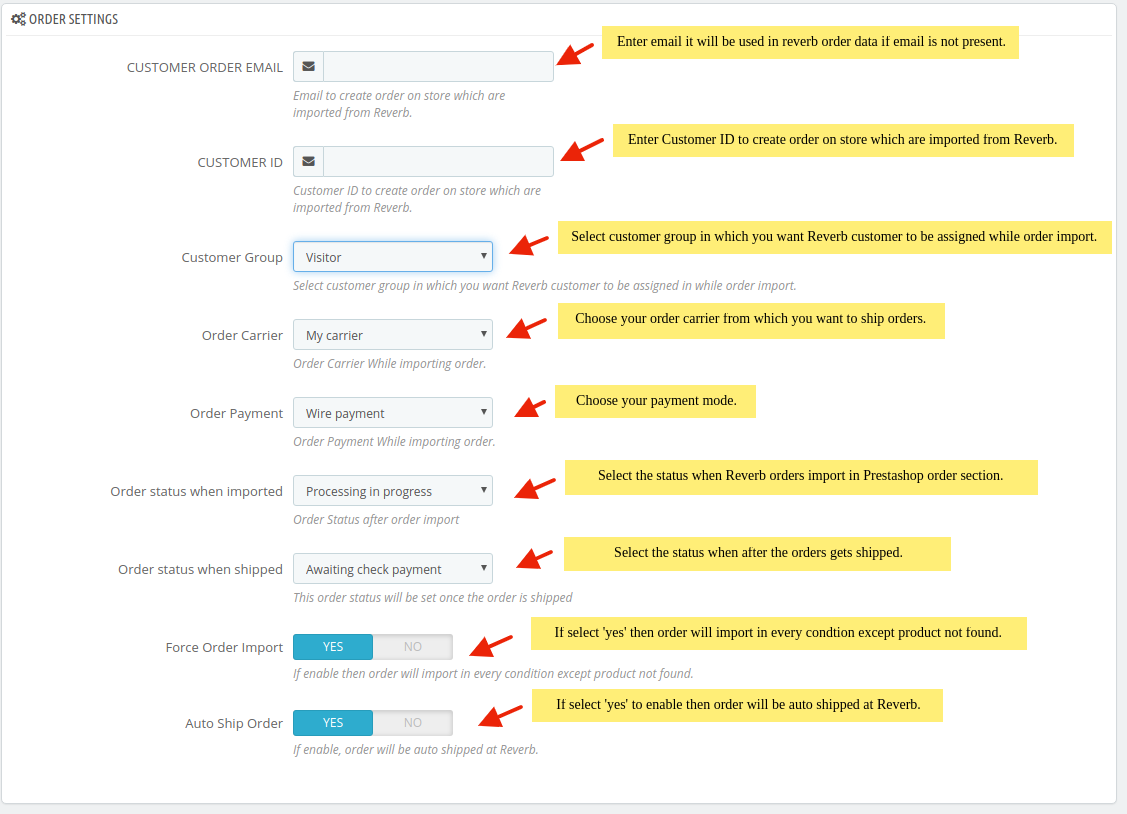
- In the Order Settings, do the following steps:
- In the Customer Order Email box, entered email will be sent in reverb order data if an email is not present.
- In the Customer ID box, enter the customer Id which will be used to create the order that is imported from Reverb to the store.
- In the Customer Group box, Select customer group in which you want Reverb customer to be assigned while order import.
- In the Order carrier, select the order carrier required while importing the order.
- In the Order Payment list, select the type of order payment required while importing the order.
- In the Prestashop order status when import, select the status when Reverb orders import in Prestashop order section.
- In the Prestashop order status when Shipped, select the status when after the orders gets shipped.
- In Force Order Import, box, select ‘yes’ then will import orders in every condition except product not found.
- In Auto-Ship Order box, if select ‘yes’ to enable then the order will auto shipped at Reverb.
- In the Order Settings, do the following steps:
- Cron settings.
The tab appears as shown in the following figure:
- In Cron Secure Key, you can make a combination of secure key consisting of the alphabet, number, and special characters.
- Click the Save button and the configuration will be saved.
×


