
Configuration Settings
To set up the configuration settings in the Prestashop Admin panel
-
- Go to the Prestashop Admin panel.
- In the left navigation panel, place cursor on the OnBuy Integration menu.
The menu appears as shown in the following figure:
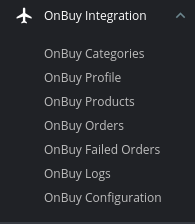
- Click on Configuration.
The Configuration page appears as shown in the following figure:
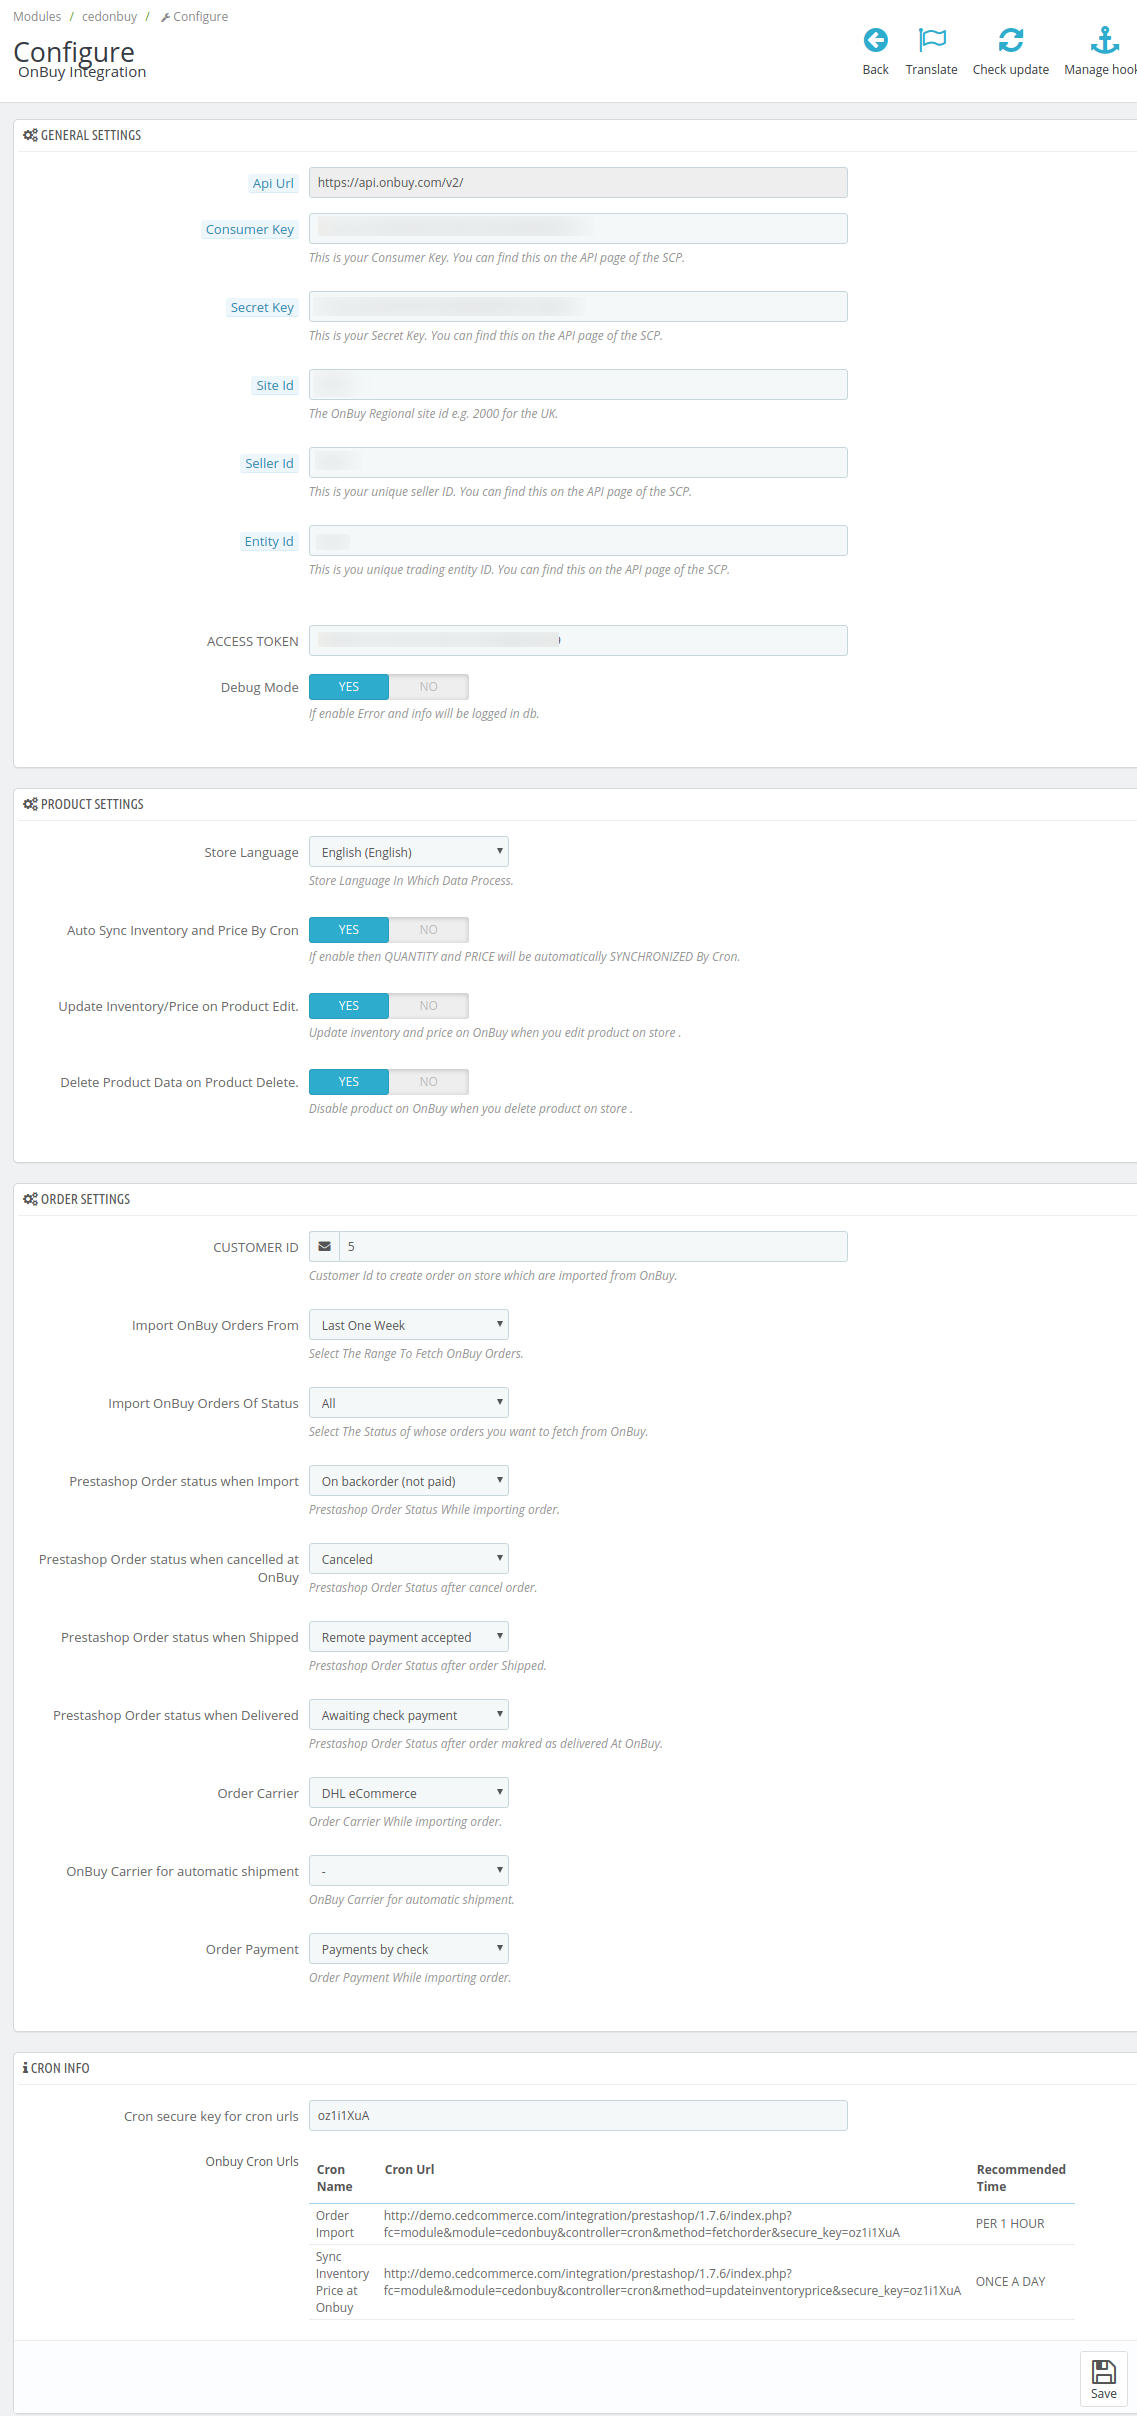
- Go to General Settings.
The tab appears as shown below:
- In the General Settings, do the following information.
- For Consumer Key, Secret Key, Site Id, Seller Id, Entity Id information you need to follow below steps:
- Go to https://seller.onbuy.com
- Login to your OnBuy Seller Account.
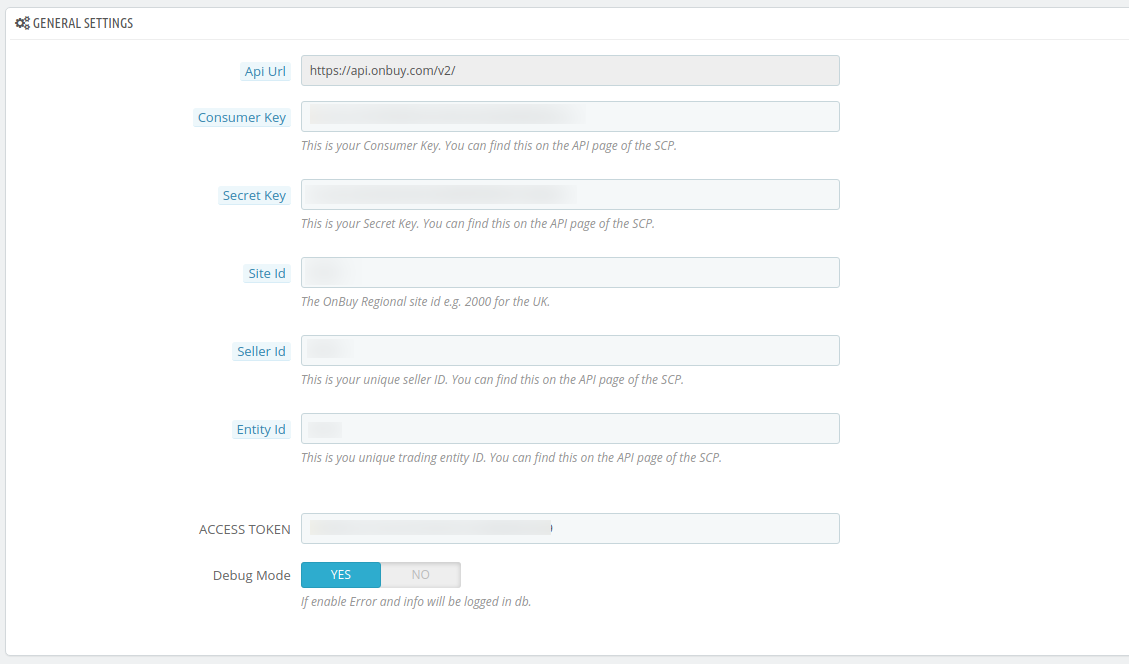
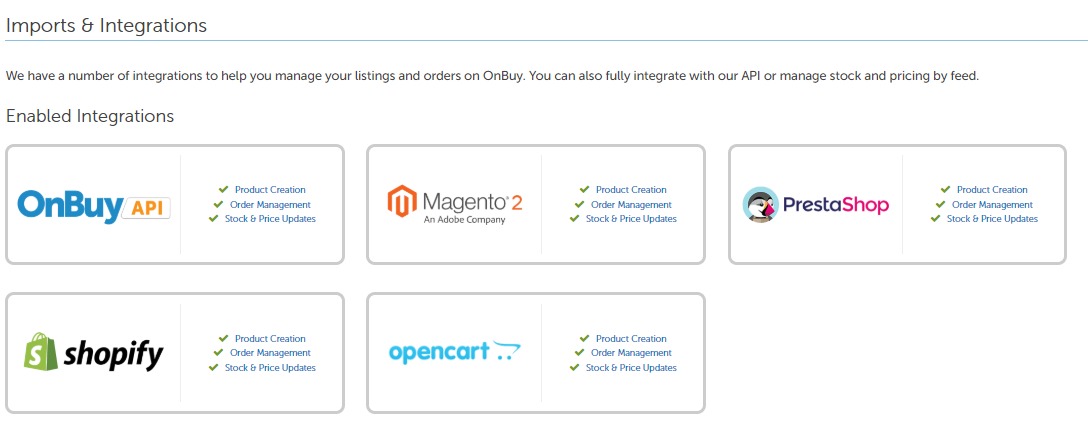
- After that Go to Listings&Products and click on Imports&Integrations button.
The page appears as shown in the figure:
- Now to Enable Prestashop Integration, under Available Integrations click on Prestashop Integration.
- After clicking on Prestashop Integration, you will be redirected to the page, where you need to click on Enable Integration button for enabling the extension.
- Once the extension is enabled it will be shown in the list of Enabled Extensions.
- Then under enabled extension click on Prestashop Integration.
- You’ll be redirected to a new page as shown below:
The page appears as shown in the figure:
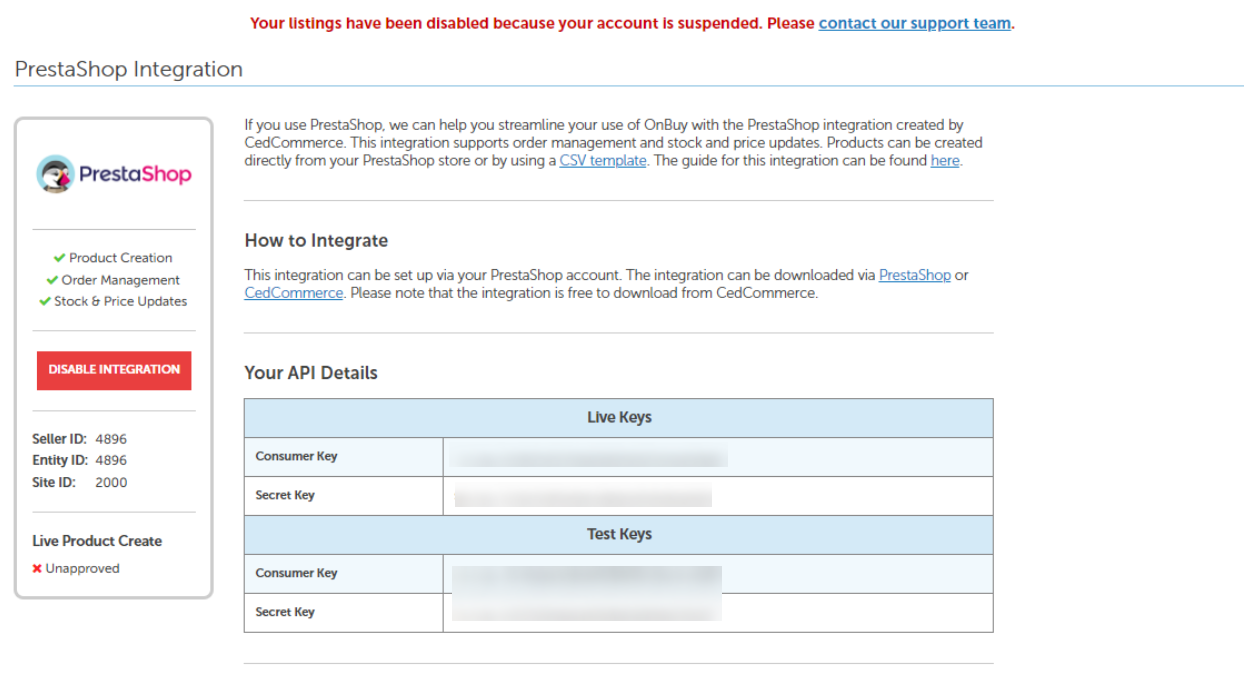
- From here, you can copy your details and paste it in your OnBuy Configuration settings.
- After filling, your first click on Save Button.
- Once you get saved, then click on Get Access Token button.
- Your Access Token gets filled automatically.
- Now Go to Product Settings section.
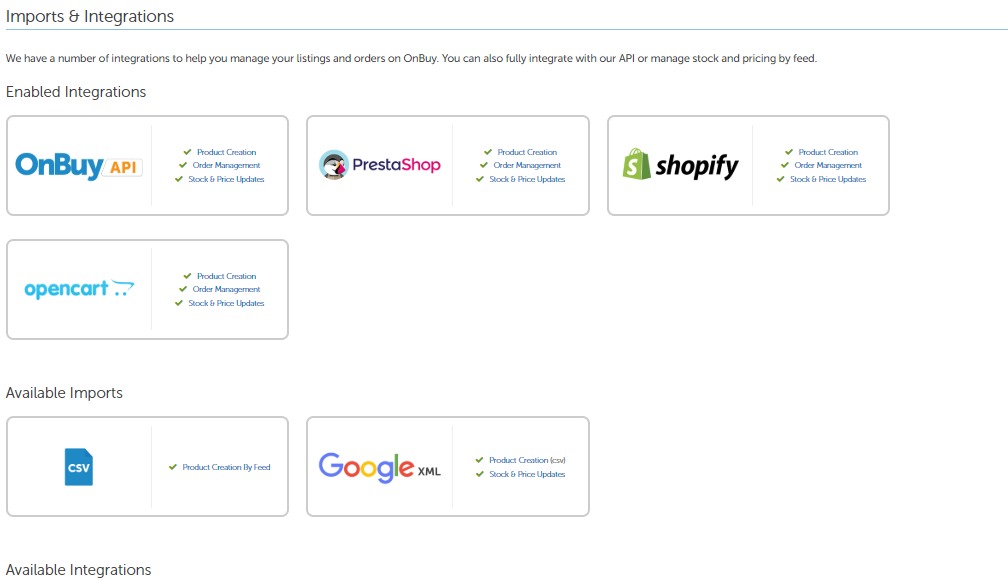
The tab appears as shown in figure:
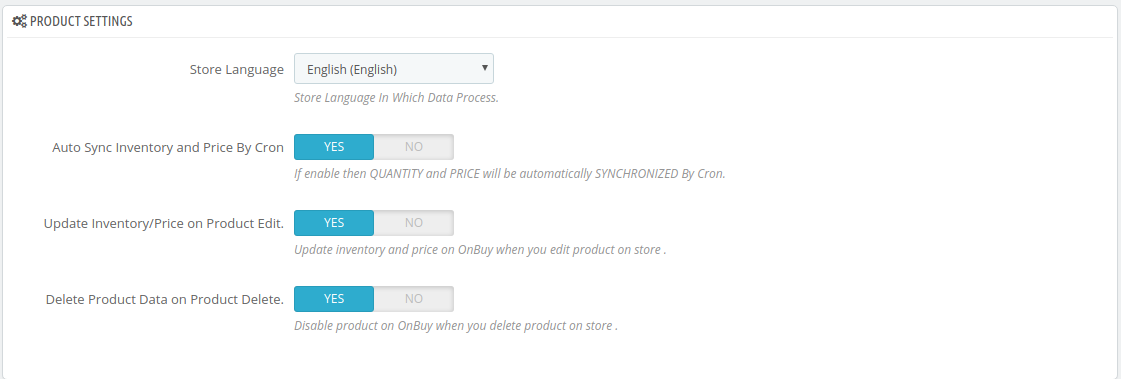
- In the Product Settings, do the following steps:
- In the Store language, select your store language.
- In the Auto Inventory and Price by cron, select Yes to enable the auto update inventory and price cron.
- In the Update Inventory/Price on Product Edit, select Yes to enable the update inventory/Price on OnBuy when you edit product on store.
- In the Delete Product Data on Product delete, select Yes to enable the cron if you delete product on store then it gets disable on OnBuy.
- Now Go to Order Settings.
The tab appears as shown in the following figure:
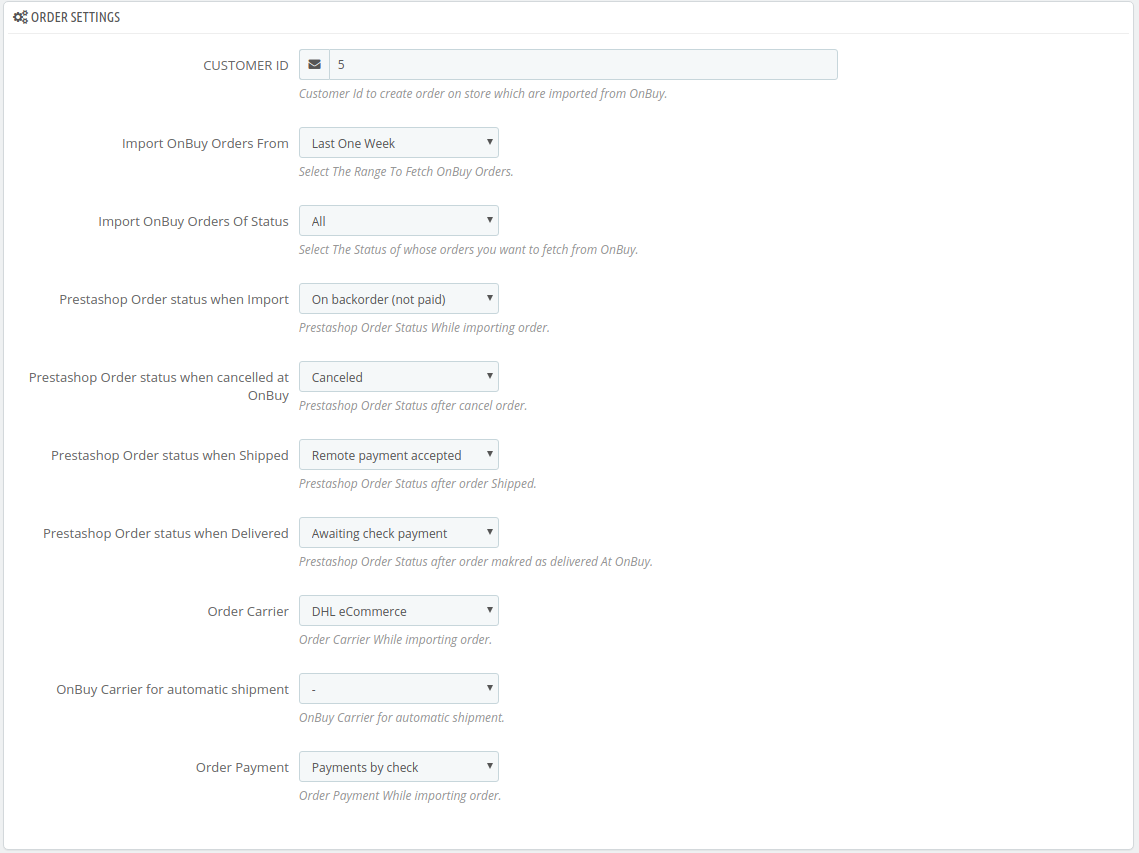
- In the Order Settings, do the following steps:
- In the Customer ID, enter the customer id to create order on store which are imported from OnBuy.
- In the Import OnBuy Orders From, select the range to fetch OnBuy Orders.
- In the Order Status, select the status after cancel orders.
- In the Prestashop order status when import, select the status when OnBuy orders import in Prestashop order section.
- In the Prestashop order status when cancelled at OnBuy, select the status when order cancel on OnBuy.
- In the Prestashop order status when Shipped, select the status when after the orders gets shipped.
- In the Prestashop order status when delivered, select the status after order marked as delivered at OnBuy.
- In the Order Carrier, choose the order carrier through which you ship the order.
- In the Order Payment, choose your payment method.
- Lastly, Go to Cron Settings.
The tab appears as shown in the figure:
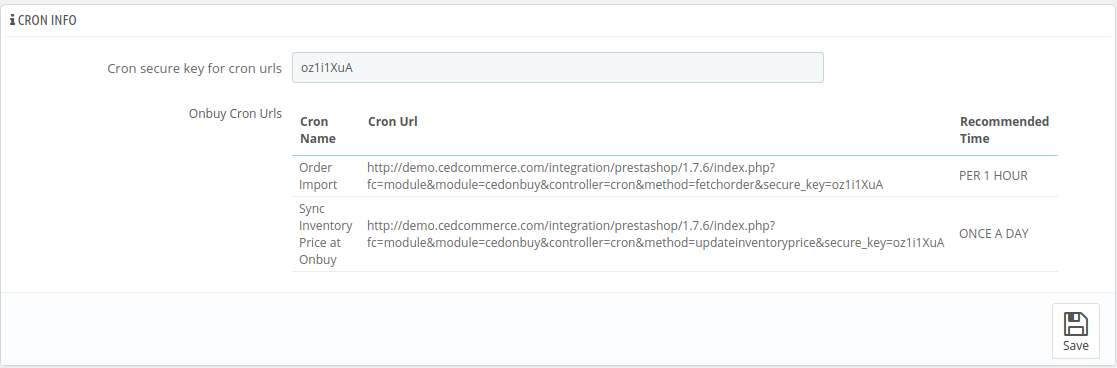
- In the Cron Settings, do the following steps:
- In Cron Secure Key, you can make a combination of secure key consisting of the alphabet, number, and special characters.
- You may see cron URL, name and recommended time.
- Click the Save button and the configuration will be saved.
×


