
Etsy Configuration Settings
Once the module gets installed, you get navigated to the Configuration page.
To perform Configuration settings:
- Go to the Prestashop Admin panel.
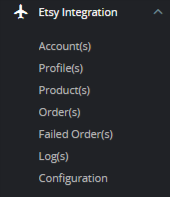
- In the left navigation panel, place cursor on Etsy Integration and the section expands as:
- Go to Configuration
- First, go to General Settings
The page appears as shown in the figure:

- In the General Settings, do the following steps:
- In the Module Status, select ‘Yes’ to enable the module status.
- In the Debug Mode, select ‘Yes’ to enable the debug mode.
- Now move to Product Settings, the tab appears as shown below:
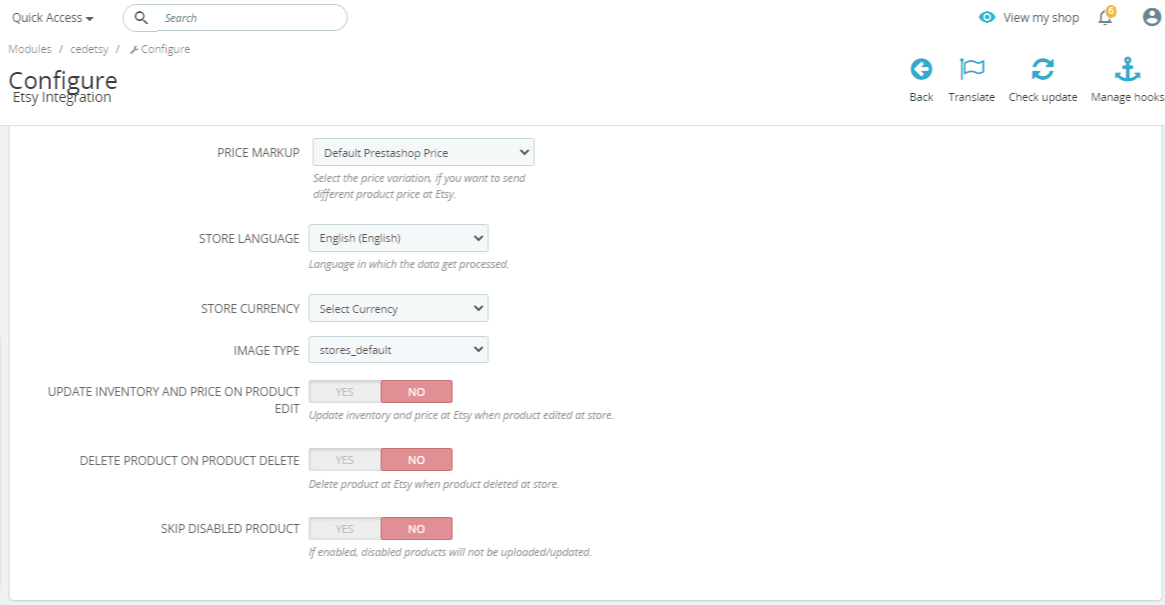
- In the Product Settings, do the following steps:
- In the Price Markup, In this feature, you can change product prices by increasing or decreasing by percentage or by a fixed amount.
- In the Store Language, select the store language in which you want to use the module.
- In the Store Currency, choose the store currency in which you want to use the module.
- In the Image Type, choose your product image type.
- In the Update Inventory and Price on product Edit, select ‘Yes’ to enable the cron to update inventory and price on Etsy when product edit on the store.
- In the Delete Product on Product Delete, select ‘Yes’ to enable the cron to delete products on Etsy when products are deleted on the store.
- In the Skip Disabled Product, select ‘Yes’ to enable the disabled products will not to be uploaded.
- Now move to Orders Settings, the tab appears as shown in the figure:
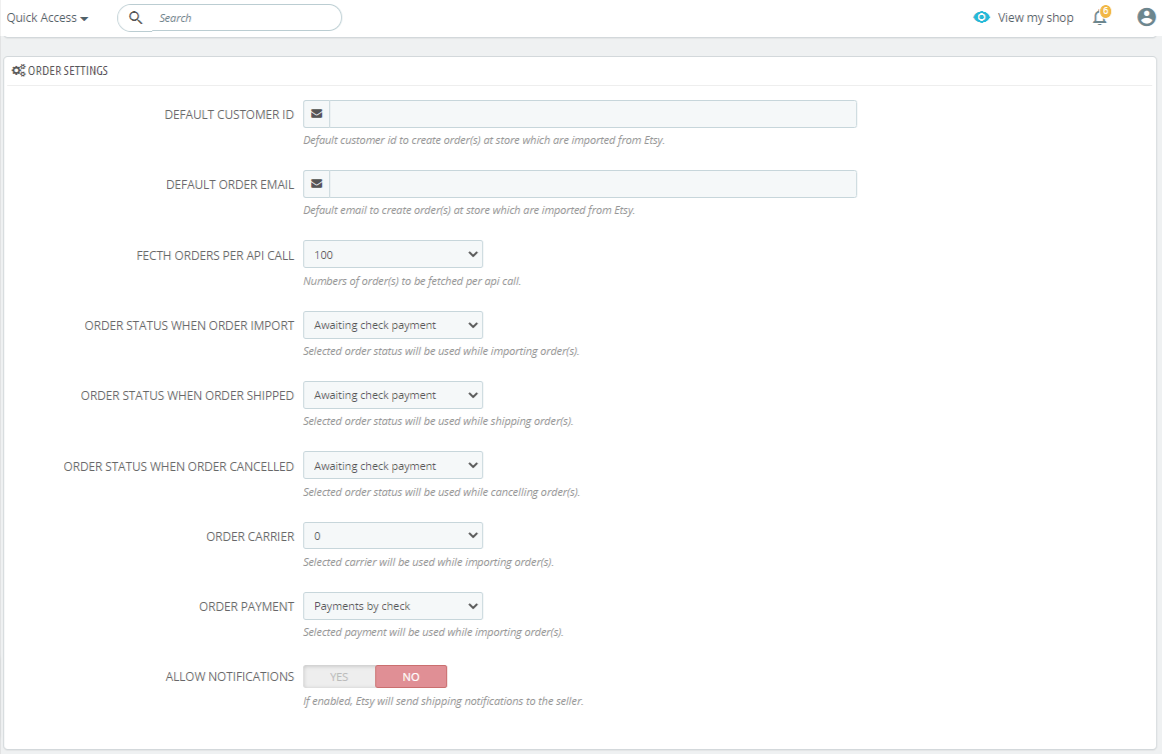
- In the Order Settings, do the following steps:
- In the Default Customer ID, enter the default customer id to create order(s) at stores which are imported from Etsy.
- In the Default Order ID, enter Default email to create order(s) at store which are imported from Etsy.
- In the Numbers of order(s) to be fetched per api call.
- In the Order status when order import, Selected order status will be used while importing order(s).
- In the Order status when order Shipped, Selected order status will be used while shipping order(s).
- In the
- In the Order Carrier, Selected carrier will be used while importing order(s).
- In the Order Payment, Selected payment will be used while importing order(s).
- In the Allow Notifications, If enabled, Etsy will send shipping notifications to the seller.
- Now move to Cron settings, the tab appears as shown in the figure:
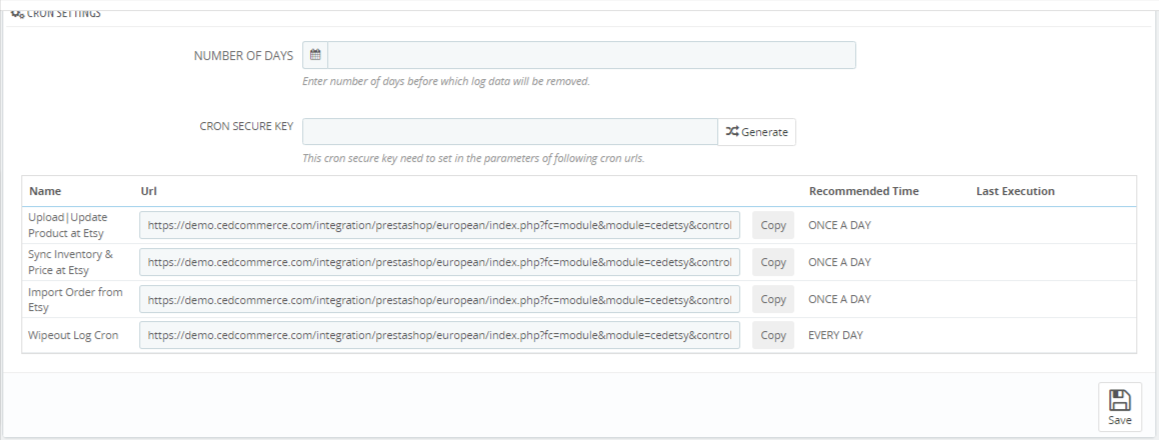
- In the Cron settings, do the following steps:
- In Cron Secure Key, you can make a combination of secure keys consisting of the alphabet, number, and special characters.
- You may see the cron URL, name, and recommended time.
- Click the Save button and the configuration will be saved.
×


