
Create Profile
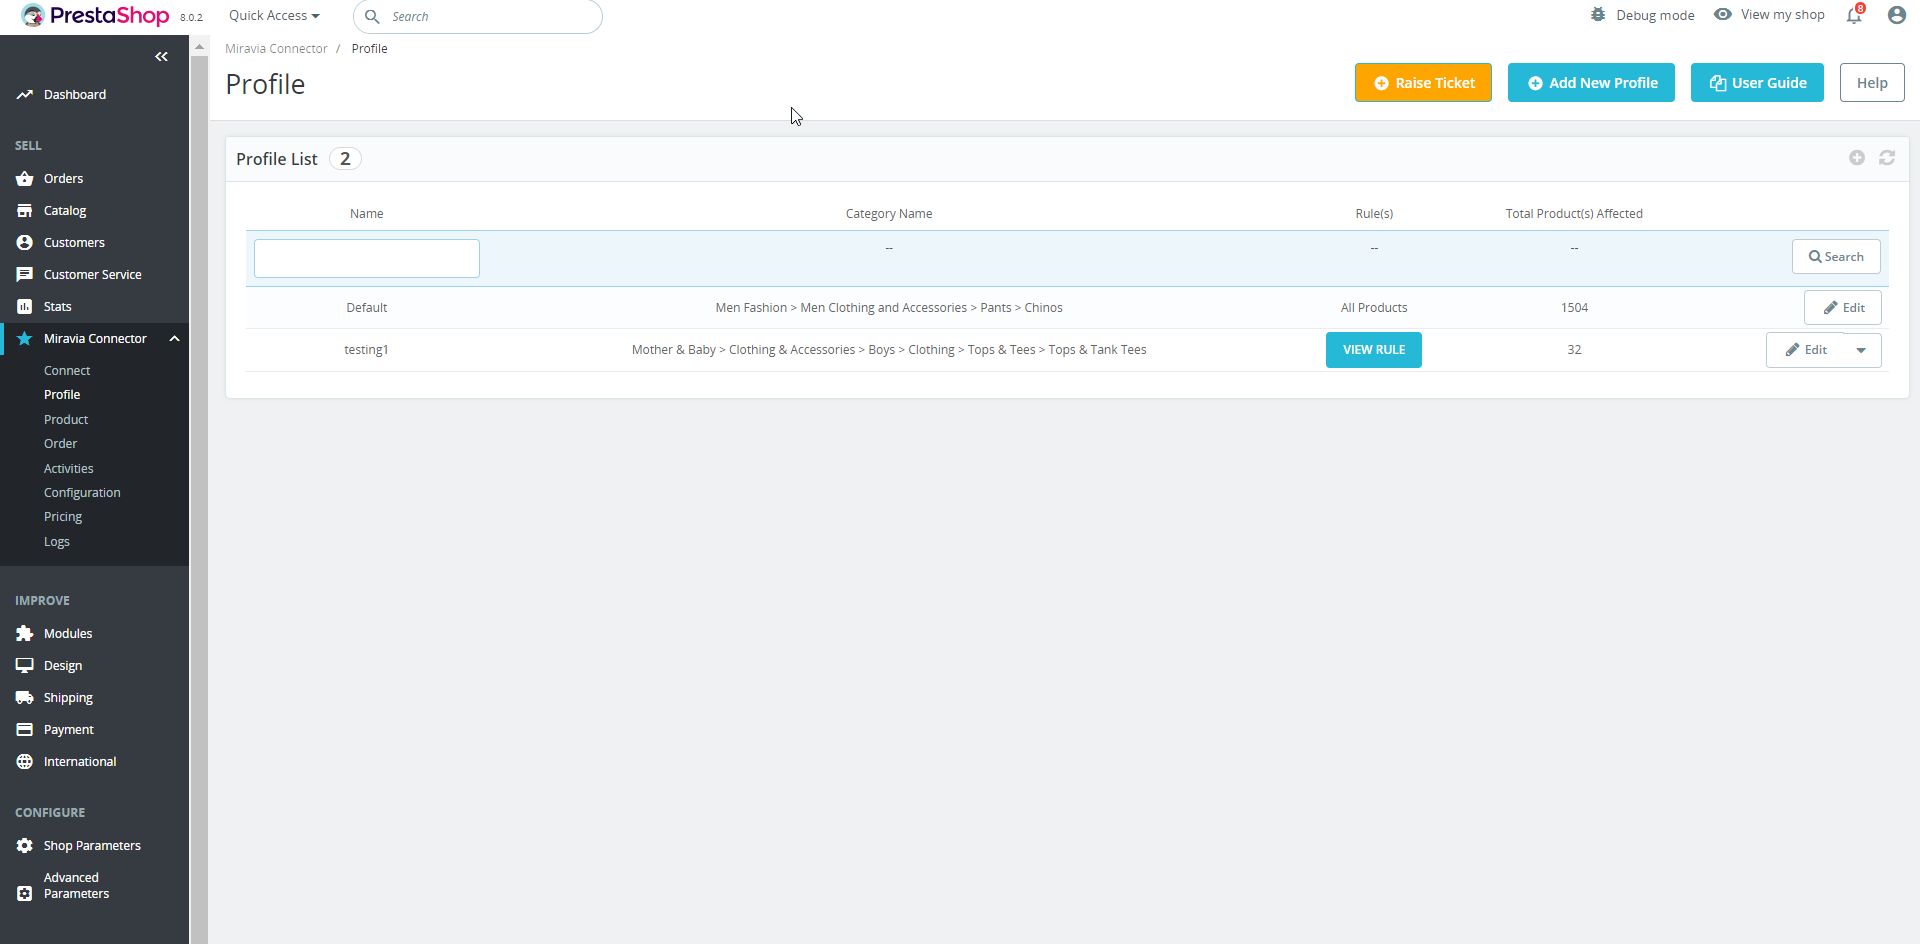
The profile page looks something like this:
-
- Search: With the search bar; you can look for any saved or created profile.
- Raise Ticket: By clicking on raise ticket, you can raise any concern or complaint with CedCommerce.
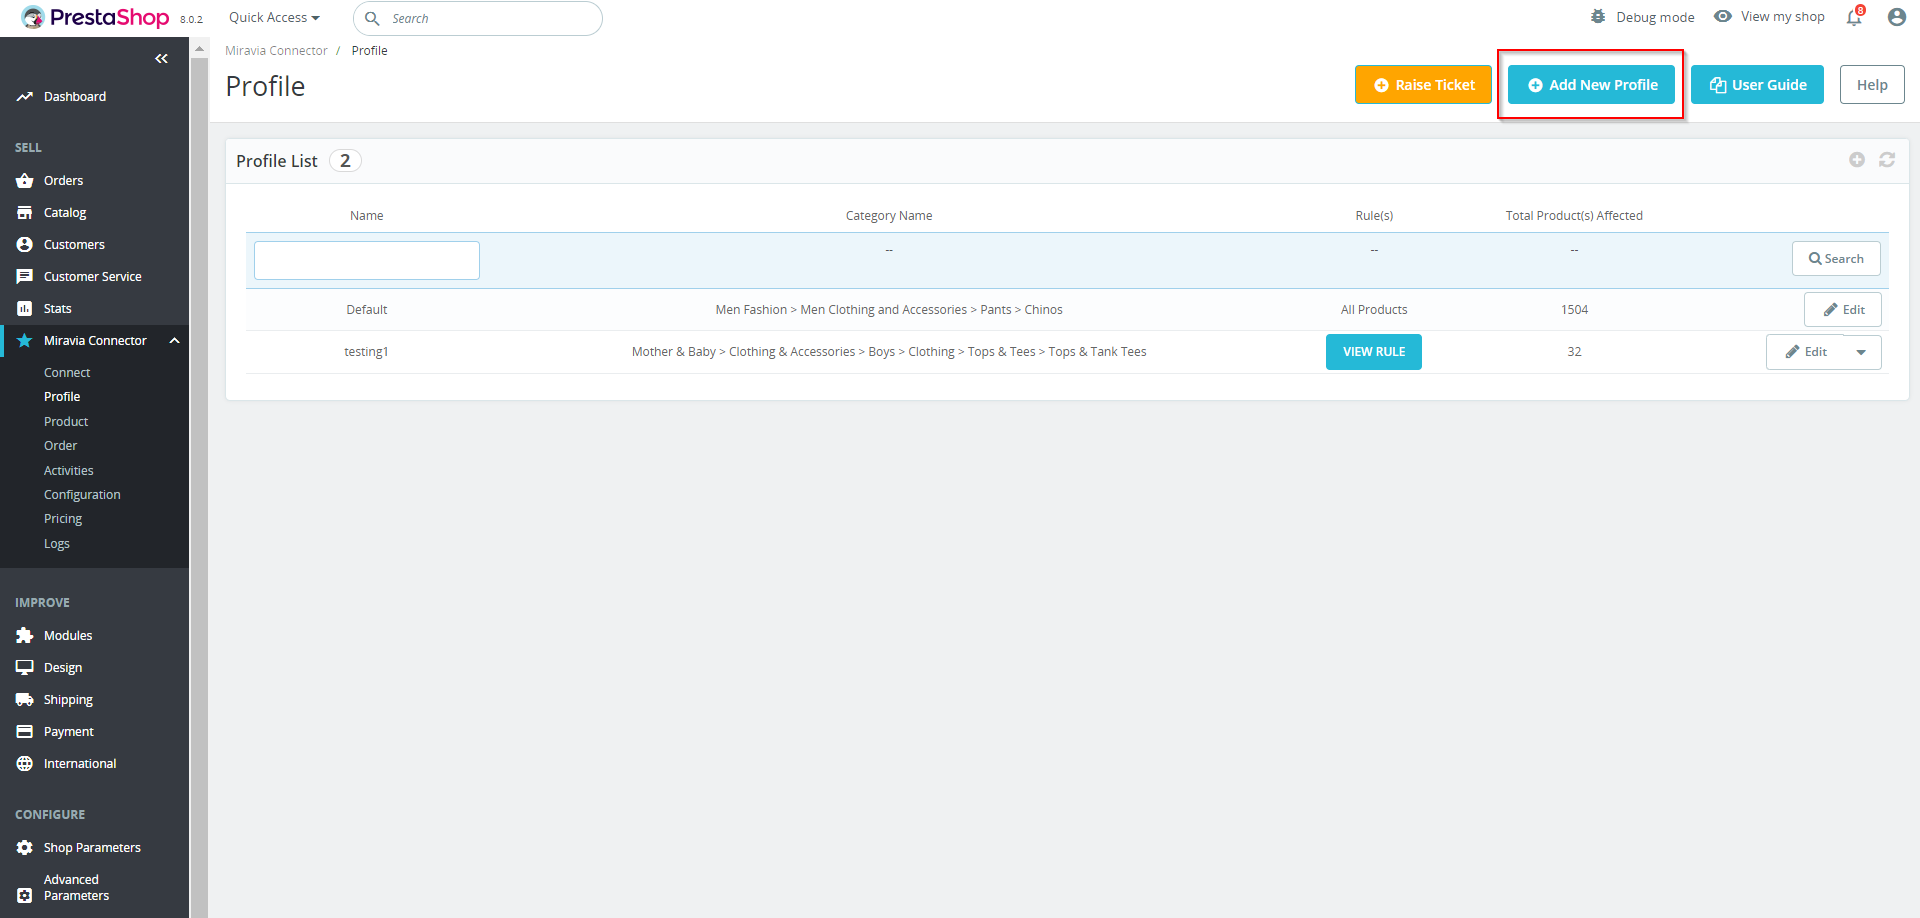
- Add New Profile: By clicking on Add New Profile, you can start creating a new product profile.
- User Guide: This button allows you to become familiar with all of PrestaShop’s features.
- Edit: The pen icon will allow you to edit the profile details.
- Delete: The downward arrow icon is meant to delete the profile.
Follow these steps to create a new profile:
Profile Info
- Go to Profile and click on the +Add New Profile button to create a new profile from scratch.
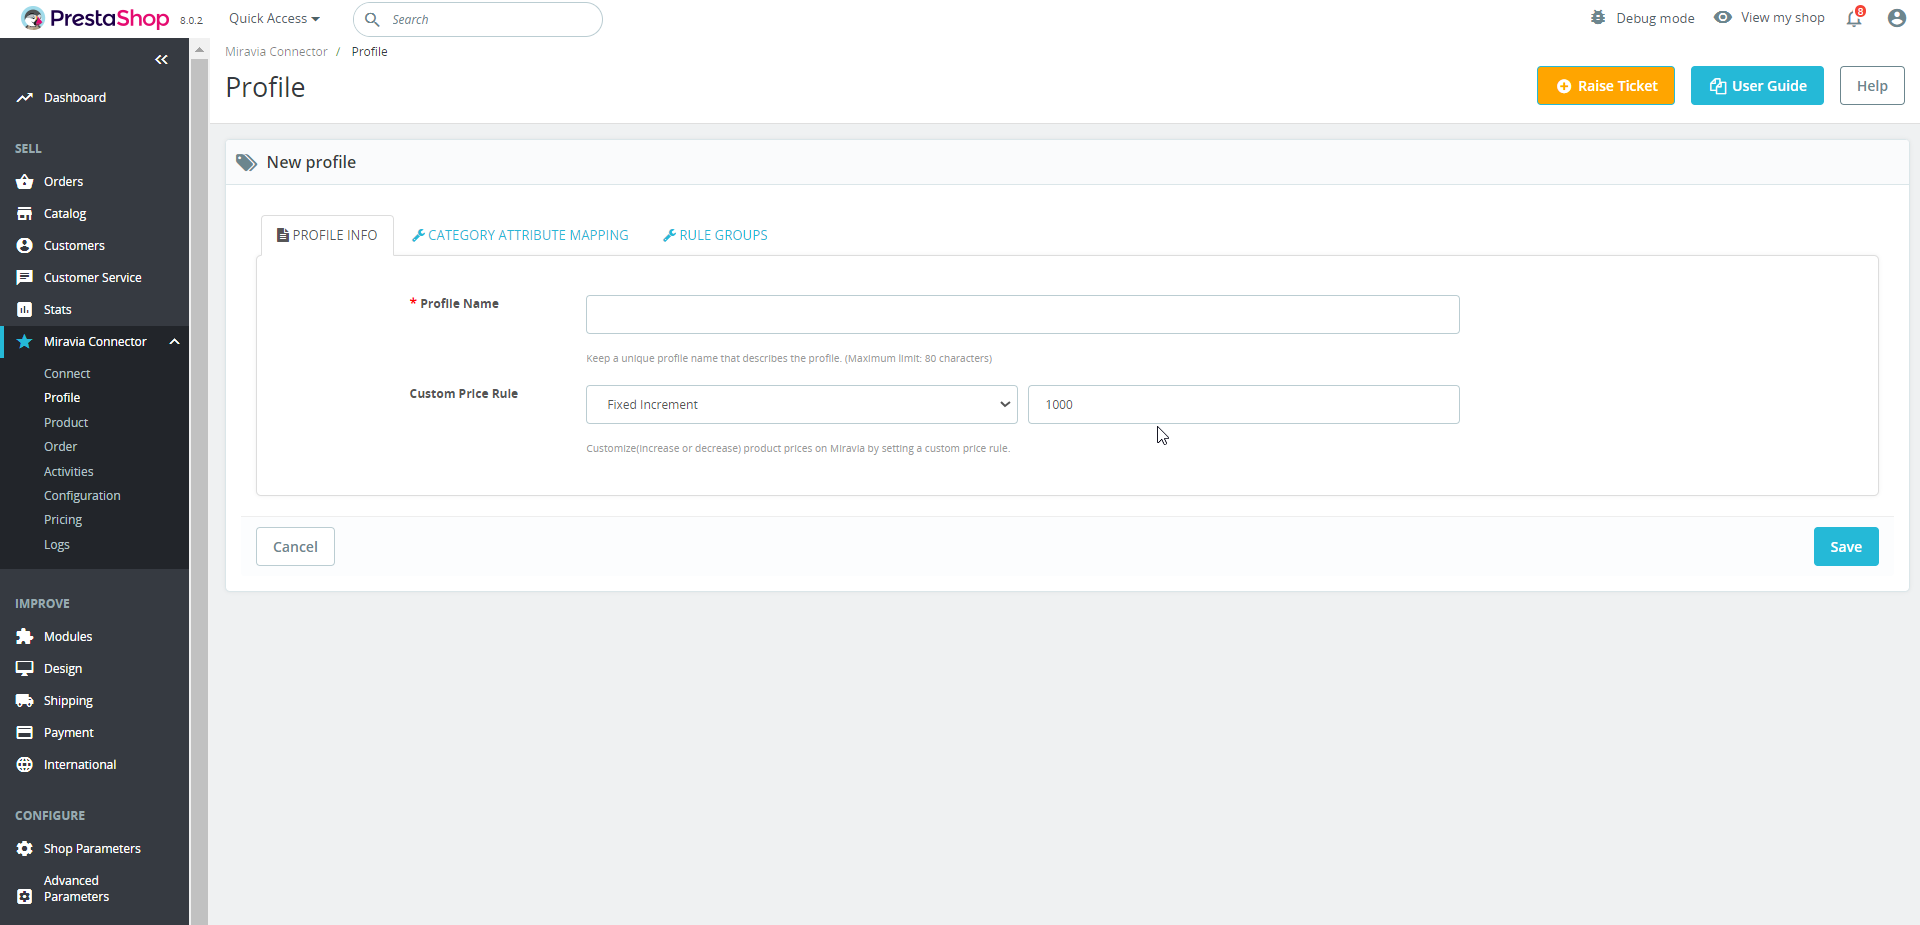
2. It will redirect you to the New Profile page. Set a unique profile name, so it’s easily identifiable. You can also set the price rule for the products falling under this profile.
For example, if you want an increase of 10% in all products of this profile, choose a fixed, percentage, or multiply increment & then write 10%.
3. Click on the Save button to update the profile.
Category Mapping
4. Now you need to map the PrestaShop product category with the Miravia product category and set the title rule for product listings.
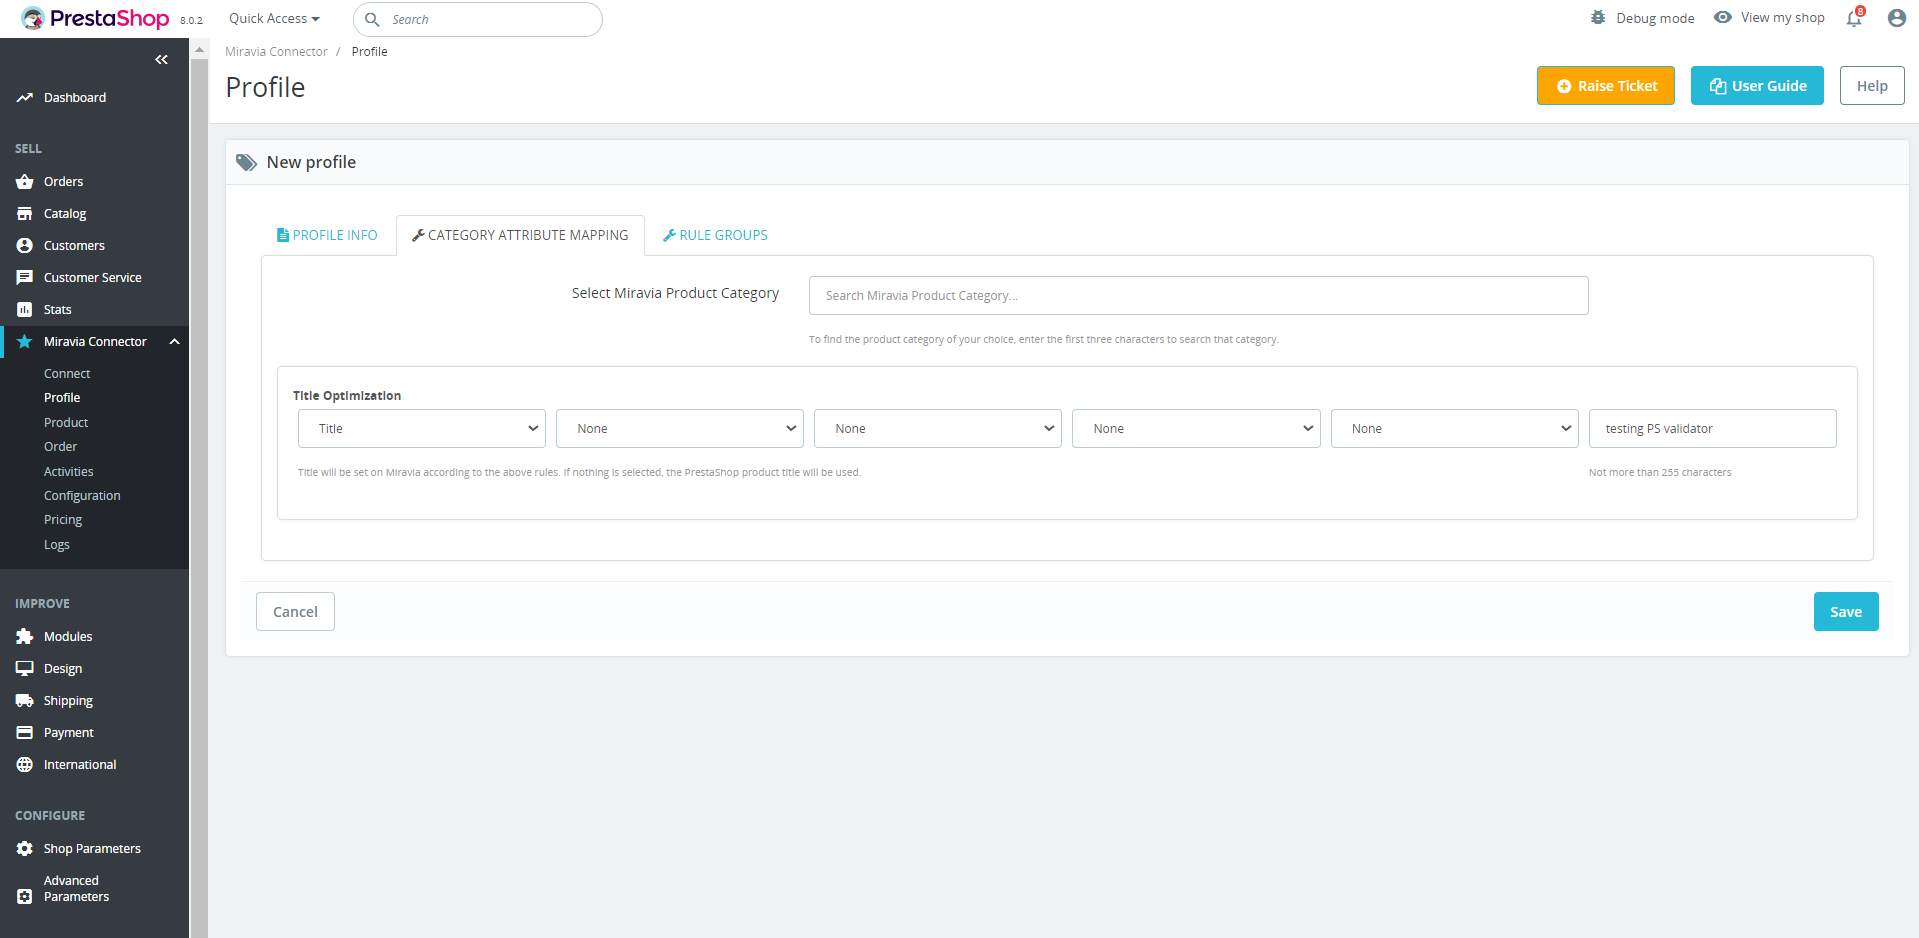
5. Now select the product category for the products to list on Miravia.
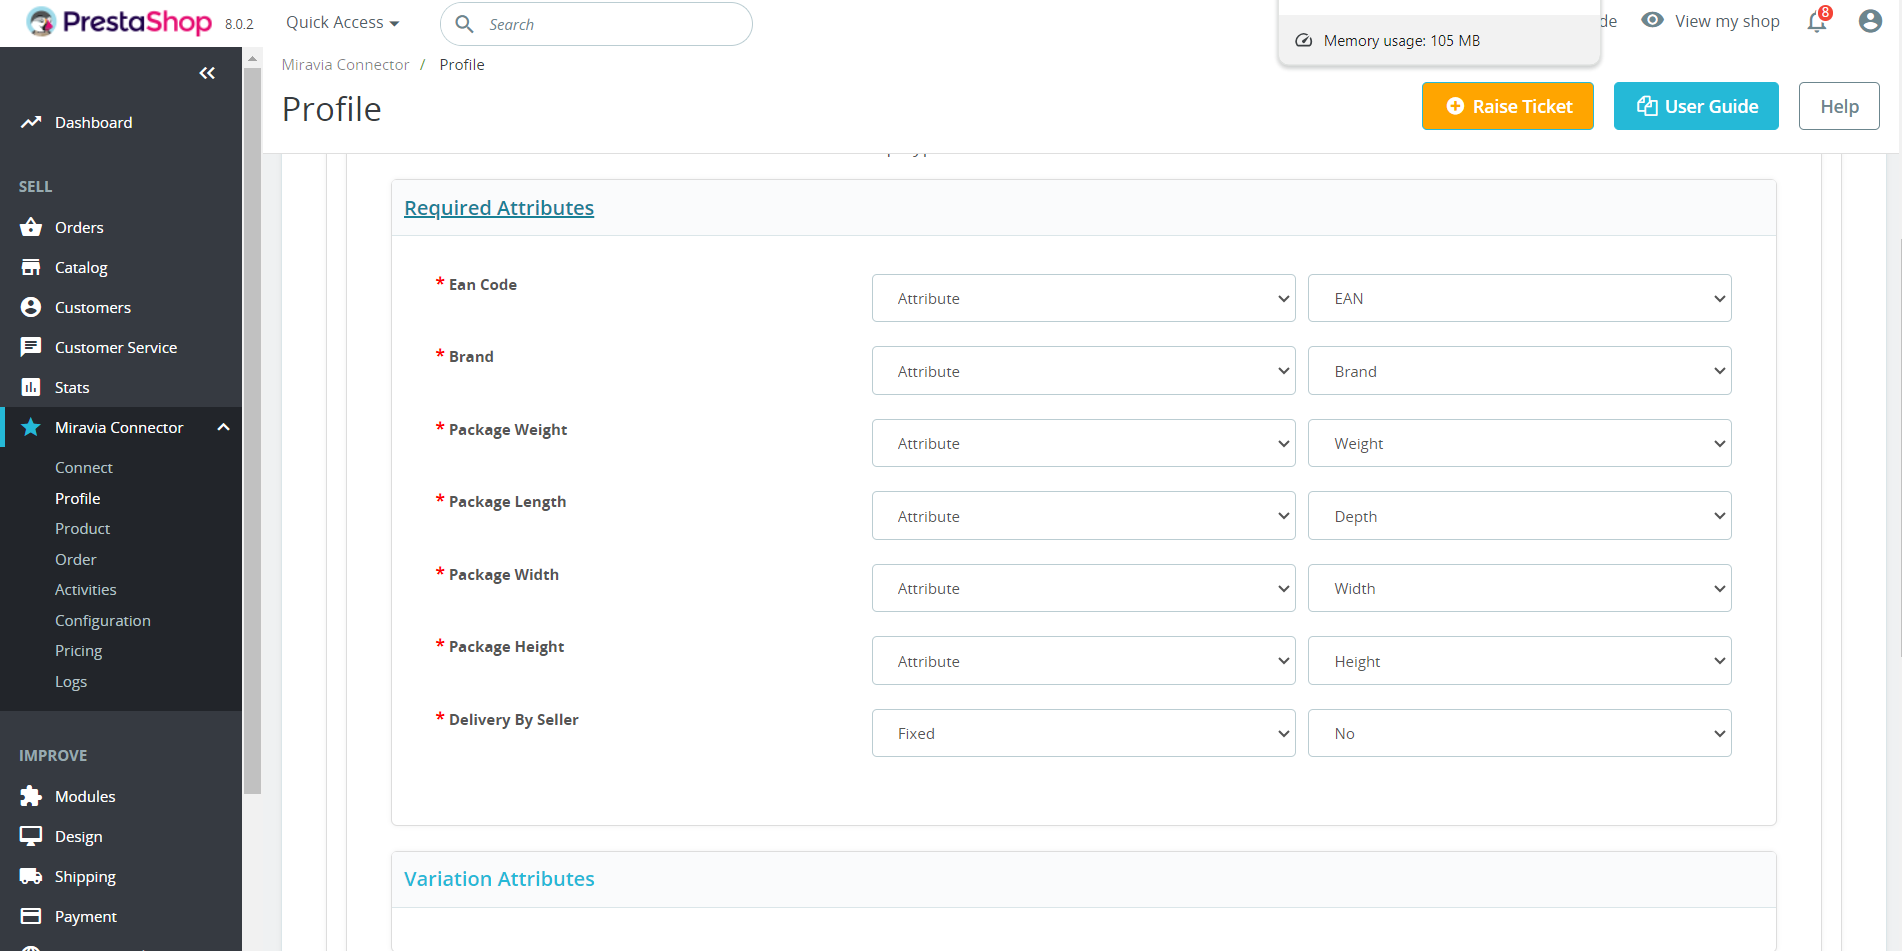
6. Map PrestaShop Attribute with Miravia attribute.
- First, map mandatory/ required attributes, i.e., EAN Code, attribute, product weight, length, height & width.
- Secondly, map product variant attributes, i.e., size & color.
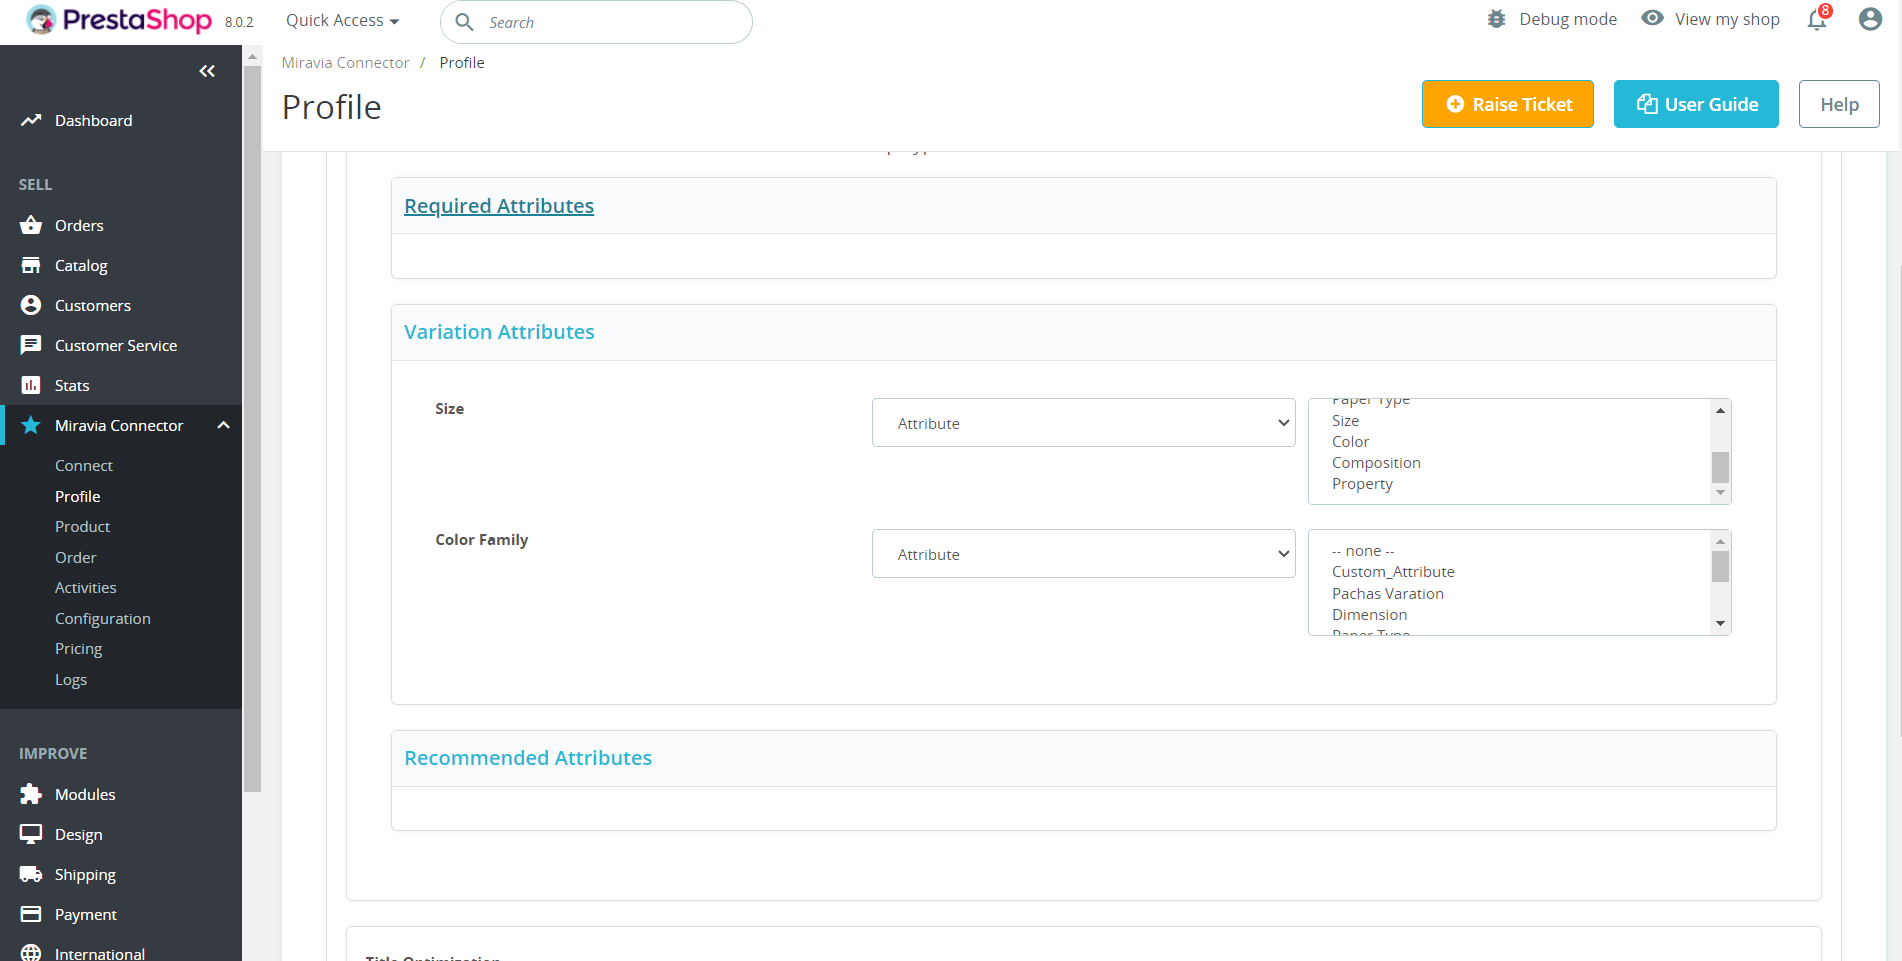
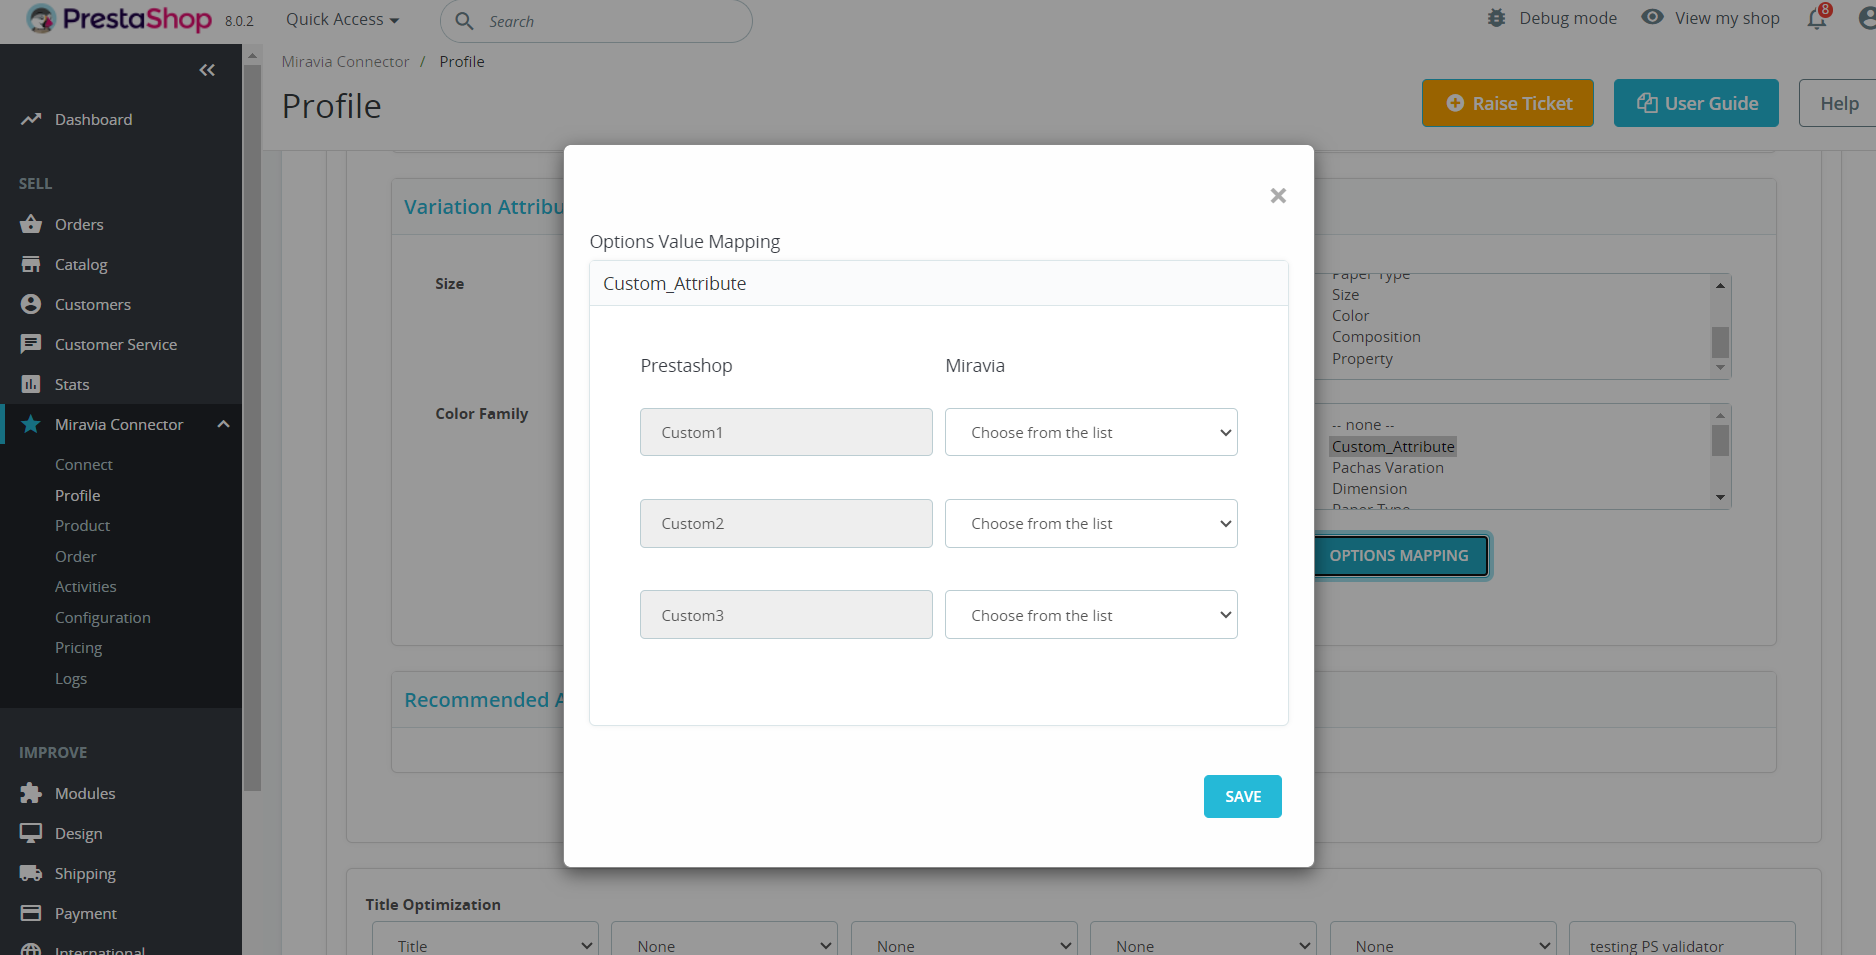
For size or color mapping, choose an attribute from the drop-down menu and click on “Option Mapping.”
A pop-up will appear where you can choose a particular Miravia size with PrestaShop Size. For example, you can map M of PrestaShop with M or S of Miravia. The same follows for the color family too.
- Thirdly, set recommended attributes, which are not mandatory but will help your product rank better on Miravia and help buyers better understand the product.
Rule Group
7. Further, you need to set “Rule Group” to fetch products to create a profile.
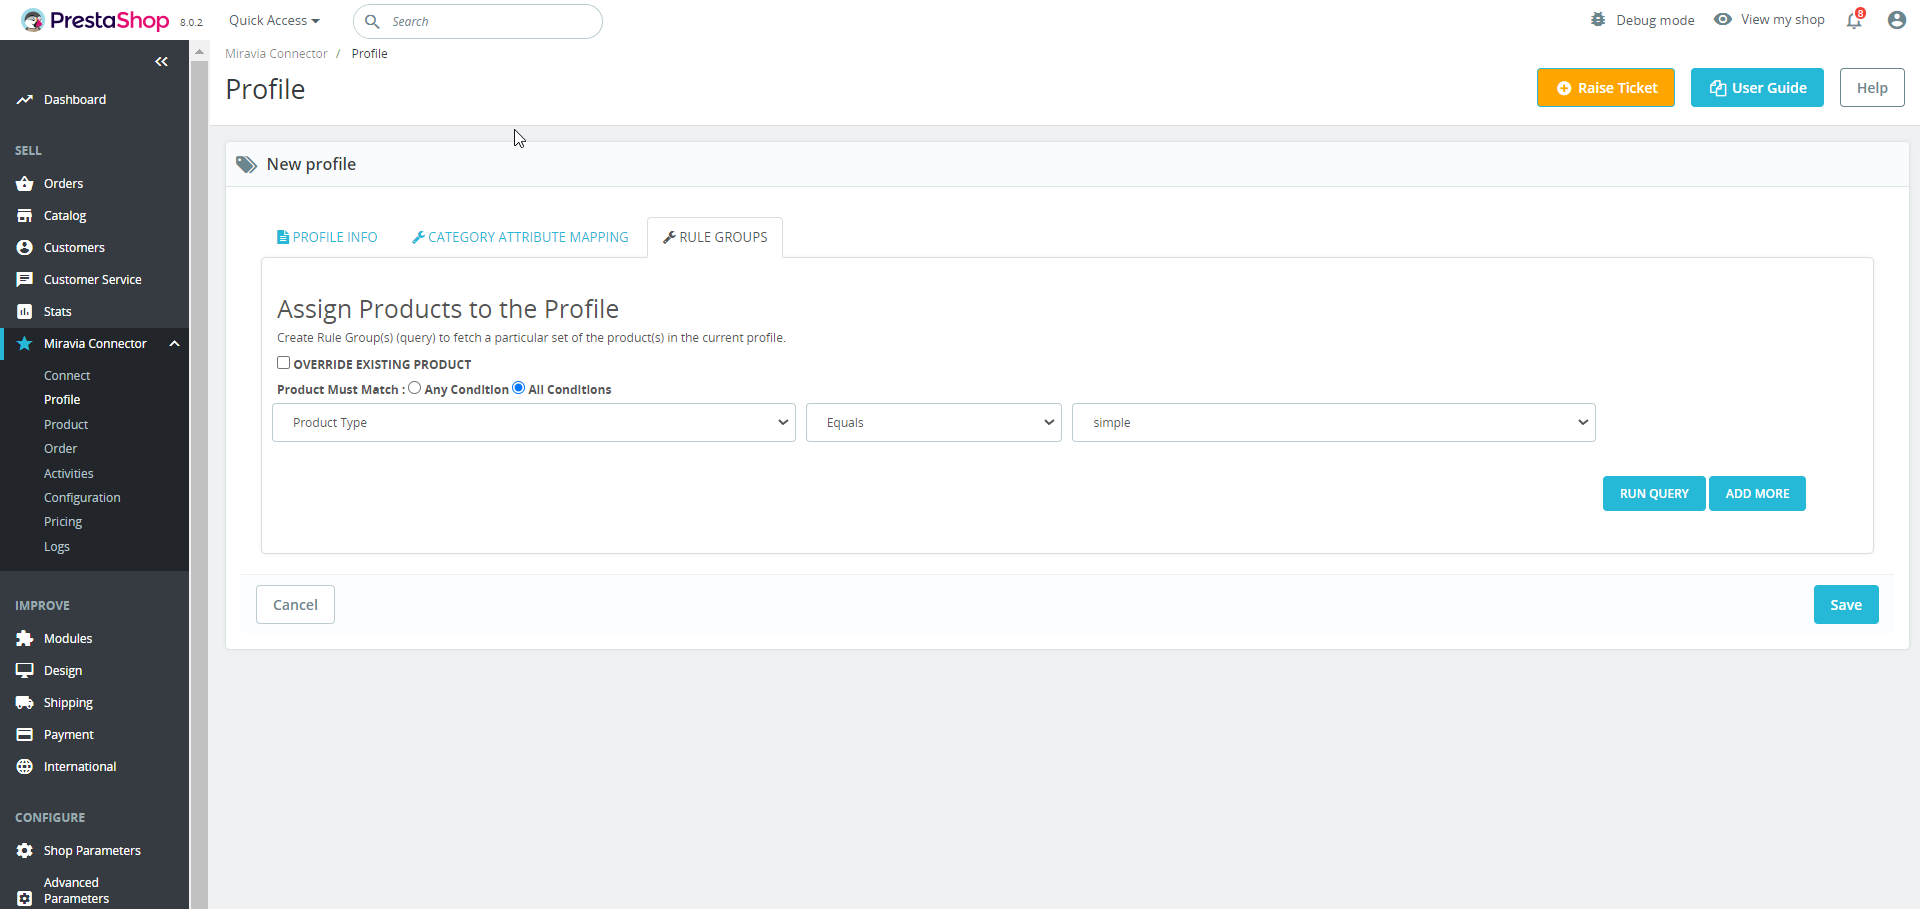
- Override existing products: By clicking on this, you agree to fetch products from the existing profile. For example Suppose, you already had a profile that included dresses of a particular product set. While creating the new profile, some of the products of existing profiles are mutual (common/same). For example, a pink color dress.
By enabling the override option, the mutual products will get removed from the profile dresses and will be linked to your new profile.
- Product Match: The rule is based on ANY and ALL conditions that define whether you want all the selected conditions to be fulfilled or any of them to be true.
- Now select the value from equals and not equal.
- Once you have entered all values, click on “Run Query.” A list of all products containing the mentioned value will be fetched & displayed.
8. Save the settings, and now a profile is created successfully. You can view or edit them from the profile section.
Delete A Profile
- Visit the Profile, click on the downwards arrow next to the Edit button for the specific profile name and it will reveal the delete option.
- Click on the Delete option.
Note – You cannot delete the default profile.


