
Allegro Configuration Settings
Once the module gets installed, you get navigated to the Configuration page.
To perform Configuration settings:
- Go to the Prestashop Admin panel.
- In the left navigation panel, place cursor on Allegro Integration and the section expands as:
- Go to Configuration
- First, go to General Settings
The page appears as shown in figure:
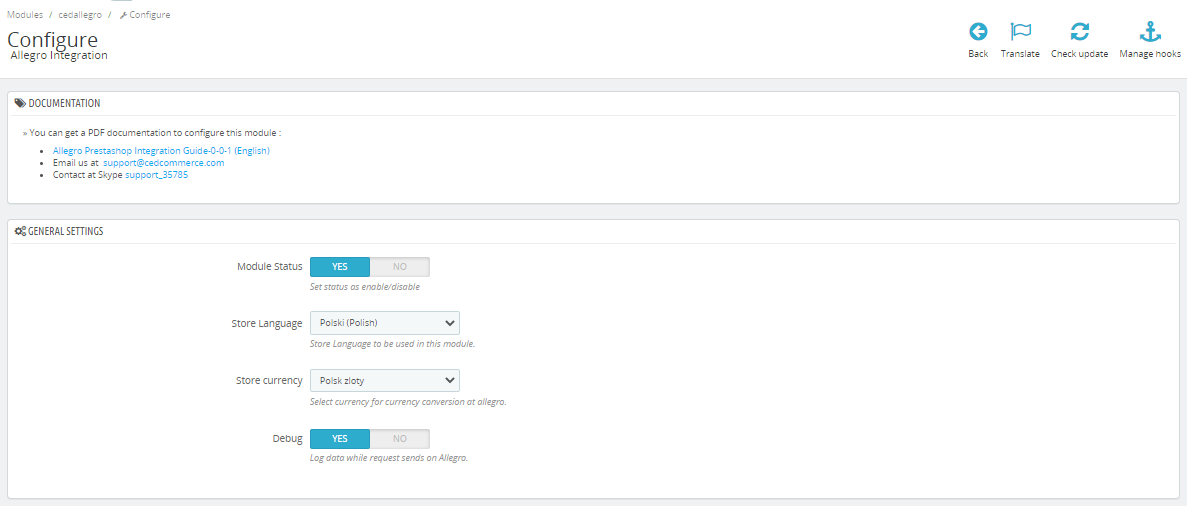
- In General Settings, do the following steps:
- In the Module Status, select ‘Yes’ to enable the status of the module.
- In the Store Language, choose the language which you want to use in the module.
- In the Store currency, choose the currency which you want to use in the module.
- In the Debug module, select ‘Yes’ to enable the debug mode to check the issues of the module in the Log section.
- Now move to another section, API settings,
The tab appears as shown below:
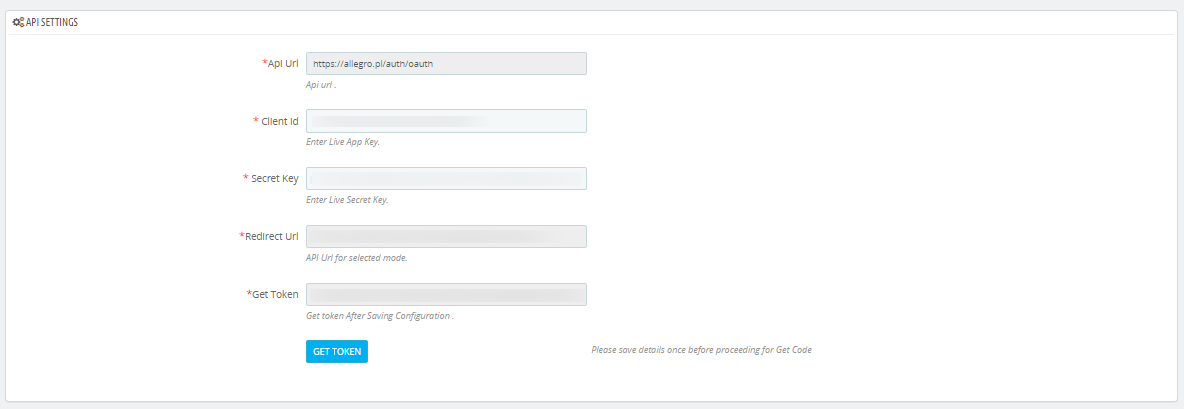
- In the API settings, do the following steps:
- These details Client ID, Secret Key, you can get from your Allegro account.
- Simply copy these details and paste them here and click on ‘Get Token’ button to link your Allegro account with your store.
- Now move to Allegro Categories
The tab appears as shown below:
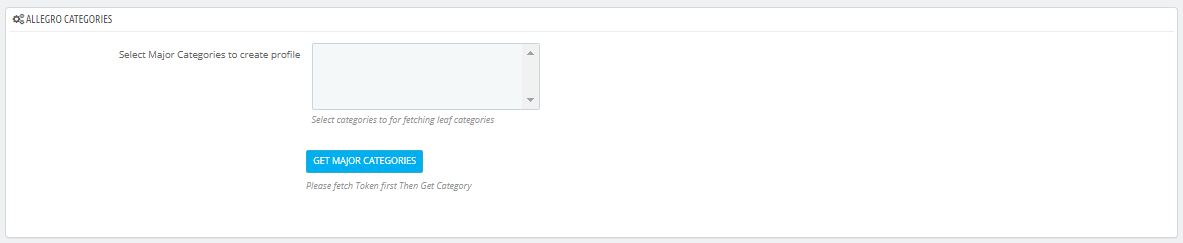
- In the Allegro Category, Click on ‘Get Major Categories’ button so it imports all major categories from Allegro and shown them here. You simply choose all or major to create your profiles.
- Now move to third section, Product Settings
The tab appears as shown in figure:

- In the Product settings, do the following steps:
- In the Price Variation, you can increase or decrease your store prices by simply choose from the dropdowns like:
- Default Prestashop Price
- Increase or Decrease by Fixed Amount
- Increase or Decrease by Percentage
- In the Upload Disabled Product, choose from dropdown between ‘Skip’ or ‘Upload’ whether you need to upload disabled products to Allegro or not.
- In the Store Supplier, If you have any supplier you can choose here of which you don’t need to send items to belong to that supplier.
- In the Update Allegro product on product edit, select ‘Yes’ or ‘No’ if you want to update product on Allegro when you edit on Store.
- In the Update Inventory/Price on Product Edit, select Yes or No, if you want the inventory and price to be updated on Allegro when you edit product on store.
- In the Delete Product Data on Product Delete, select Yes or No, if you want to disable product on Allegro when you delete product on store.
- In the Price Variation, you can increase or decrease your store prices by simply choose from the dropdowns like:
- Now move to next section, Allegro Shipping
The tab appears as shown in figure:

- In the Allegro Shipping, do the following steps:
- In the Use Grid, select ‘Yes’ or ‘No’ if you choose ‘Yes’ then you need to add at least 4 carrier grid by clicking on ‘Add new button in the next option.
- In the Carrier grid, here you can choose your carrier in the left and country on the right for the shipment.
- After that move to Order Settings
The tab appears as shown in figure:
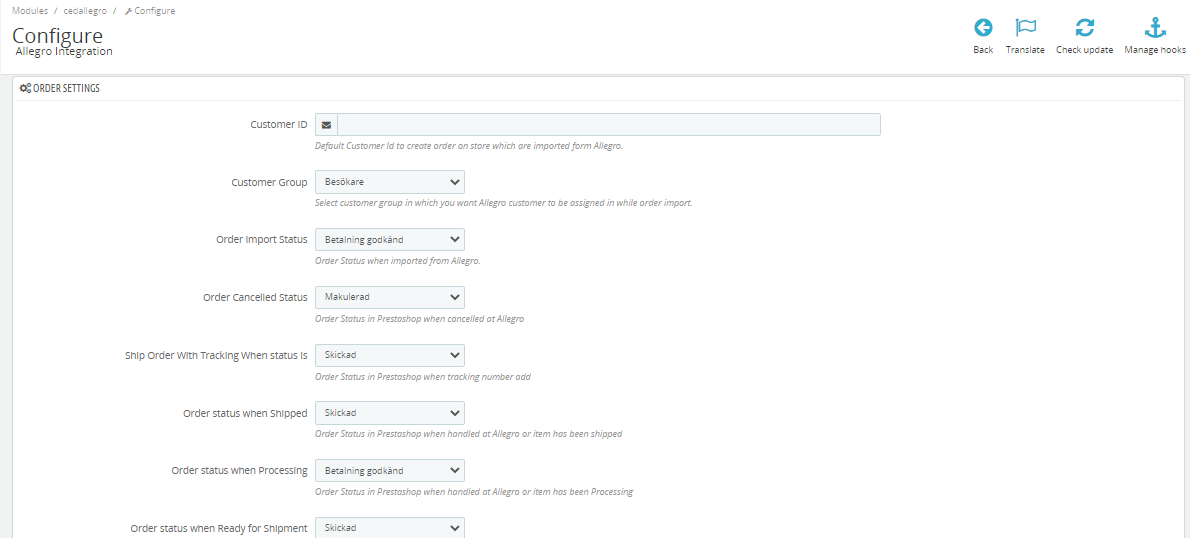
- In the Order Settings, do the following steps:
- In the CUSTOMER ID, enter the ID for customers to be created, for orders which are imported from Allegro.
- In the Customer Group, Select customer group in which you want Allegro customers to be assigned in while order import.
- In the Order status when Import, select the order status while importing the order.
- In the Order cancelled status, select the status to appear when the order has been cancelled.
- In the
- In the Order status when shipped, select the order status to appear when the order has been shipped.
- In the Order Status when Processing, select the order status to appear when the order is in process.
- In the Order Status when ready to pickup, select the order status when ready to pickup order.
- In the Order Carrier, select the order carrier set for particular orders while importing the Allegro order.
- In the Order Payment, select the order payment method set for each order while importing the Allegro order.
- In the Force Order Import, if you select ‘yes’ then it import orders in every conditions except product is available or not.
- In the Auto Ship, Select ‘yes’ to auto-ship the order.
- Lastly, Go to Cron Settings.
The tab appears as shown in the figure:
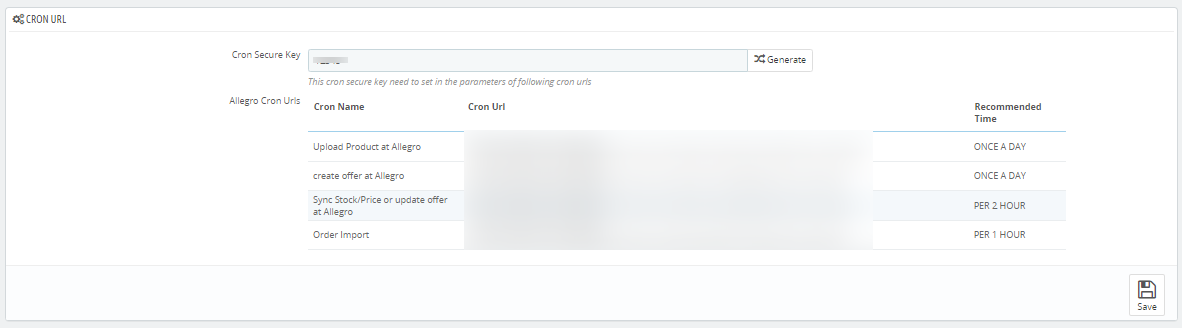
- n the Cron Settings, do the following steps:
- In Cron Secure Key, you can make a combination of secure key consisting of the alphabet, number, and special characters.
- You may see cron URL, name and recommended time.
- Click the Save button and the configuration will be saved.
×


