
Configuration Settings
Once the module has been installed, the first necessary step needs to be taken by the admin is to complete the Configuration.
To do the Configuration Settings,
- Go to your OpenCart admin panel.
- Click the Amazon option which is on the left navigation bar, as shown in the figure below:
- From the menu that appears as shown in the image below, click on Settings.

- On clicking Settings, you will be navigated to the Amazon Configuration page as shown below:
- Under the API Details start filling the details.
- In Module Status choose Enabled to enable the module. Without Enabling the module, all the changes made will not reflect on the Amazon marketplace.
If you have your Amazon Developer Account then Go to Amazon Seller Center->Settings->User Permission,
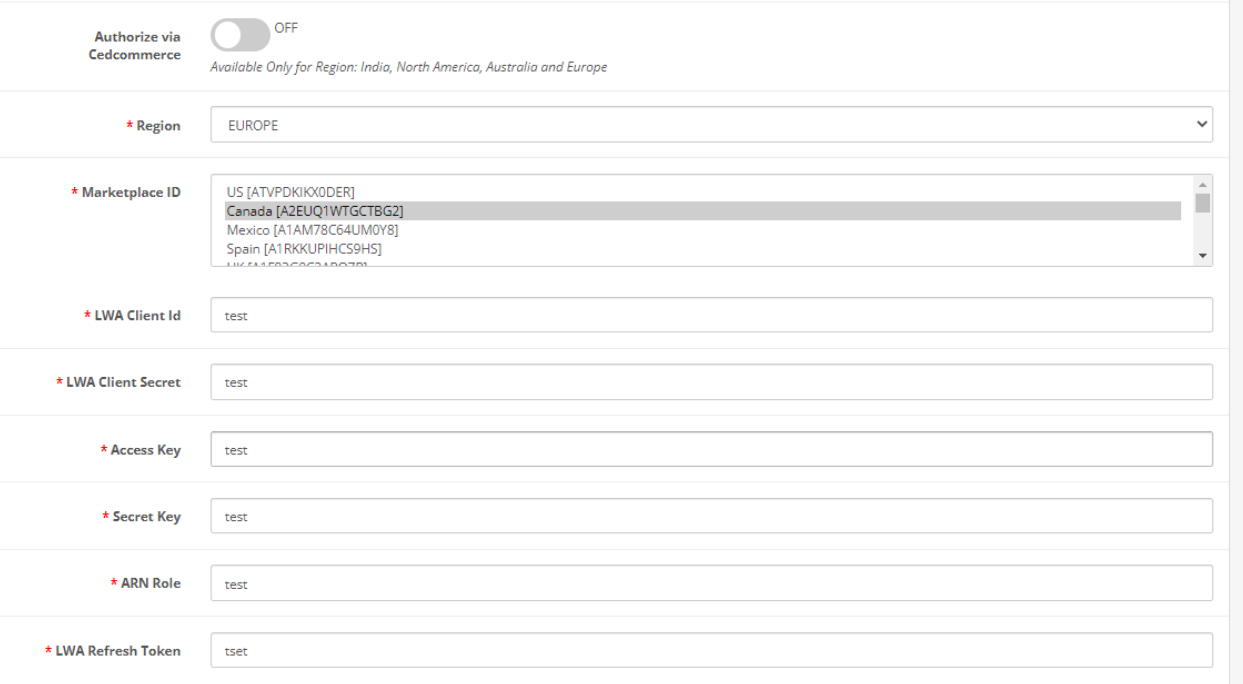
Otherwise, If you don’t have you can follow the below steps: - In Authorize via Cedcommerce, You can tap ‘ON’ if you want to configure with Cedcommerce Developer Account.
- Enter your Region, and choose your Account region.
- Choose the Marketplace Id from the drop-down menu.
- In the User name, you can enter your Account User Name.
- In the Name, you can enter your name. (Enter any name)
- In the Client Email, you can enter your Email ID which you have set in your Amazon Account.
- After that, click on the ‘Authorize‘ button, it will redirect to your Amazon Seller Center. The page appears below:
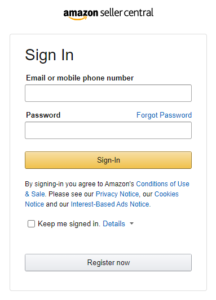
- Login with your Account Details & after successful login,, The tab appears below:
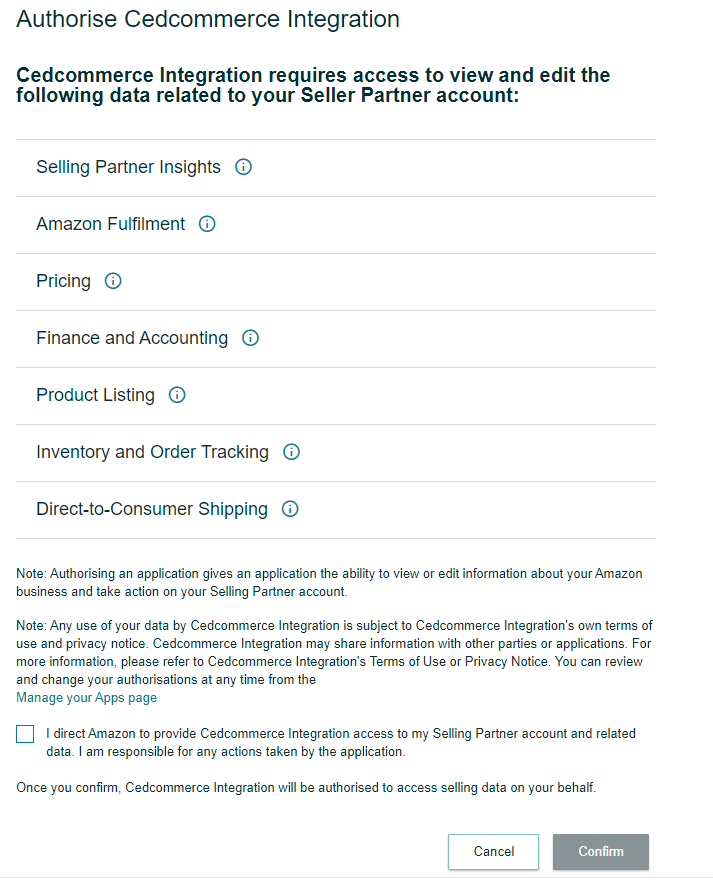
- Click on the ‘Confirm’ button to configure your Account with the module.
-
- There are three possible cases in these:
-
Case 1: You Are Already Have An Amazon Developer Account
Note: Directly Move on to Case 2 or Case 3 if you don’t have an Amazon developer account.
- To retrieve these you need to move to your Amazon seller account:
-
-
- Log in to your Amazon Seller Account.
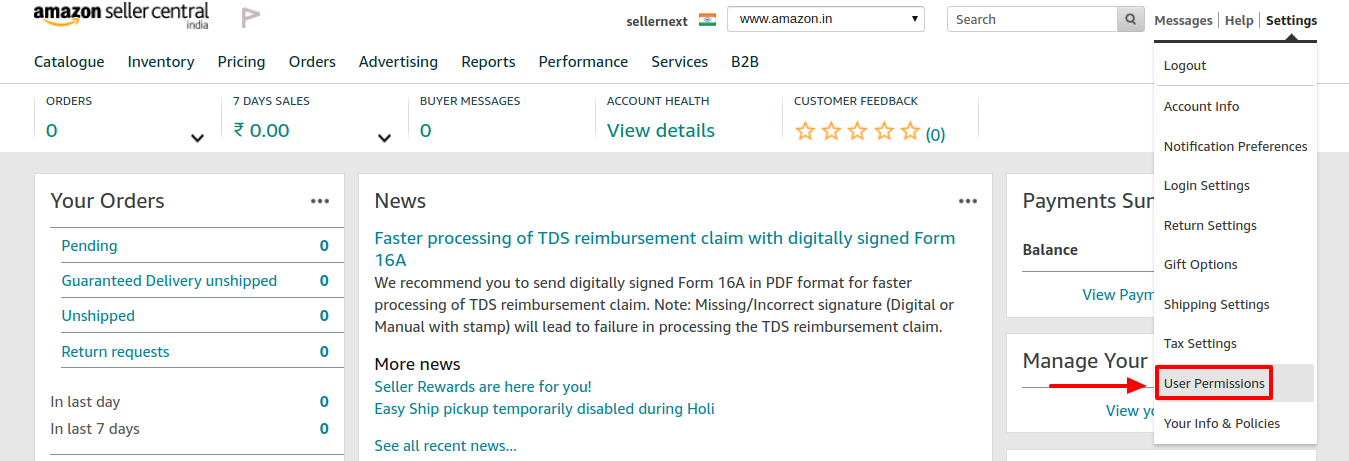
- On the top right side of the Amazon seller central, place cursor on Settings.
- When the menu appears, click User Permission.
-
-
- You will be navigated to the User Permission page which looks like this:
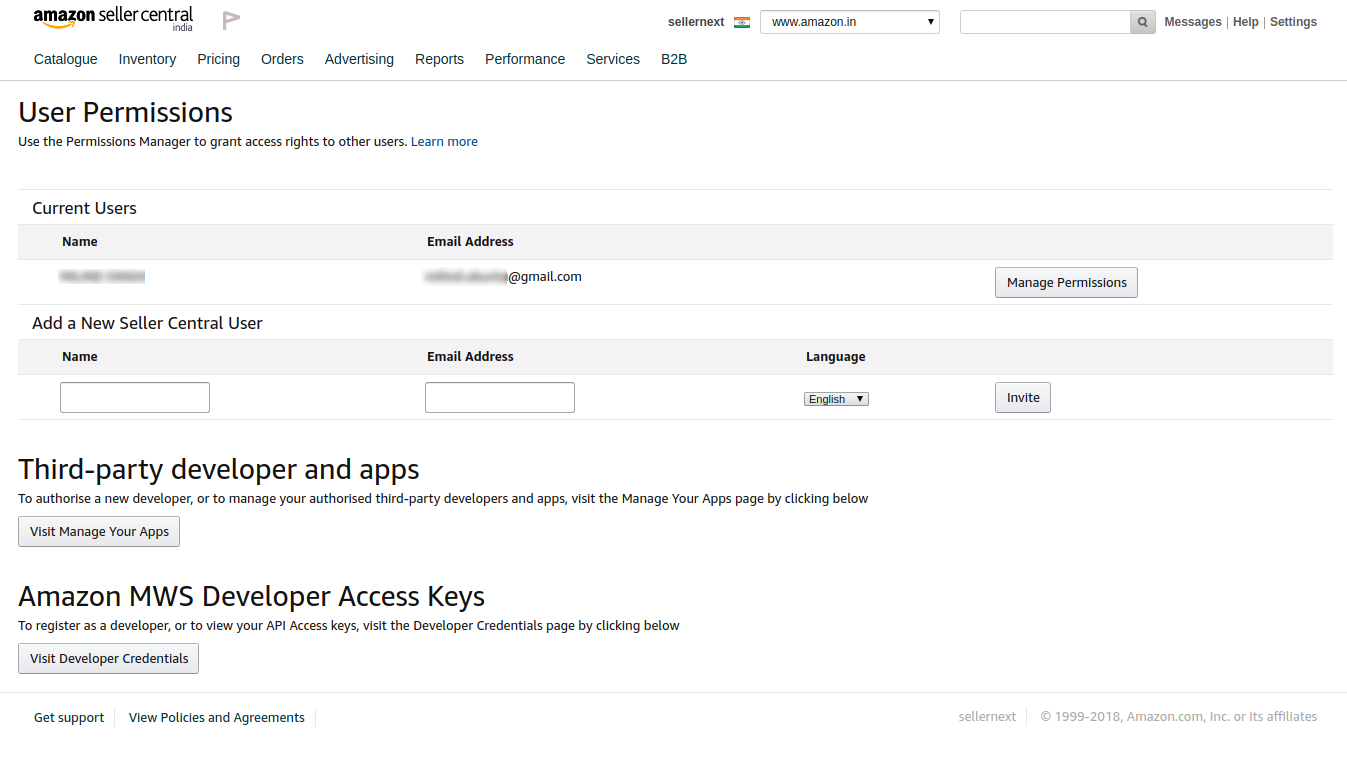 In this case go to the User Permission Page of the Amazon Seller Central.Click on Visit Developer Credentials under the heading Amazon MWS Developer Access Keys.
-
-
-
- A form opens up for new sellers to register.
- Fill the form and retrieve the access key as the same in case 1.
-
-
- If you don’t have your Amazon Developer Account, then Follow above steps.
-
- Now move to the Order Settings section.
- In Email For Amazon Orders, enter the email id on which you want to get notified about the Amazon orders via mail.
- In Fulfilment Latency, enter the number of days in which you can deliver the orders.
- In Price Variation from Store select the default store from which you wish you to select the price of your products.
- Enable / Disable the Cron synchronization from Enable Cron Sync.
- If you wish to update the Inventory after every edits then select Enable under the Update Inventory Edit.
- Similarly in case of edit in price select Enable or Disable under the Update Price On Edit.
- In case you wish to update all the information after edits then select Enabled under Update Whole Info.
- In Debug Mode, select Enable if you want the Debug log to be created.
- Now move to the last section of Settings ie. Cron Settings.
- There are 4 Crons mentioned below:
- Product Upload
- Sync Quantity
- Sync Price
- Fetch Order.
- Click on the Save Button to save all the settings as shown:

- A confirmation message appears as shown below:

×


