
Configuration Settings
Once the extension is successfully installed on the Merchant’s store, WALMART.CA INTEGRATION menu appears in the Magento 2 store Admin Panel. The merchant has to fill in the API credentials in the Walmart Canada Configuration page of the admin panel.

After obtaining the Consumer Id and the Private Key, the merchant has to copy all of them one by one from the Walmart Canada Seller account and paste it one by one to the Configuration page of the admin panel of the merchant.
To follow the process of copying and pasting the consumer ids and private keys, open the Walmart Seller account and the Magento 2 store Admin Panel in two different tabs or windows of the browser. Thus, copy the keys from the Walmart Canada Seller account and paste them one by one to the Magento store Admin Panel.
To copy the API Credentials from the Walmart Canada Seller account
- Open the Walmart Canada Seller account.
- Click the Settings
 icon.
icon.
The General Settings menu appears as shown in the following figure:
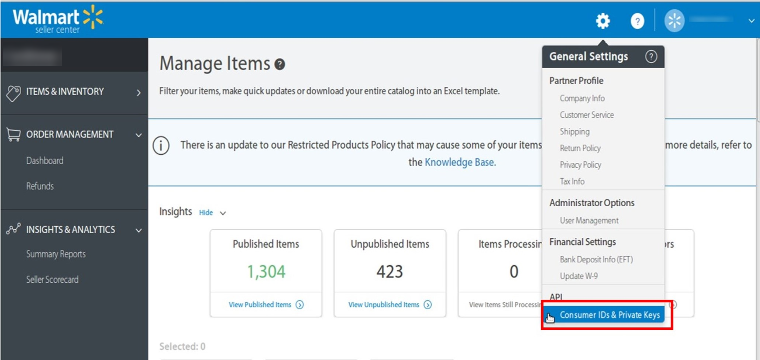
- Under API, click Consumer IDs & Private Keys.
The page appears as shown in the following figure:
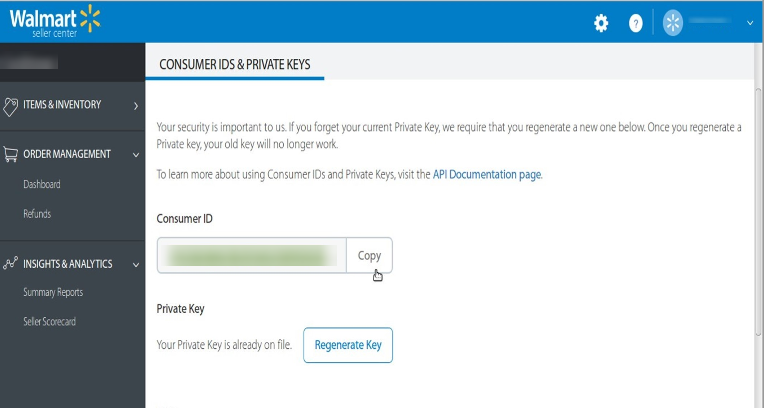
- Under Consumer ID, click the Copy button.
- Under Private Key, click the Regenerate Key button.
The Regenerate Secret Key dialog box appears as shown in the following figure:
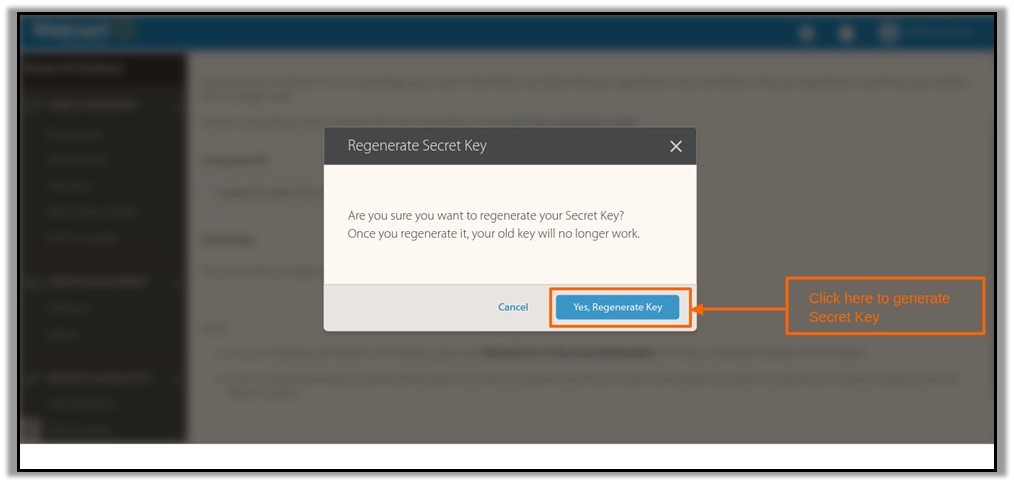
- Click the Yes, Regenerate Key button.
The key is generated. Copy the generated key.
To Set up the Configuration settings in the Magento 2 store Admin panel
- Go to the Magento 2 Store Admin panel.
- On the left navigation bar, click the WALMART.CA INTEGRATION menu.
The menu appears as shown in the following figure:
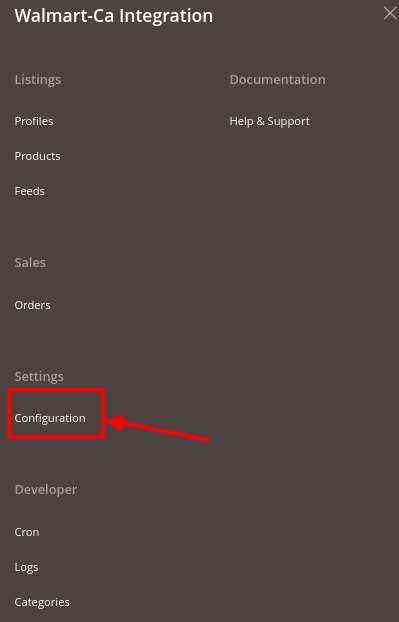
- Click Configuration.
The Configuration page appears as shown in the following figure;
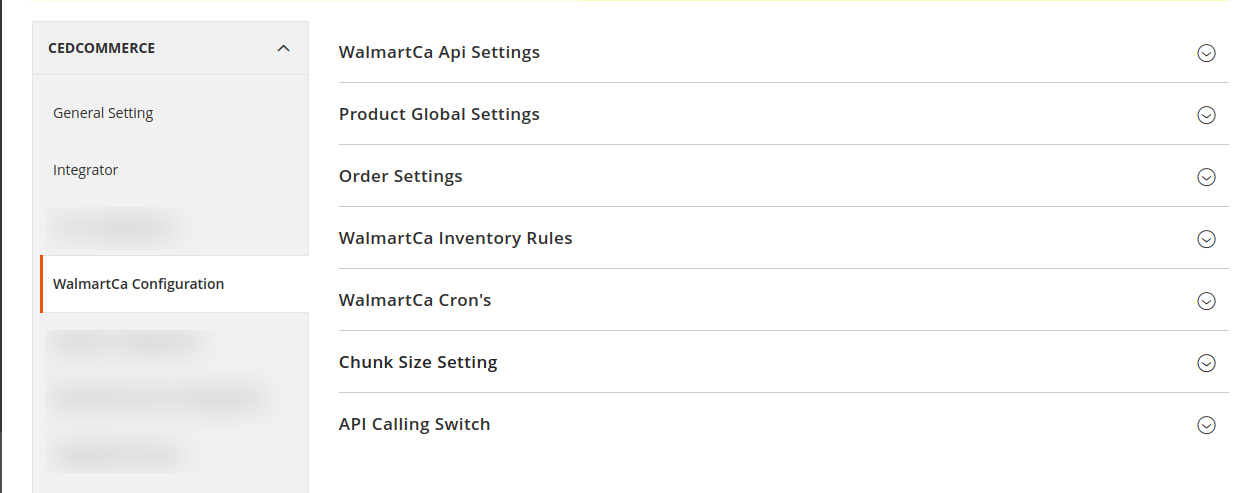
- Now in the right click on WalmartCA API Settings, the section is expanded as shown below:
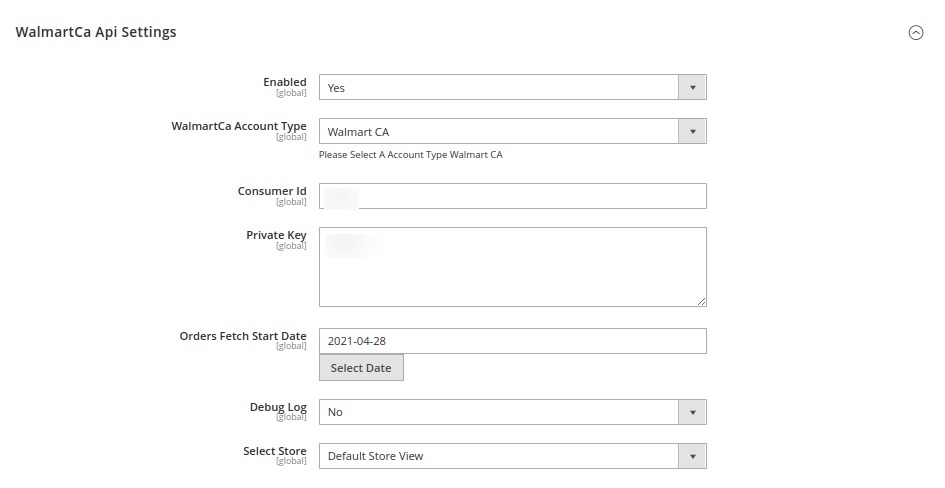
- Under Walmart Ca API Settings, do the following steps:
- In the Enabled list, select Yes.

- In WalmartCa Account Type, select the type of Walmart Account.
- In the Consumer Id box paste the corresponding Consumer ID copied from the Consumer IDs & Private Keys page of the Walmart Seller Account.
- In the Private Key box, paste the corresponding Private Key copied from the Consumer IDs & Private Keys page of the Walmart Canada Seller Account.
- In the Orders, Fetch Start Date box, click the calendar icon, and enter the date.
The date when the user starts to fetch the order. - In Debug Log, select Yes if you want the developer’s debugging log to be enabled.
- In Select Store, select the store view.
- In the Enabled list, select Yes.
- Click the Product Global Settings tab.
The tab is expanded and the relevant fields appear as shown in the following figure:
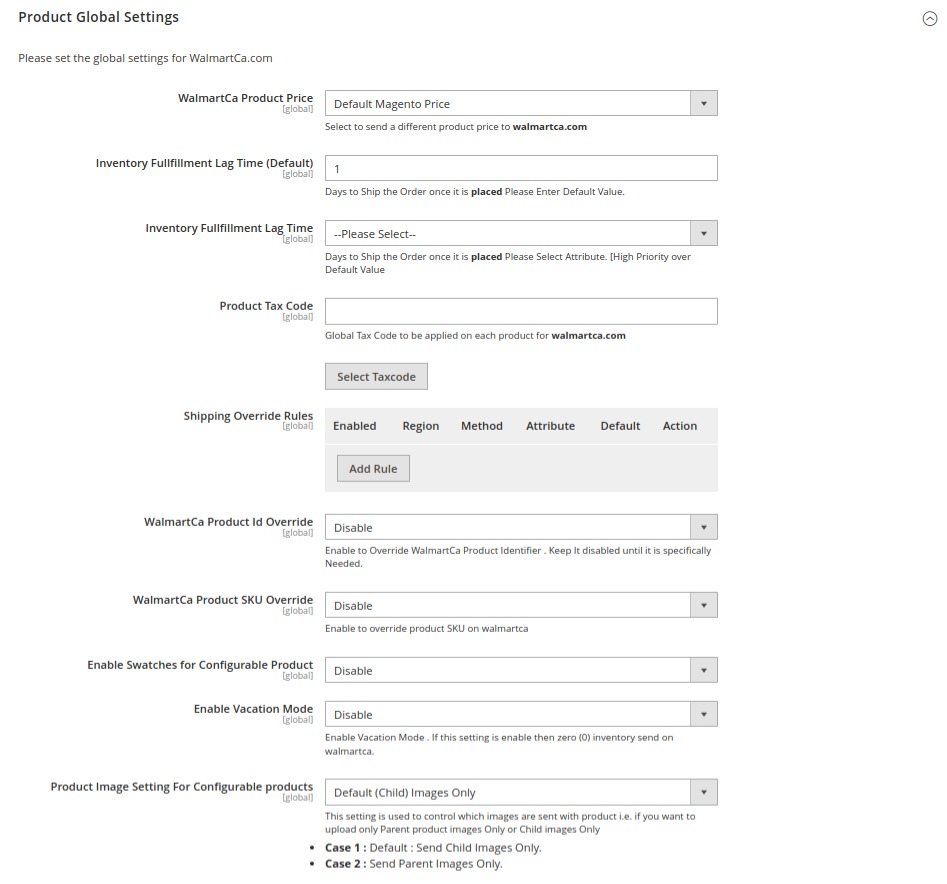
- Under Product Global Settings, do the following steps:
- In the WalmartCa Product Price list, select the required option.
- Walmart Product Price: This is to set a different price for all the products as shown in the following figure:
The user can set the price on the following basis: –- Increase by Fixed Price: If selected, then the Modify by Fix Price field appears.
- Increase by Fixed Percentage: If selected, then the Modify by Percentage Price field appears.
Enter the numeric value to increase the price of the Walmart Canada product price by the entered value % of Magento price
For Example – Magento price + 5% of Magento price.
Magento Price = 100
Select Increase By Fixed Percentage option
Modify by Percentage Price = 5
100 + 5% of 100 = 100 + 5 = 105
Thus, Walmart Canada Product Price = 105 - Decrease by Fixed Price: If selected, then the Modify by Fix Price field appears.
- Decrease by Fixed Percentage: If selected, then the Modify by Percentage Price field appears.
Enter the numeric value to decrease the price of the Walmart product price by the entered value % of Magento price
For Example – Magento price – 5% of Magento price.
Magento Price = 100
Select Decrease By Fixed Percentage option
Modify by Percentage Price = 5
100 – 5% of 100 = 100 – 5 = 95
Thus, Walmart Product Price = 95
- Walmart Product Price: This is to set a different price for all the products as shown in the following figure:
- In the Inventory Fulfillment Lag Time (Default) box, enter the number of days to fulfill the inventory when the product is out of stock.
- In the Product Identifier Type attribute, select the options according to your product’s unique identifiers.
- In the Product Tax Code Value box, enter 7 digit global product tax code that will be applied on each product for Walmart Canada.
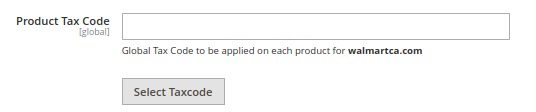
- Or Click the Select Taxcode button.
The Find a Tax Code page appears as shown in the following figure:
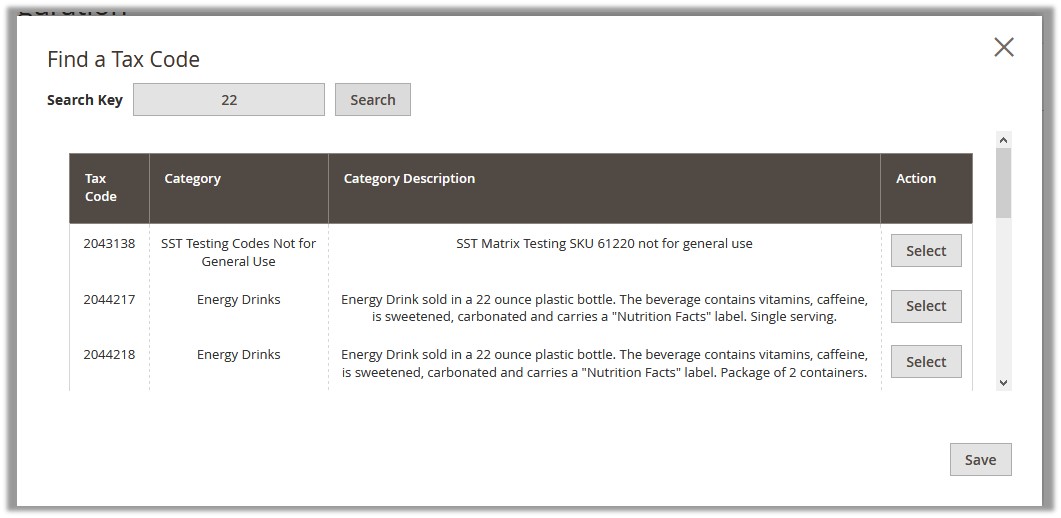
- Scroll down to the required Tax Code.
- In the Action column, click the corresponding Select button.
The Tax Code is selected and appears on the top-right corner of the page as highlighted.
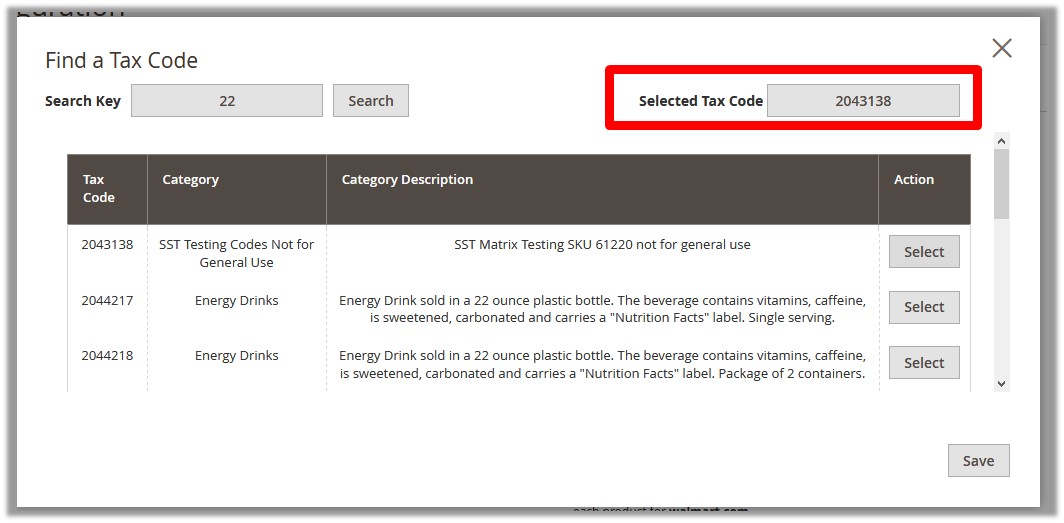
- Click the Save button.
The page is closed and the selected Tax Code appears in the Product TaxCode box. - In the Shipping Settings field, click the Add button.
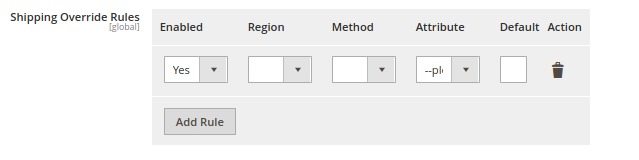
- In Enabled, select Yes.
- Select the shipping region in the Region field.
- Select Shipping Method in the next field.
- Select the Magento Attribute Code in the next field.
- In Default enter the default shipping rule.
- In the Walmart Product Id Override list, select the required option.
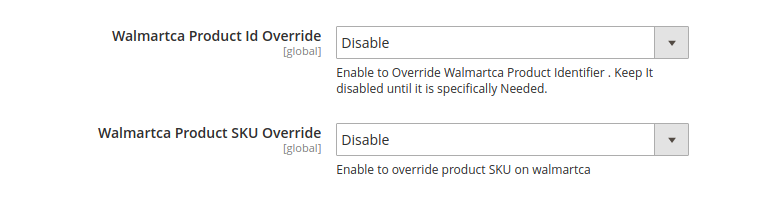

- In the Walmart Product SKU Override list, select the required option.
Note: Enable to Override Product SKU on Walmart. - In the Enable Swatches for Configurable Product list, select the required option.
- On selecting Enable, a field appears as:
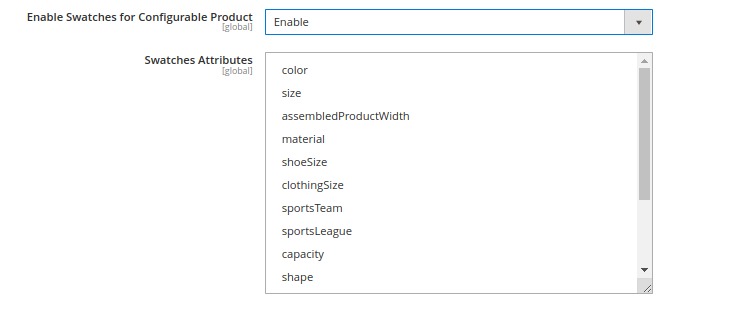
- Select the swatch attributes from the list given.
- Then is the Enable Vacation Mode which is for the purpose of if you are going on a vacation then the inventory won’t be uploaded.
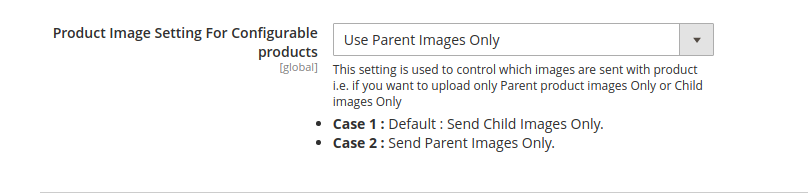
- In Product Image Setting for Configurable Products, select the image type you want to upload as configurable.
In this, you can upload images in two cases only: Either send child images only or Send Parent images only.
- In the WalmartCa Product Price list, select the required option.
- Click the Order Settings tab and the section will expand as:
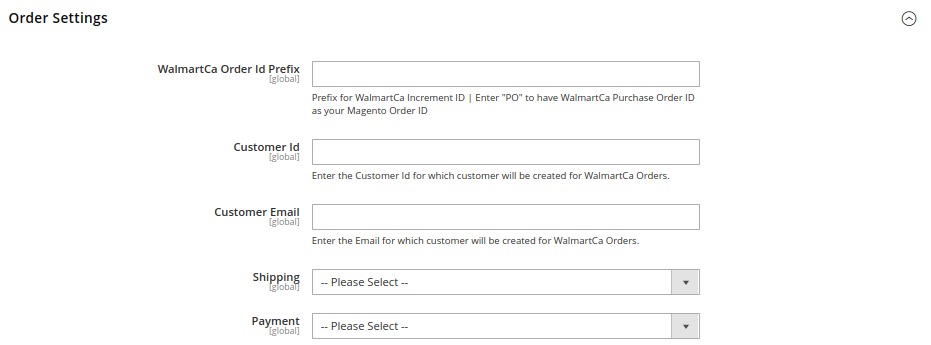
- In the Walmart Order Id Prefix box, enter a text as a prefix for Walmart Canada Increment ID.

- In Customer Id field, enter the customer Id for which customer will be created for Walmart orders.
- In Customer Email field, enter the email for which customer will be created for Walmart Orders.
- In Shipping field, select the shipping method from the options in the drop down list.
- In the Payment field, select the payment method from the options in the drop down list.
- In the Walmart Order Id Prefix box, enter a text as a prefix for Walmart Canada Increment ID.
- Click the Walmart Canada Inventory Rules tab and the tab expands as:


- Under Walmart Canada Inventory Rules do the following steps:
- In Set Inventory on the Basis of Threshold, select Enable to send the inventory based on the threshold.
Only when the admin selects Enable, the other fields appear.
- The section appears as shown in the following figure:
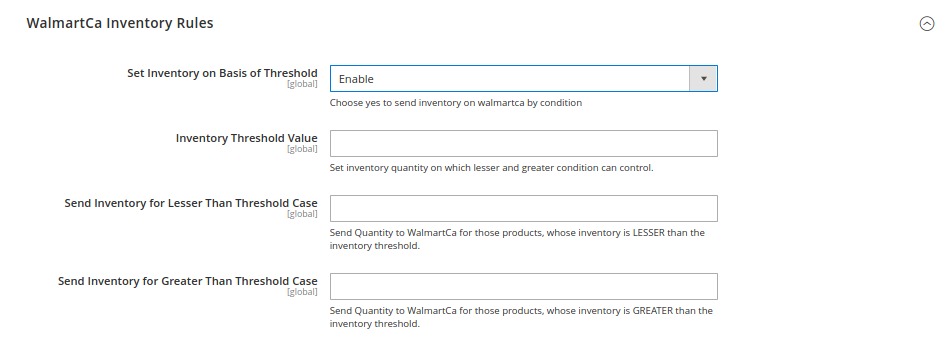
- In the Inventory Threshold Value box, enter the value which you consider to be the minimum for your inventory.
- In the Send Inventory for Lesser Than Threshold Case box, enter the value that needs to be visible on Walmart Ca in case your inventory is lesser than the threshold value that you have set in the earlier parameter.
- In the Send Inventory for Greater Than Threshold Case box, enter the value that needs to be visible on Walmart Ca in case your inventory is more than the threshold value that you have set.
For Example:
Suppose you have set the threshold value of a product to be 500. You have set the greater than the threshold value to say 600 and the lesser than the threshold value to be 300.
Now you have 530 of that product in the inventory, then the number visible on Walmart Ca would be 600. Suppose you sold 33 products and now the value is decreased to be 497 which is below the threshold. The value that will now appear on Walmart Ca be 300.
- In Set Inventory on the Basis of Threshold, select Enable to send the inventory based on the threshold.
- Click on WalmartCa Crons tab and the tab will expand as:
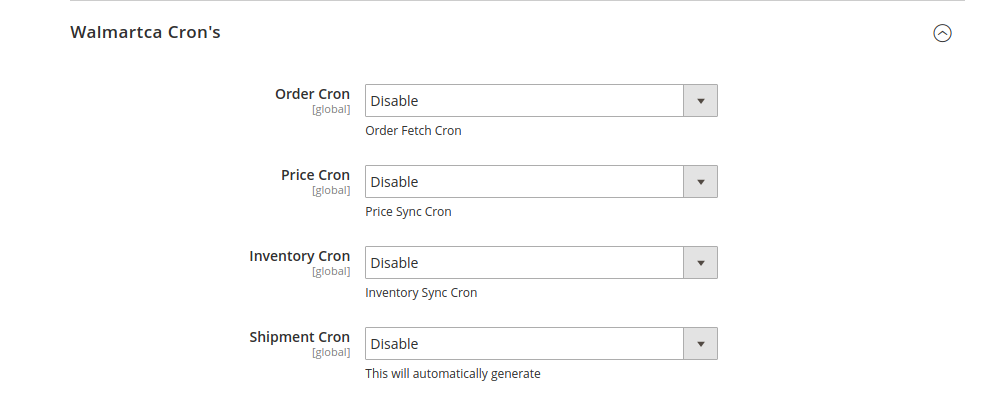
-
- In the Order Cron list, select Enable to enable the order to fetch cron.
- In the Price Cron list, select Enable to enable the price sync cron.
- In the Inventory Cron list, select Enable to enable the inventory sync cron.
- In the Shipment Cron list, select Enable to automatically generate the shipment cron.
-
- Click the Chunk Size Setting tab and it will expand as:
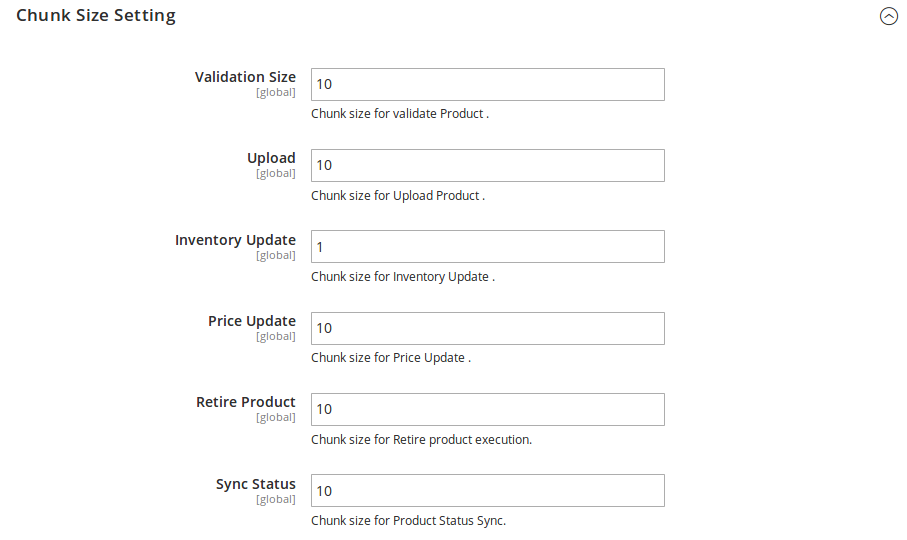
- In the Validation Size field, enter the chunk size for the products. The products that will get validated before being uploaded on Walmart Canada would be the same as the number you enter in this field.
- In the Upload field, enter the number of products that you want to upload in one go from Magento to Walmart Canada.
- In the Inventory Update field, enter the chunk size of the products. The inventory will be updated in one batch for the number of products that you enter in this field.
- In the Price Update field, enter the chunk size for the number of products. The price will be updated in one batch for the number of products that you enter in this field.
- In the Retire Update field, enter the chunk size of the products. The number of products that you will be able to retire on Walmart would be the same as the number that you enter in this field.
- In the Sync Status field, enter the chunk size of the products. The number of products that you will be able to sync the status for would be same as the number that you enter in this field.
- Click on the section API Calling Switch, it is expanded as shown below:

- Under API Calling switch, in the Price and Inventory By Post box, you have to always select Yes for price and inventory update.
- Click on the Save Config button. The configuration settings will be saved.


