3.1.Add Vendor Attribute and Properties Tab detail ↑ Back to Top
Admin can create a new vendor attribute by clicking on the “Add New Attribute” button.
Properties Tab
It shows all the properties for new attribute information.

Default Label: To identify the attribute.
Attribute Code – The vendor attribute code must be unique. It cannot be updated later.
Input type – The type of the vendor attribute can be set as text/dropdown/multi-select/File Type etc. It cannot be updated later.
Value Required – If set to Yes, it will become a required field.
Default Value – Some default value can be provided here so that, in case no option value has been provided then this value can be used.
Unique Value – If set to Yes, it won’t allow duplicate values to be entered.

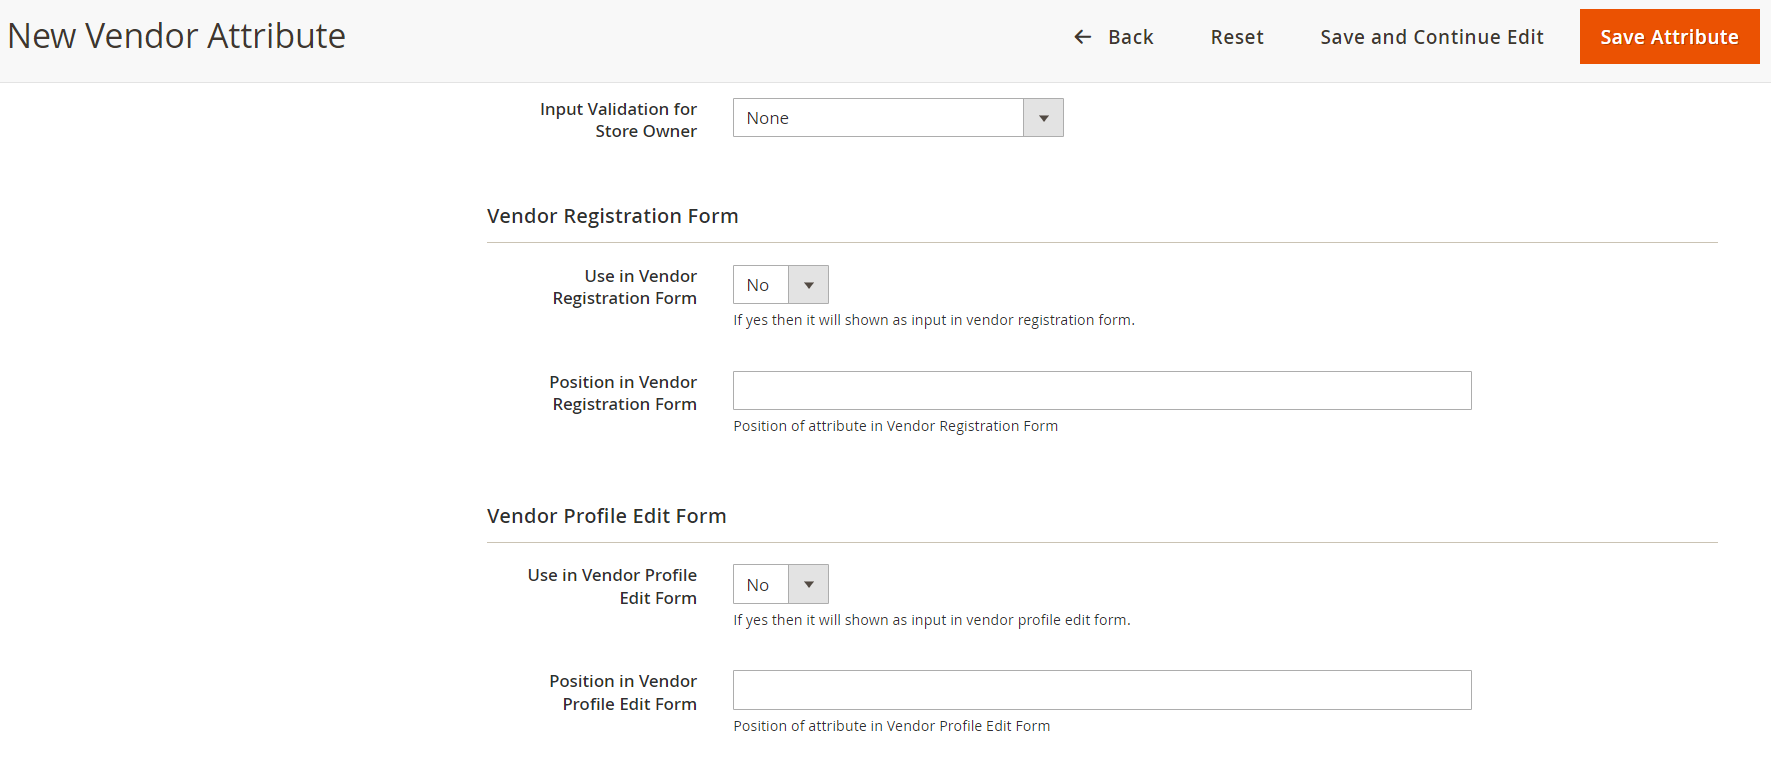
Input Validation for Store Owner – This is used to provide validations to the attribute value being entered, for example, it can be only numbers or characters, etc.
Vendor Registration Form
Use in Vendor Registration Form – If set to yes, it will appear in the Vendor registration form.
Position – This is used to set sort order i.e. the position where it should be shown.
Vendor Profile Edit Form
Used in Vendor Profile Edit Form – If set to yes, it will appear in the Vendor Profile Edit form.
Position – This is used to set sort order i.e. the position where it should be shown.

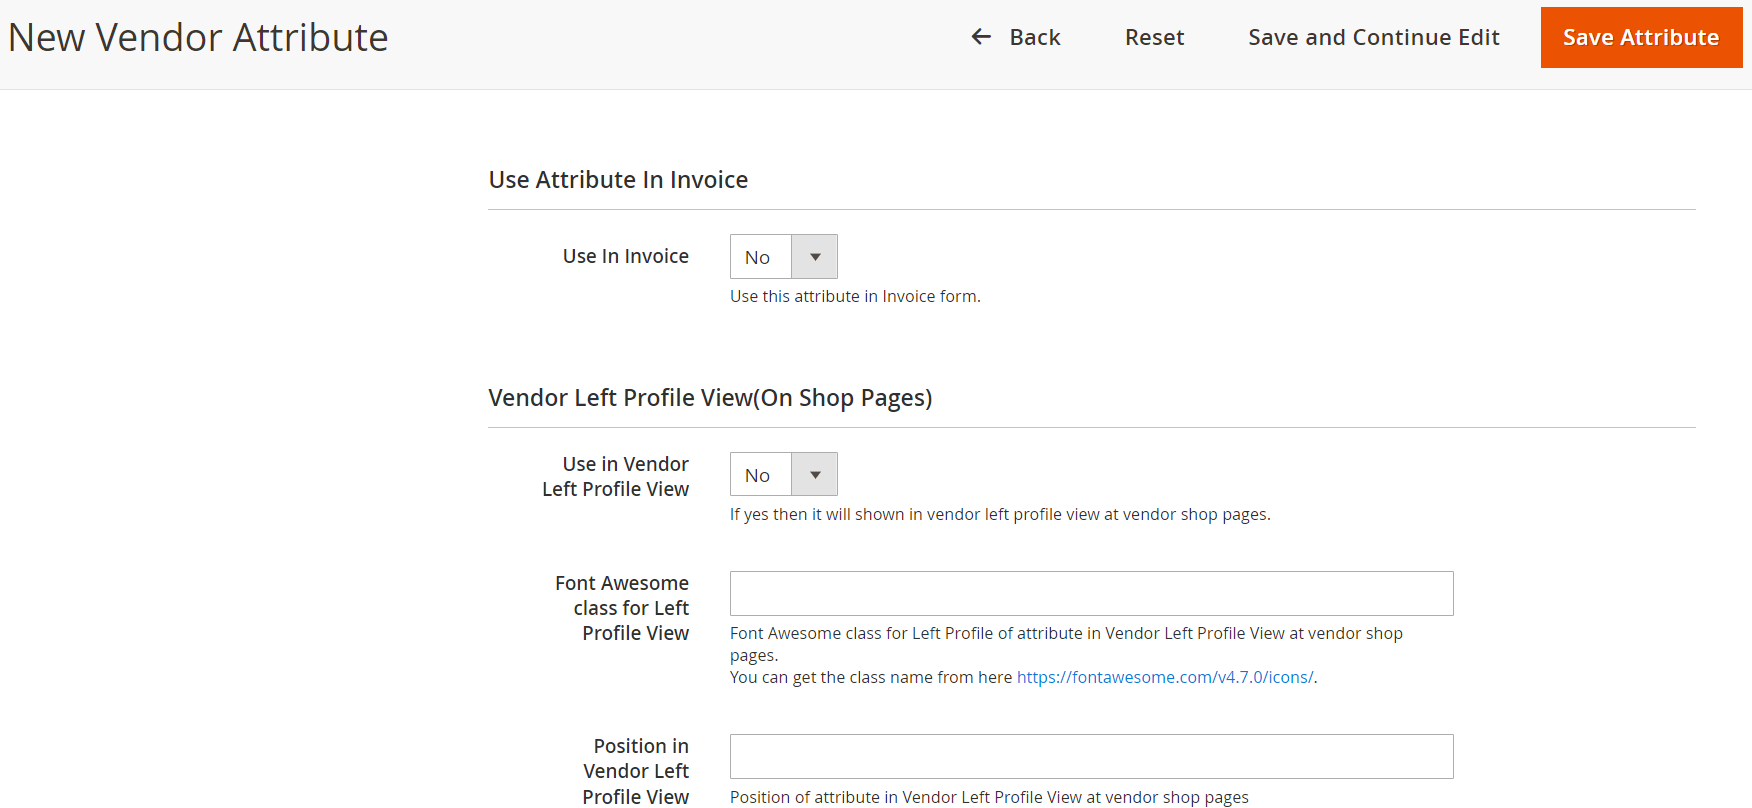
Use Attribute in Invoice
Use in Invoice: If set to Yes, then this particular attribute will be visible in Invoice form as well.
Vendor Left Profile view (On Vendor shop pages)
Use in Vendor Left Profile View – If set to Yes, then it will show in the vendor left profile view on vendor shop pages.
Font Awesome class for Left Profile View – It is the font class for the particular attribute. You can get the class name from here: https://fontawesome.com/v4.7.0/icons/.
Position – This is used to set sort order i.e. the position where it should be shown.


