
4.2.Select the Required Store during Checkout ↑ Back to Top
To select the required store during the checkout
- Go to the product page.
- Move cursor over the required product.

The Add to Cart button appears and the product display appears as shown in the following figure: - Click the Add to Cart button.
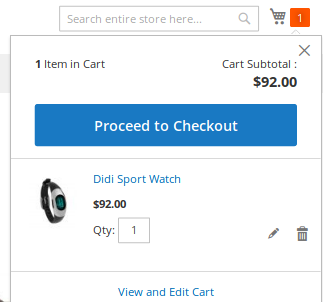
The selected product is added to the cart. - Click the Cart icon
The GO TO CHECKOUT dialog box appears as shown in the following figure:
Click the Go to Checkout button.
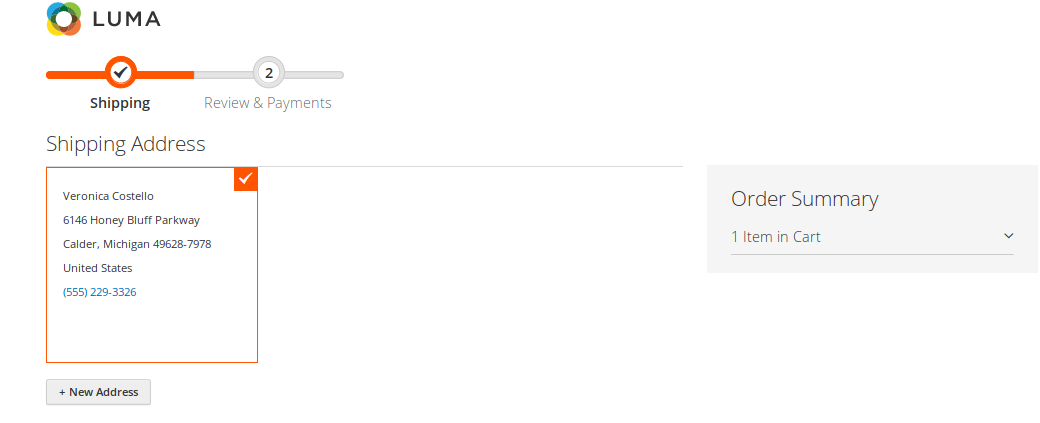
- The page appears as shown in the following figure:
Based on the selected Shipping Address, the associated shipping Methods appear under the Shipping Methods section.
Note: Only if the Country in the selected address is associated with the Store Pickup shipping method, the Method Name given by the admin appears along with the Admin name under the Shipping Methods section.
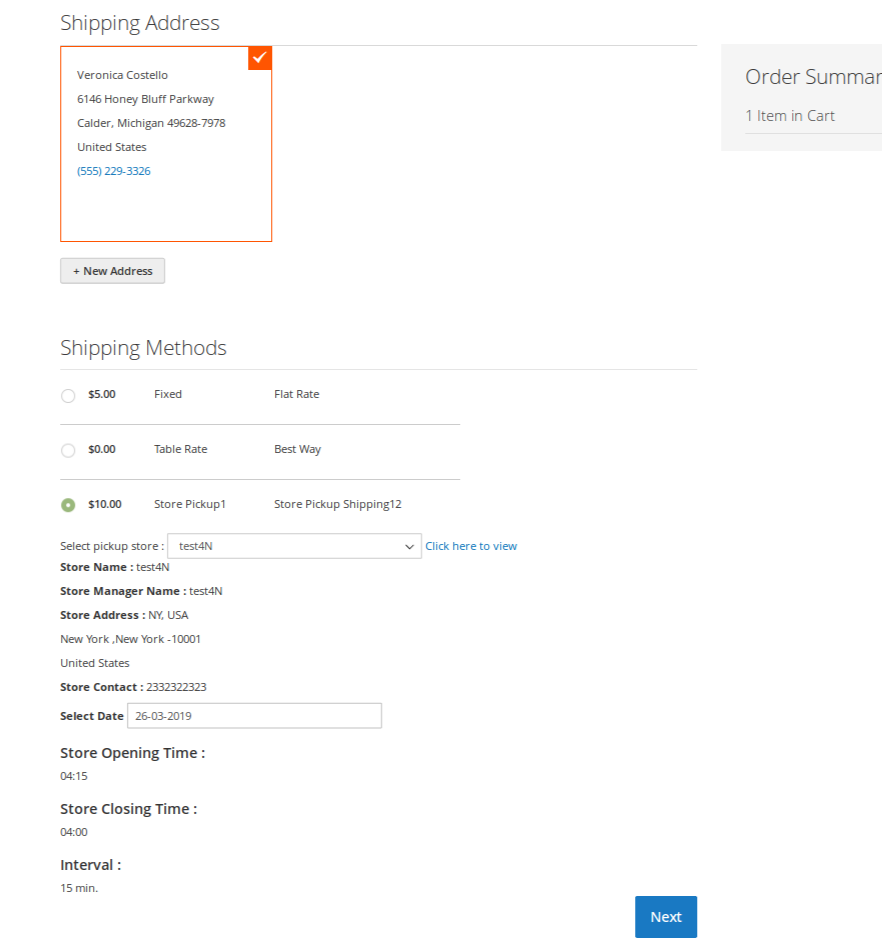
- Click to select the provided vendor store pickup method name.
The section appears as shown in the following figure: - In the Select Store list, select the required Store.
Or Click the Click here to view link.
The Google map appears. - Click the required store location and then click the OK button.
The selected store appears in the Select Stores list and the store details appear below as shown in the following figure: - In the Select Date box, click to select the suitable date.
A calendar appears, select the required date. If the store is opened on the selected date then the date appears in the Select Date box.
The Store Opening time, Closing time, and the Interval appears
- Click the Next button, and then click the Place Order button.
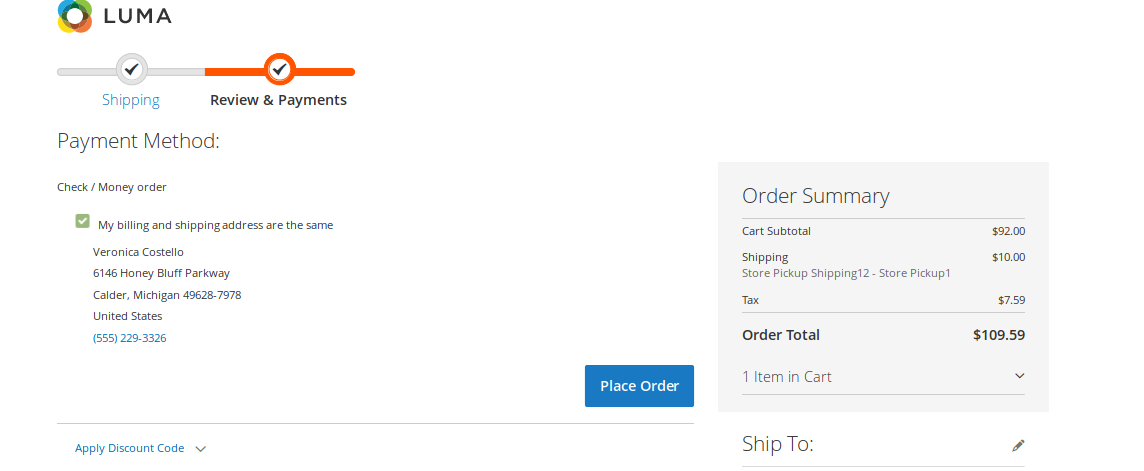
The order is placed.
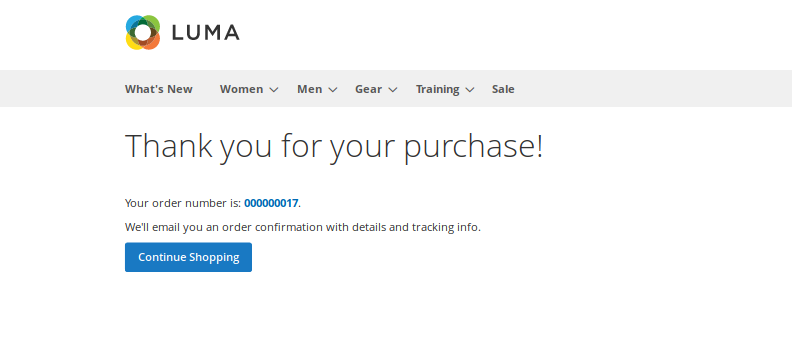 In case, the customer want’s to view their order, then can go to the My Account section.
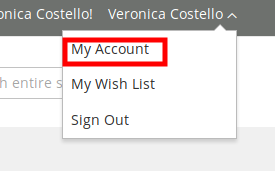 On clicking My Account section, the customer would be redirected to the My Account page.
From the view orders grid available, click on the View Order for the order recently placed.
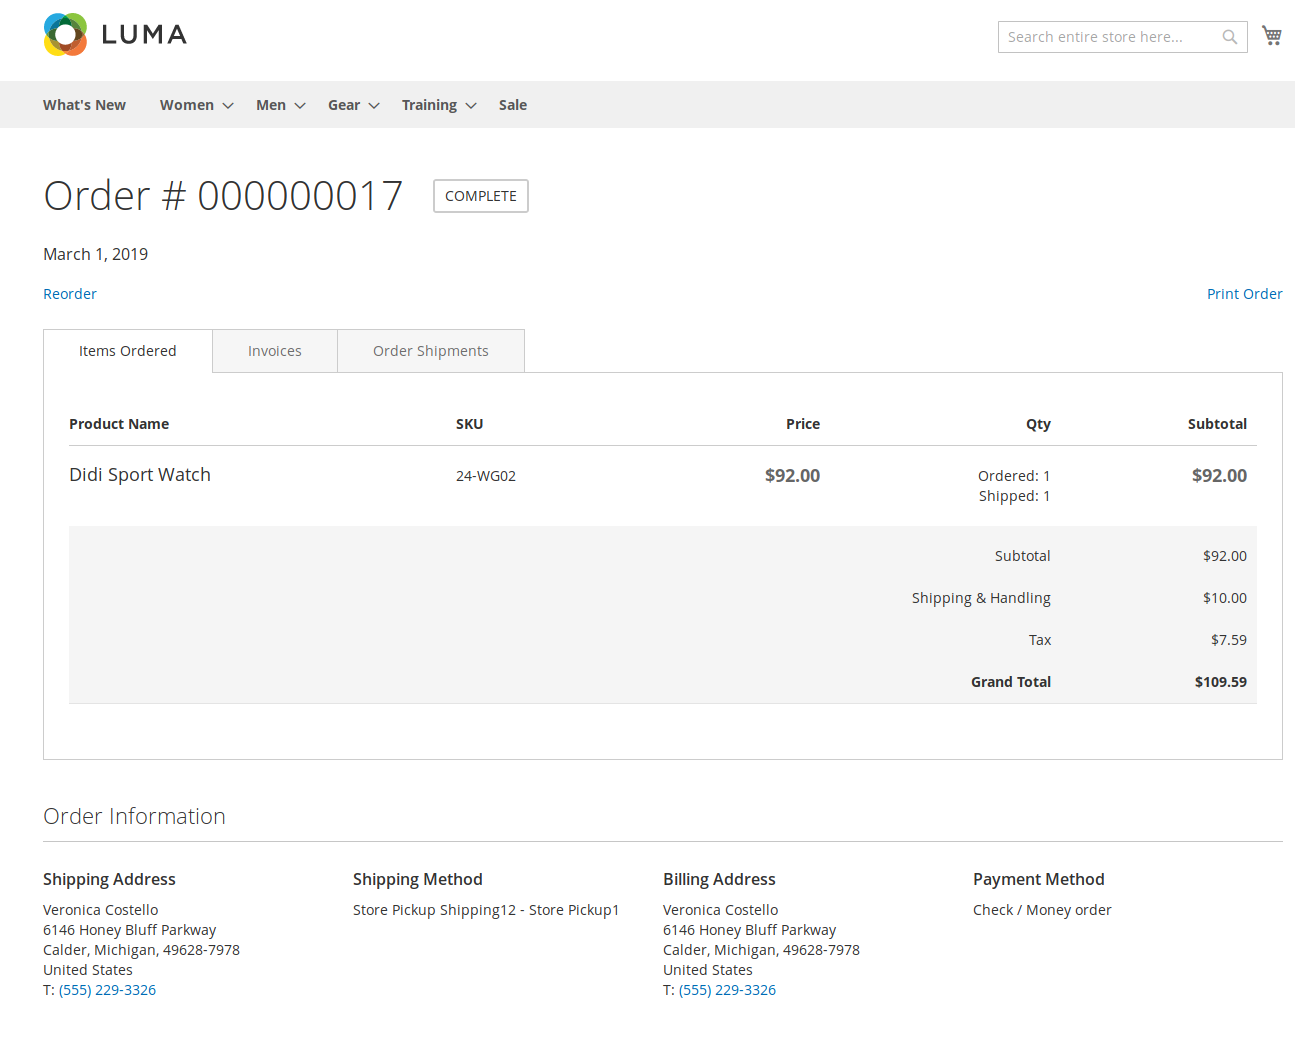 The orders details would be displayed as shown in the above figure.
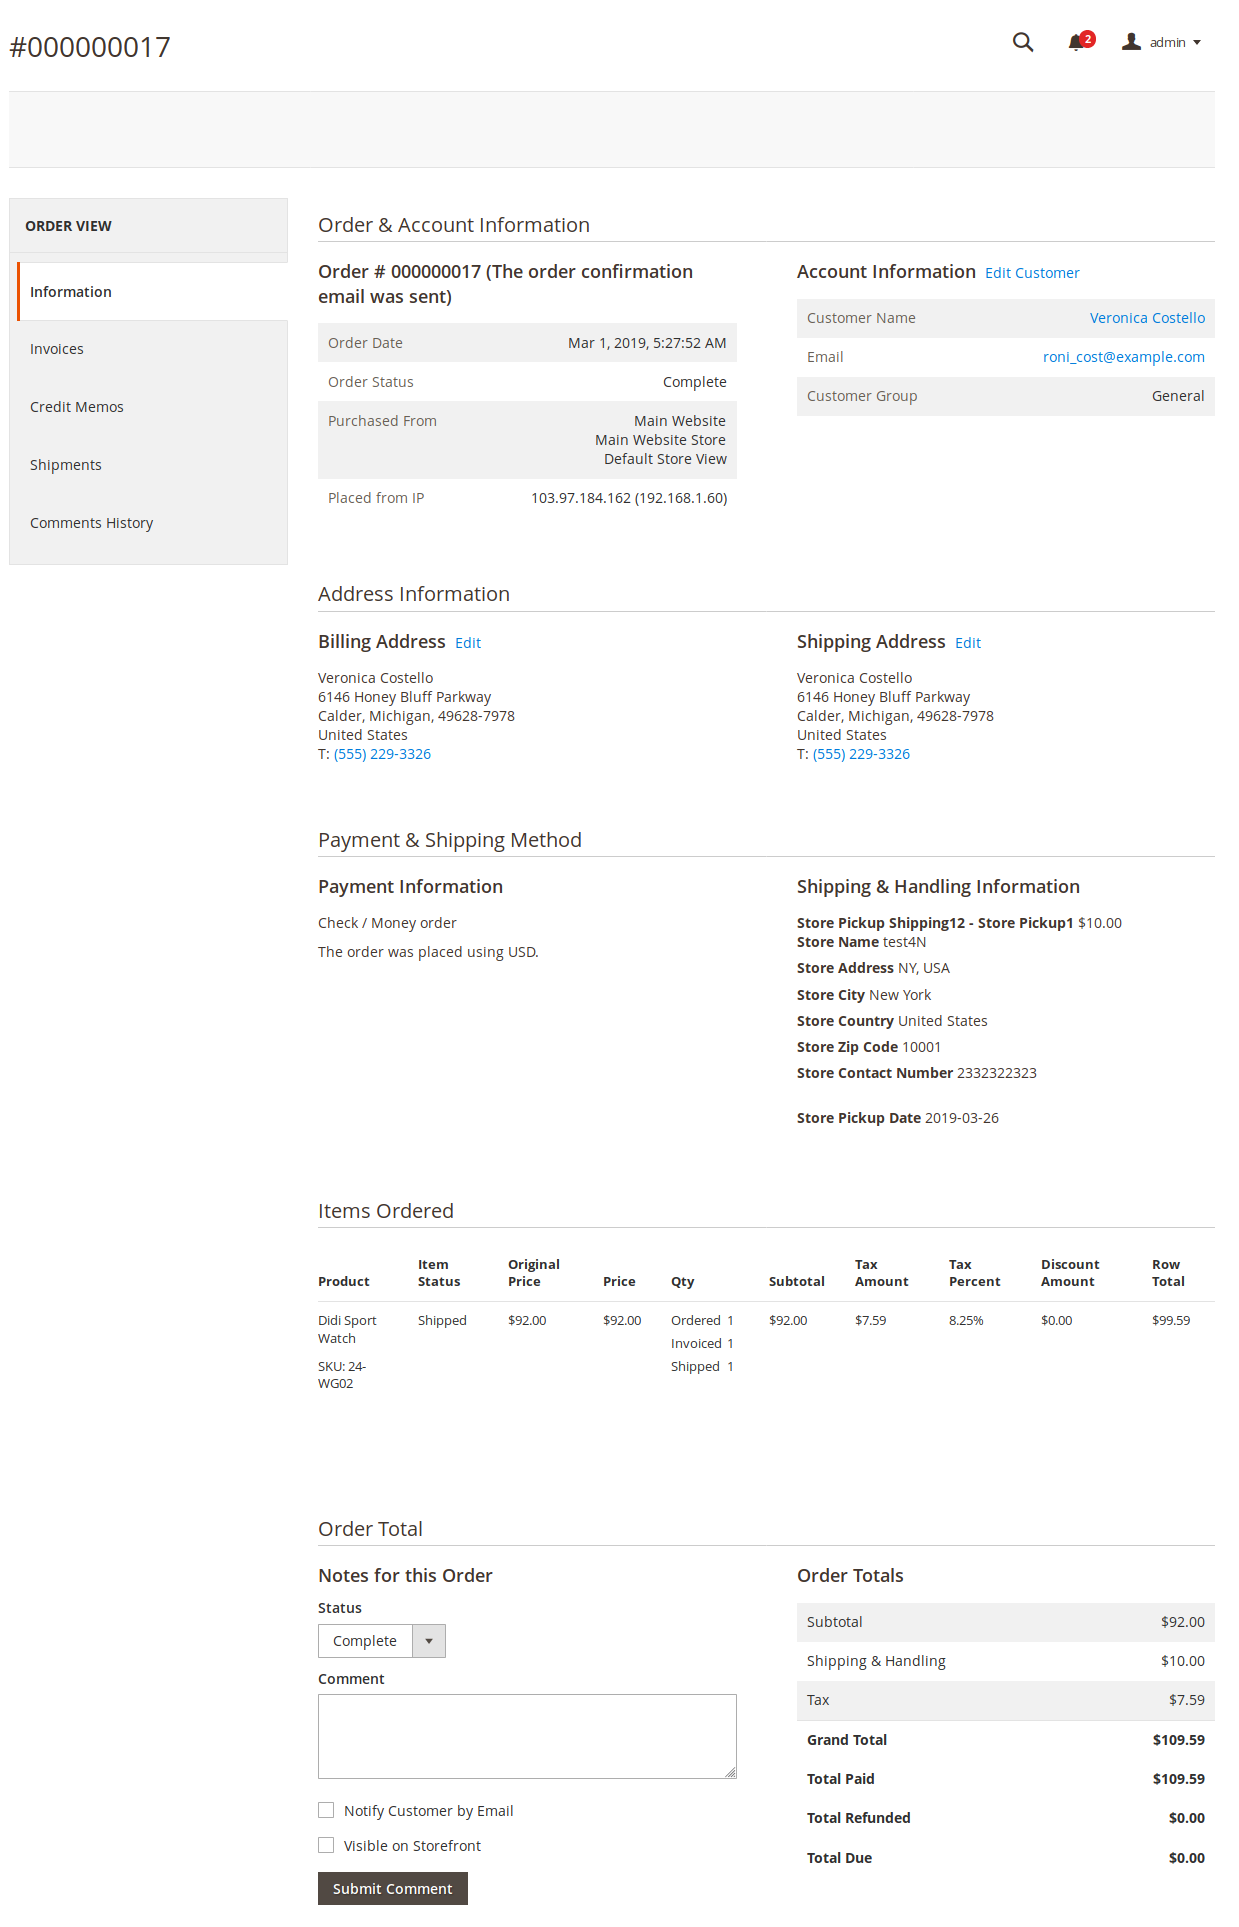
Admin side view order
From the left navigation bar present in the admin panel click on the Sales-> Orders.
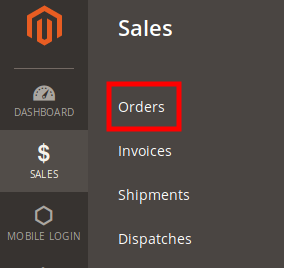
The admin would be taken to the Order page, which consist of all the orders placed from the customers.

In order to view the orders placed by the customers, just click on the View for the order admin wants to check. The Admin could able to view the details of the products placed in the order.
×


