3.Configuration ↑ Back to Top
To Configure the Rakuten US Extension,
- Goto Magento 2 admin panel.
- On the left navigation bar, click the Rakuten Integration menu.
The menu appears as shown below:

- Click on Configuration.
The Rakuten Configuration page appears as shown:

- In the right panel click Rakuten API Settings.
The tab is expanded as shown below:

- In the Enabled, select the option Yes to enable the extension.
- In the BaseUrl, enter the URL shown in the above image.
- In the Secret Key, enter the secret key you have received from the Rakuten marketplace.
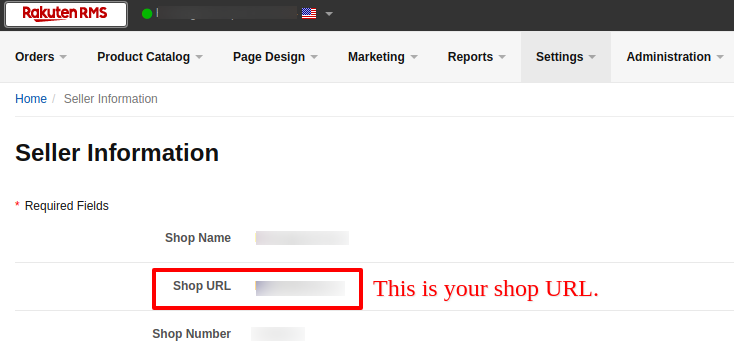
- In the ShopURL, paste the URL from the seller account.

- In Orders Fetch Start Date, select the date to start fetching orders.
- In Debug Log, select the option Yes to fetch issues.
- Now in the right panel, click on Rakuten Order Settings.
The tab expands as shown below:

- In the Increment Id Prefix, enter the prefix for Rakuten increment ID.
- In Order Email, enter the email on which you wish to receive orders.
- In Force Product Create an Order, Enable it to create forced product orders.
- In the Mock Order, select Enable to create test order.
- Scroll down and click on Rakuten Inventory Settings, the section is expanded as shown below:

- Under Rakuten Inventory Settings do the following steps:
- In Warehouse, enter the Warehouse name for Rakuten inventory.
- Now in the right panel click on Rakuten Cron Settings.
The tab expands as shown below:

- In Rakuten Order Cron, select Enable to fetch orders through cron.
- In Rakuten Price/Full Item Cron, select Enable to price syncing through cron.
- In Rakuten Inventory Cron, select Enable to synchronize the inventory of the Cron.
×


