3.4.Change the City Status ↑ Back to Top
To change the statuses of the cities
- Go to the Admin panel.
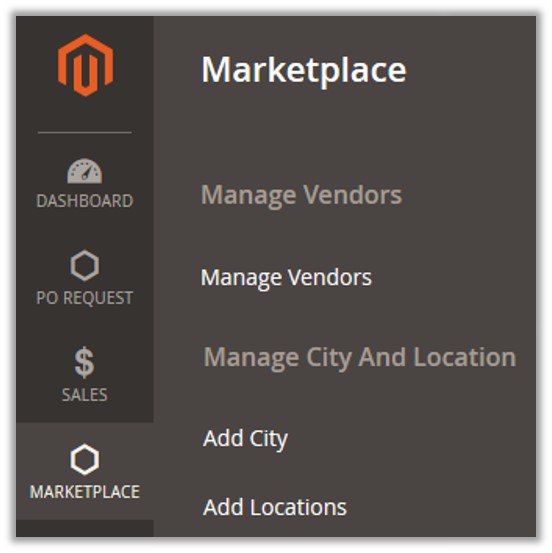
- On the left navigation bar, click the Marketplace menu.
The menu appears as shown in the following figure:

- Click Add City.
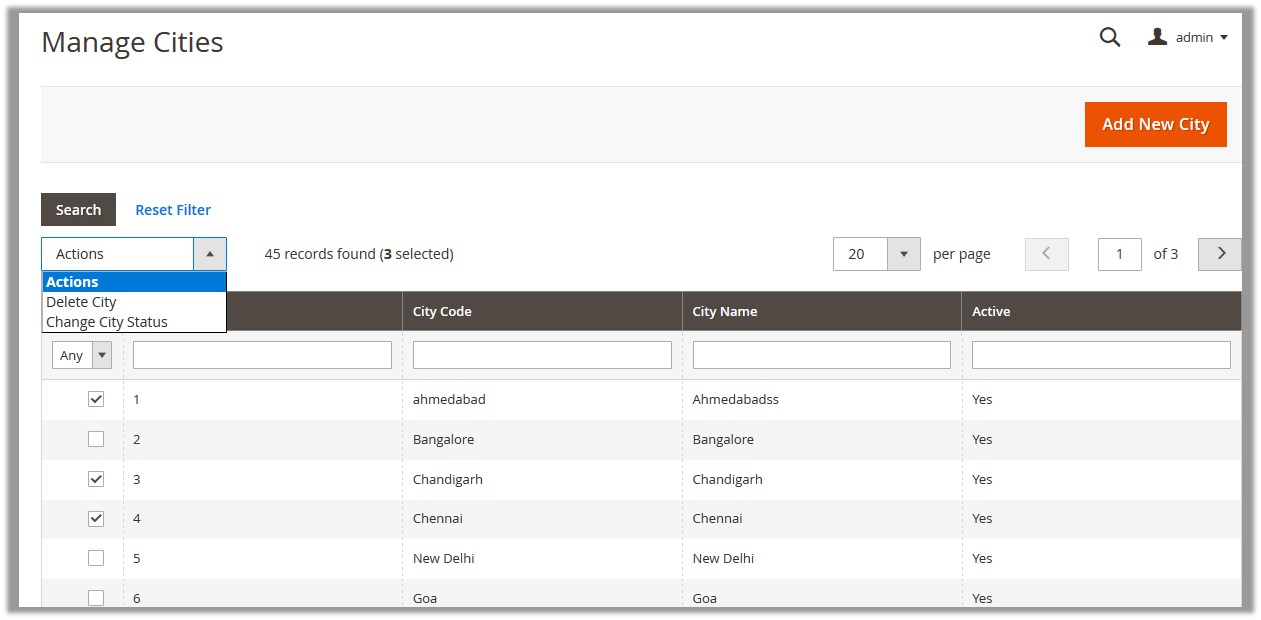
The Manage Cities page appears as shown in the following figure:

- Select the checkboxes associated with the cities to change the status of the selected cities.
- In the Actions list, select the Change City Status option.
The fields appear as shown in the following figure:

- In the Active list, select the required option.
- Click the Submit button.
A confirmation dialog box appears. - Click the OK button.
The statuses of the selected cities are changed accordingly.
×


