
Add A New Vendor CMS Page
To add a new Vendor CMS page
- Go to the Vendor panel.
- On the left navigation bar, click the Vendor CMS menu.
The menu appears as shown in the following figure:
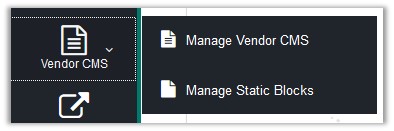
- Click Manage Vendor CMS.
Vendor CMS Page appears as shown in the following figure:
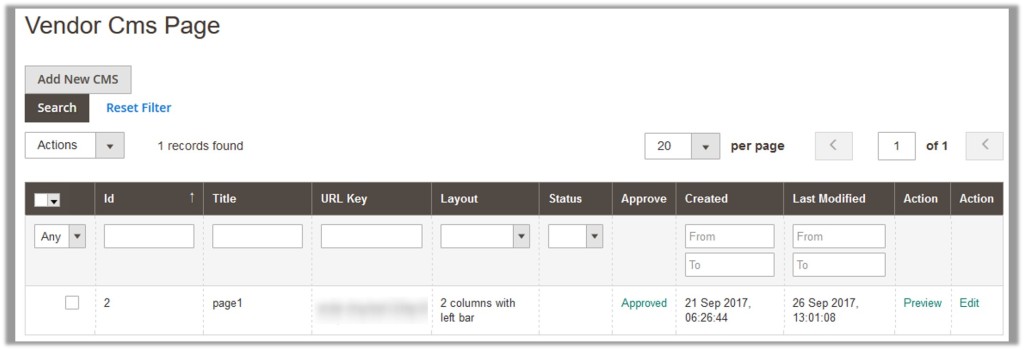
- Click the Add New CMS button.
The Add New CMS Page appears as shown in the following figure:
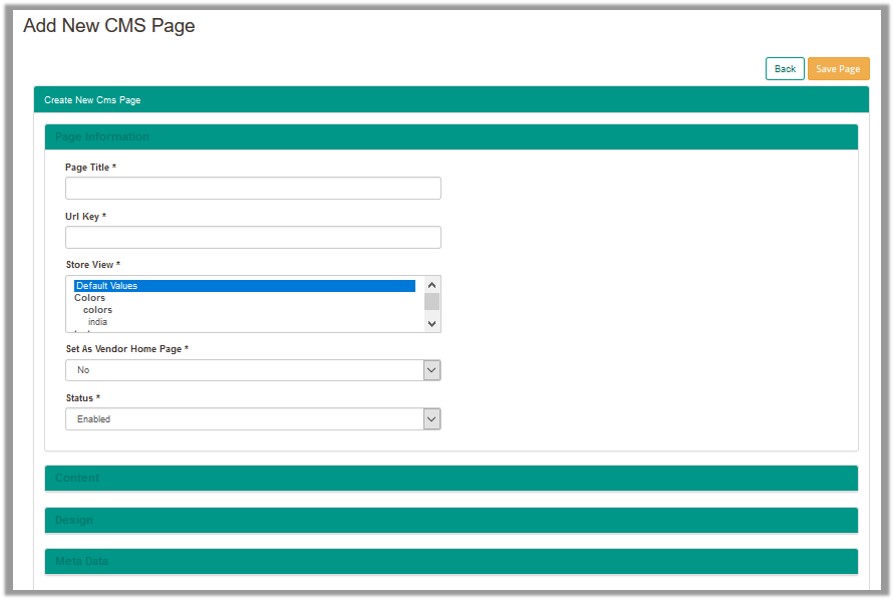
- Under the Page Information section, do the following steps:
- In the Page Title box, enter the title of the Vendor CMS page.
- In the URL Key box, enter the vendor shop URL key.
- In the Store View list, select the required store view.
- In the Set As Vendor Home Page list, select the required option to set the current CMS page as the Vendor Home page or not.
- In the Status list, select one of the following options:
- Enabled: Enables the Vendor CMS page.
- Disabled: Disables theVendor CMS page.
- Scroll down to the Content tab and click the Content link.
The tab is expanded and the corresponding fields appear under the Content section as shown in the following figure:
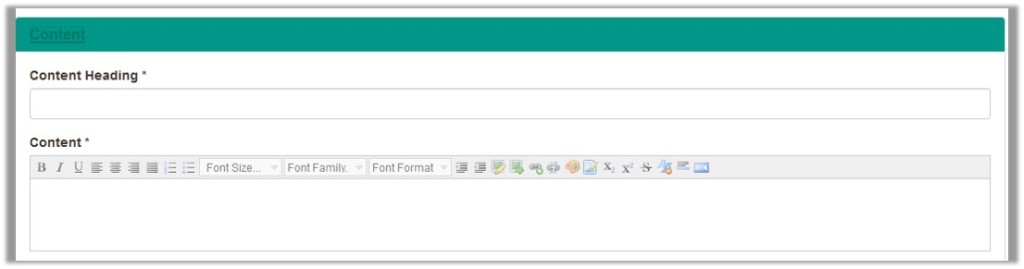
- Under the Content section, do the following steps:
- In the Content Heading box, enter the heading of the content.
- In the Content box, enter the required content.
Tip: Add vendor cms static block. For instance, {{block class=”Ced\CsCmsPage\Block\StaticBlock” block_id=”block1″}}
- Scroll down to the Design tab and click the Design link.
The tab is expanded and the corresponding fields appear under the Design section as shown in the following figure:
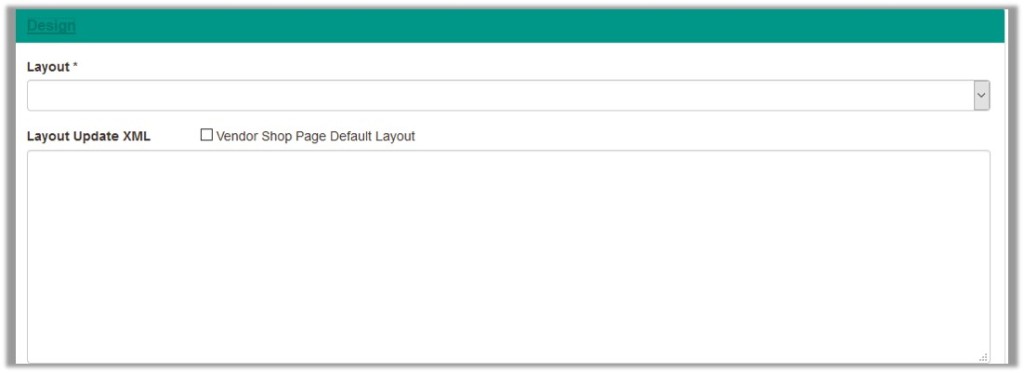
- Under the Layout section, do the following steps:
- In the Layout list, select the required layout.
- In the box, enter the required value.
Tip: Add Vendor CMS by use of Layout XML. For instance, <referenceContainer name=”content”> <block class=”Ced\CsCmsPage\Block\StaticBlock” name=”xyz”> <arguments><argument name=”block_id” xsi:type=”string”>1</argument></arguments></block></referenceContainer>
- Scroll down to the Meta Data tab and click the Meta Data link.
The tab is expanded and the corresponding fields appear under the Meta Data section as shown in the following figure:
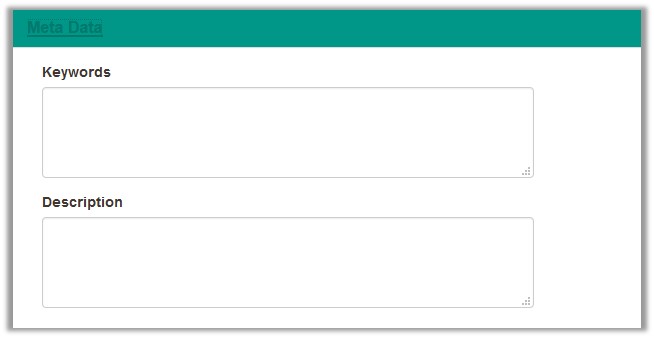
- Under Meta Data, enter the following information:
- Keywords: A specific word or phrase that describes the content of the Vendor CMS page in the context of search engine optimization.
- Description: The information that summarizes the content of the Vendor CMS page.
- Click the Save Page button.
The page is saved and the view moves to the Vendor CMS Page.
×


