
Add A New Priority
To add a new priority
- Go to the Admin panel.
- On the left navigation bar, click the SUPPORT SYSTEM menu.
The menu appears as shown in the following figure:
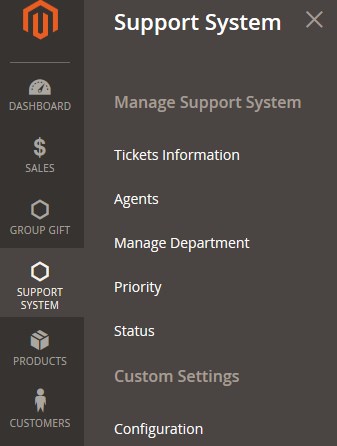
- Click Priority.
The Priority page appears as shown in the following figure:
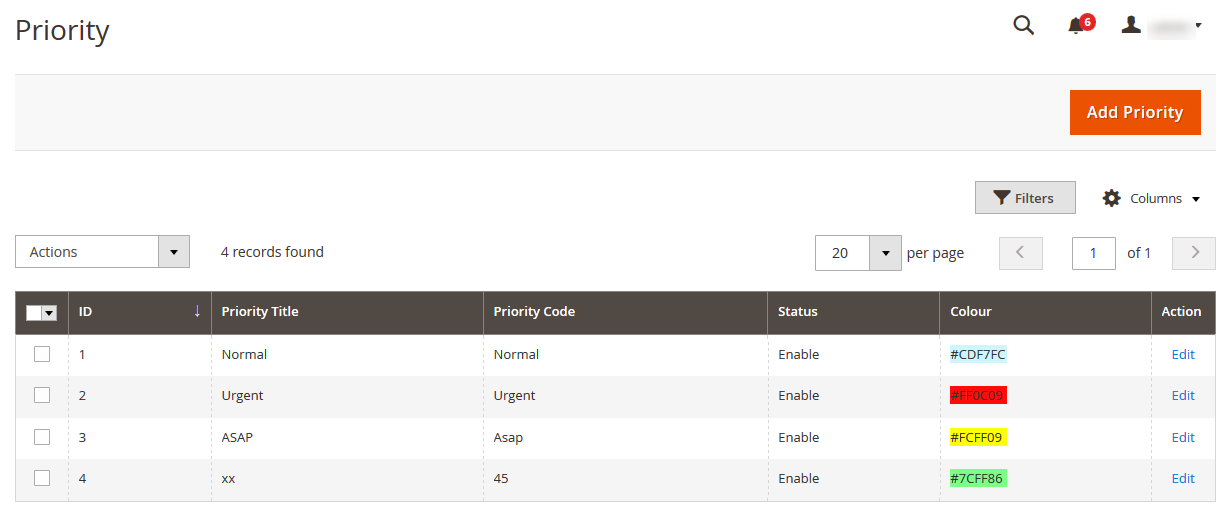
- Click the Add Priority button.
The Priority page appears as shown in the following figure:
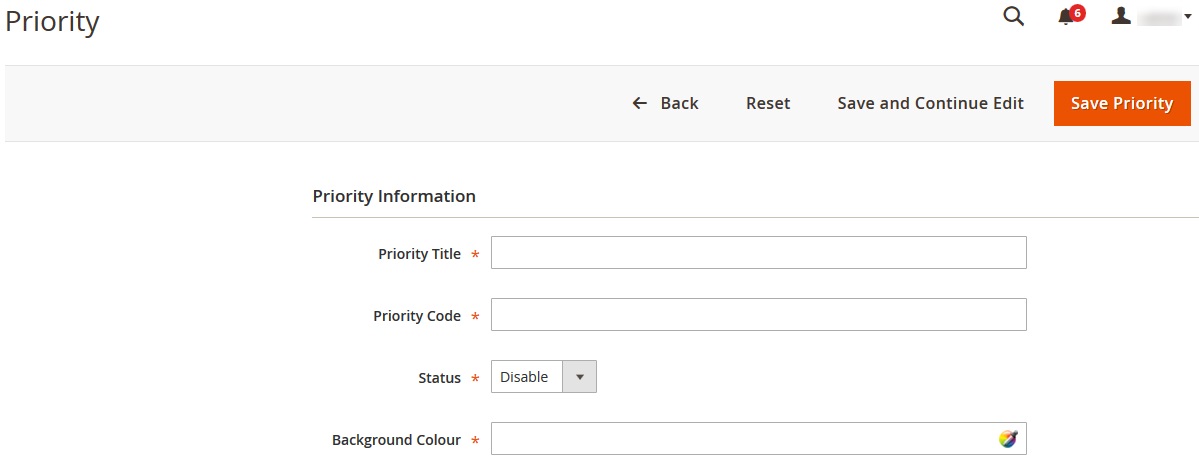
- Under Priority Information, do the following steps:
- In the Priority Title box, enter the title of the priority.
- In the Priority Code box, enter the code of the priority.
- In the Status list, select the required status to enable or disable the priority.
- In the Background Colour box, click to display the color palette.
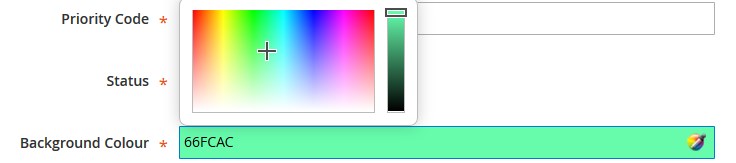
- Move the cursor (Plus sign) over the required color.
The color and the color code appears in the Background Colour box
- Move the cursor (Plus sign) over the required color.
- Click the Save Priority button.
The priority is saved and a success message appears on the Priority page. Also, the created priority is listed on the page.
×


