
Facebook Configuration Settings
Once the extension is successfully installed in the Magento 2 store, the FACEBOOK menu appears on the left navigation bar of the Magento 2 Admin panel. The merchant has to first create a store through their Facebook account. Once the store is created in the Facebook.com website, they receive an App Id, which can be used while setting up the configurations in the Magento 2 Admin panel.
To set up the configuration settings in the Magento 2 Admin panel
- Go to the Magento 2 Admin panel.
- On the left navigation bar, click the FACEBOOK menu.
The menu appears as shown in the following figure:
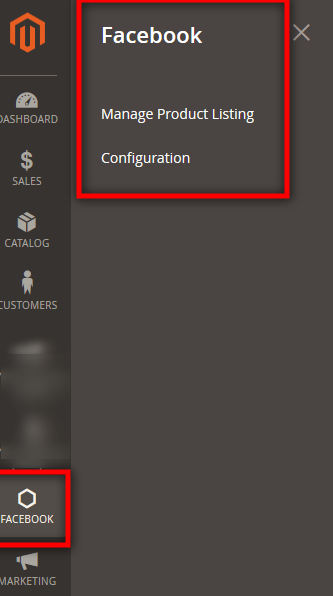
- Click Configuration.
The Configuration page appears as shown in the following figure:
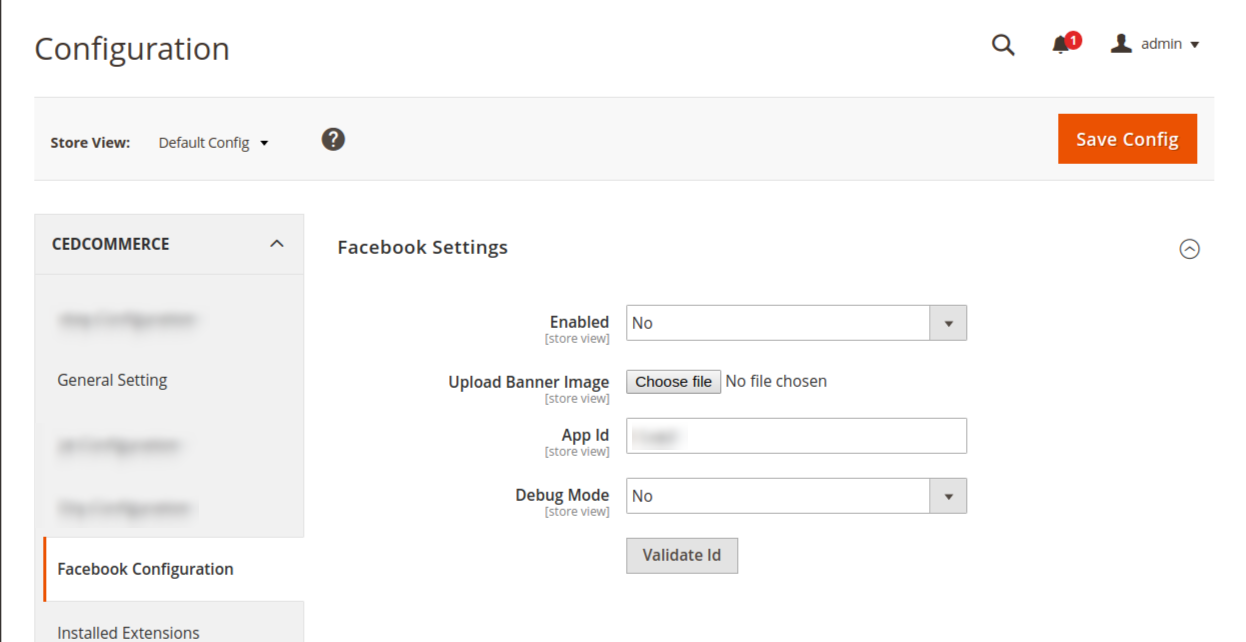
- Click on the Enabled,
- Select Yes to Enable the extension
- Select No to disable the extension.
In Upload Banner Image, Upload the Banner Image for the background of your shop.
In App Id, Enter the Id fetch from your seller panel.
How to get the Facebook App Id?
- Go to developer.facebook.com
- Click on the Log In Icon to Login your Account.
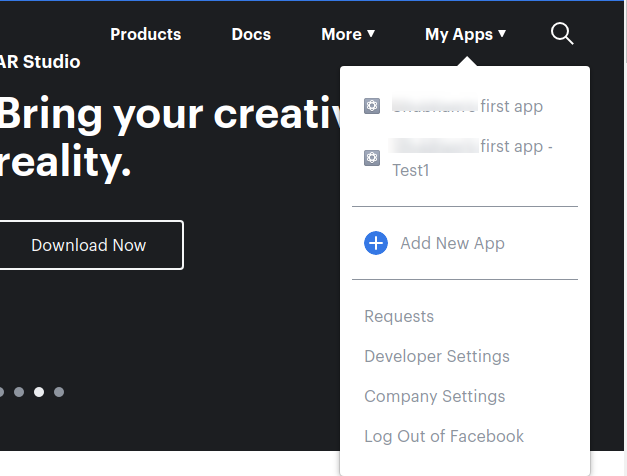
- After login click on the My Apps Icon to Create an App.
- Click on Add new Apps, as you can see in the following image.
A page will be displayed to enter the App name and your email Id as given in the below figure.
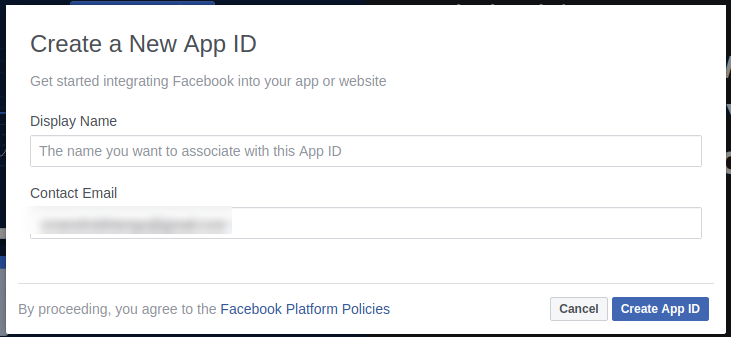
- In Display Name, Enter the name of your App Id which you want to create.
- In Contact Email, Enter your Email Id.
- After Entering the details click on the button Create App ID
After submitting the form, you can see your App ID in the given below figure.
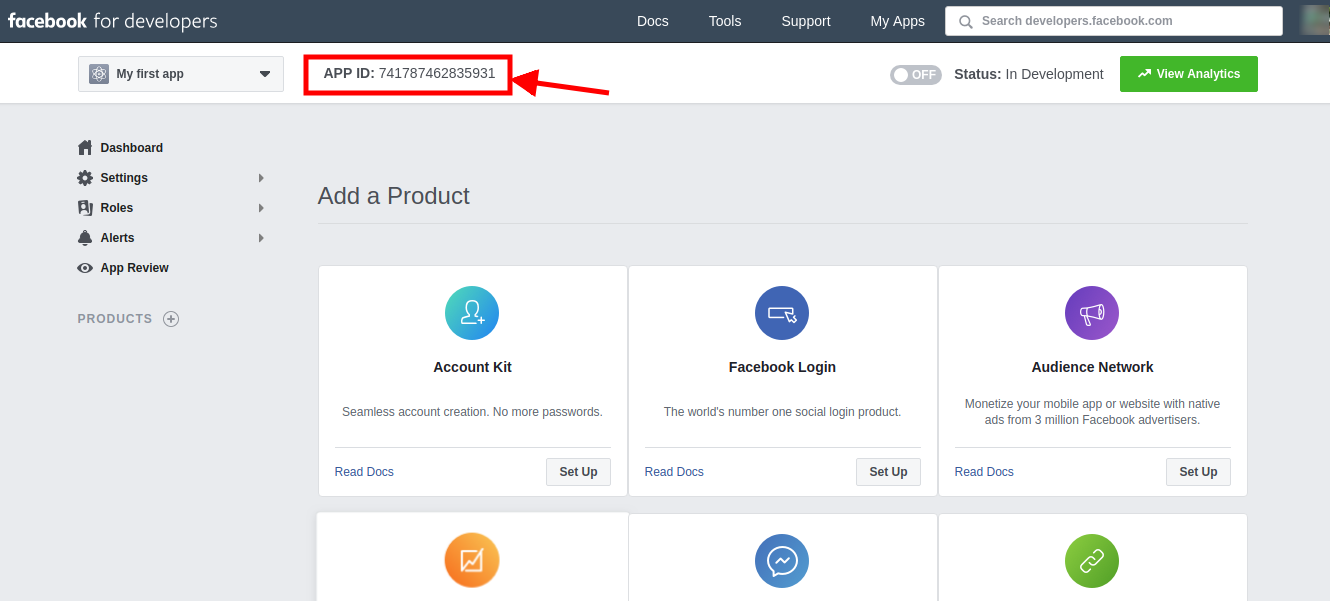
- Copy the App ID and paste it, in the configuration setting of the Facebook Store as given in the following figure.
- In Debug Mode
- Select Yes, To identify the error
- Select No, To disable the debug mode
- Click on the Validate Id button to validate the credentials.
Now, Click on the save config to save the configuration.


