
4.1.Manage Account ↑ Back to Top
TO MANAGE ACCOUNTS ON EBAY,
- Go to eBay Magento Dashboard
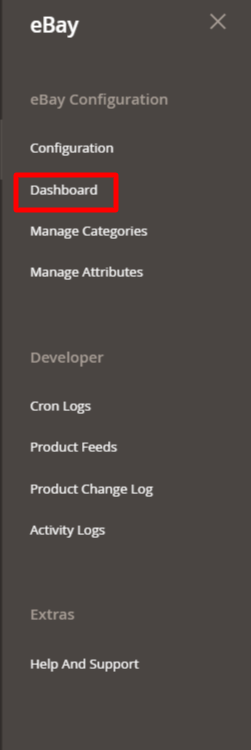
- Click on Magento Account on eBay Multichannel Dashboard
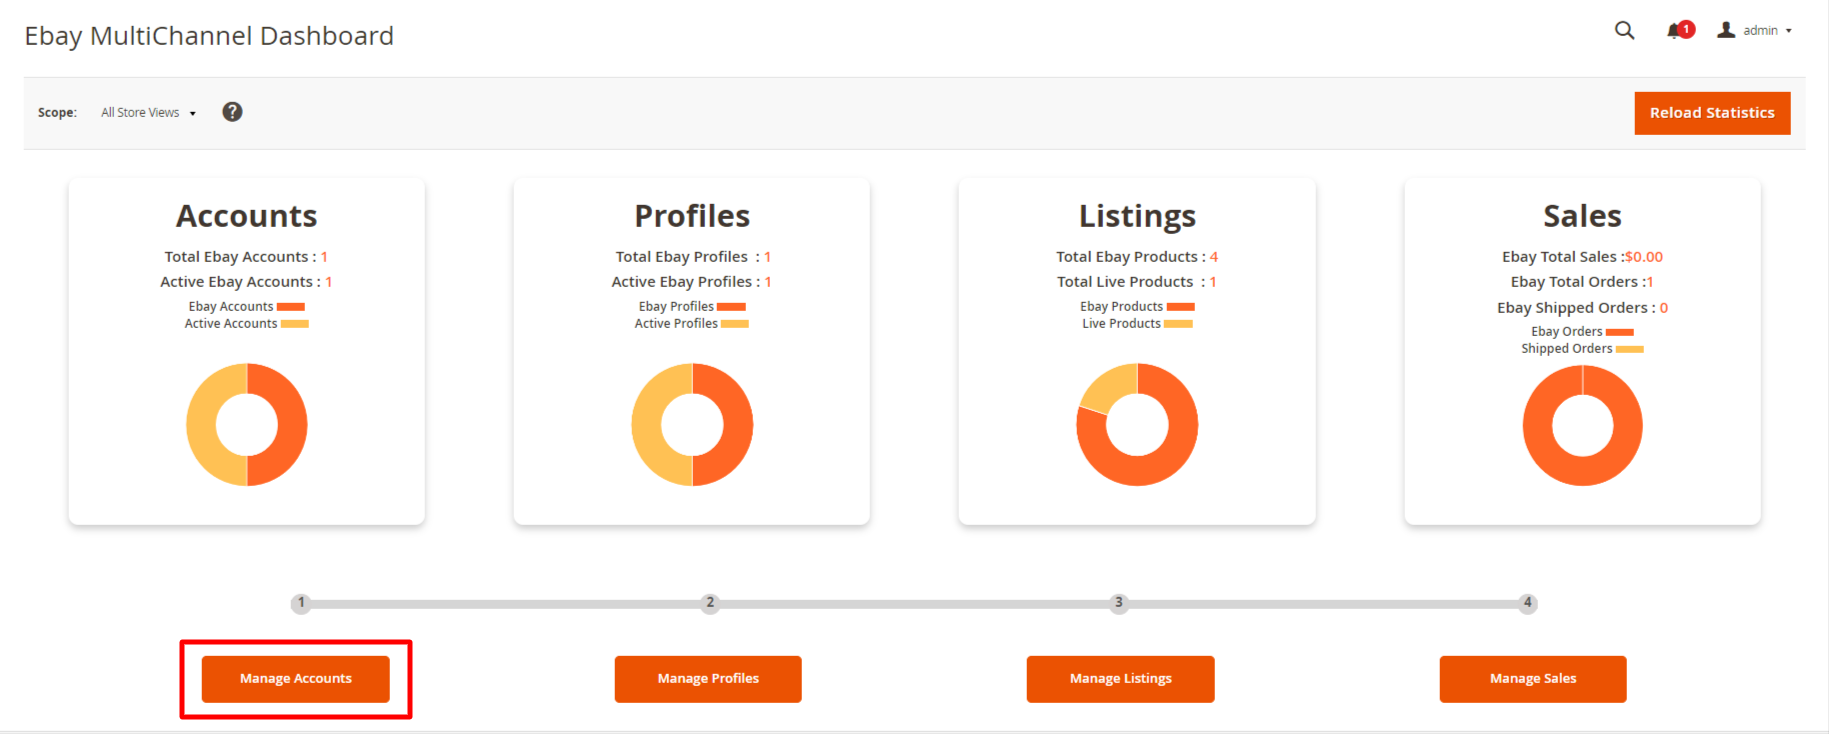
- When the menu appears, click on Manage Accounts.
On clicking it, you will be navigated to the page as shown below:

- To add a new account, click on Add Account button on the top right corner.
You’ll be redirected to a new page:

- Save the account details, and then navigate to the subsequent tab named Token Fetch.
- Access the Token Fetch Tab and trigger the token fetching procedure by selecting the Fetch Token button.

- After fetching the token click on the Fetch other details button. The details of the account will be fetched from the eBay store to the Magento store.
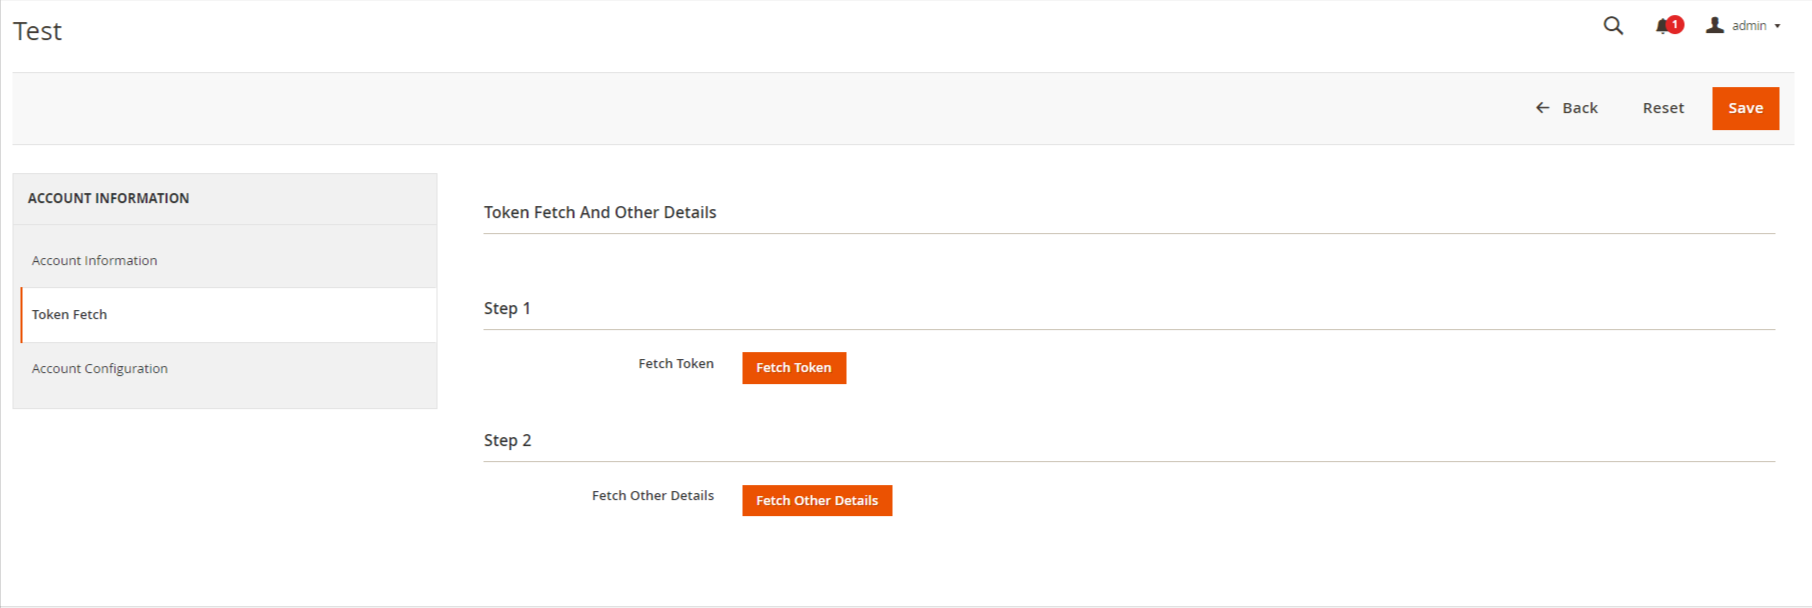
- When details are fetched then move to Account Configuration. Click on Add Account Configuration.

- You will be navigated to a new page of Account Configuration Information.

- In Configuration Code, Enter the code you wish to remember your configuration with. This is totally for your own purpose so that you might not get confused in different configurations.
- Now click on Required Configuration, and this page will open up:
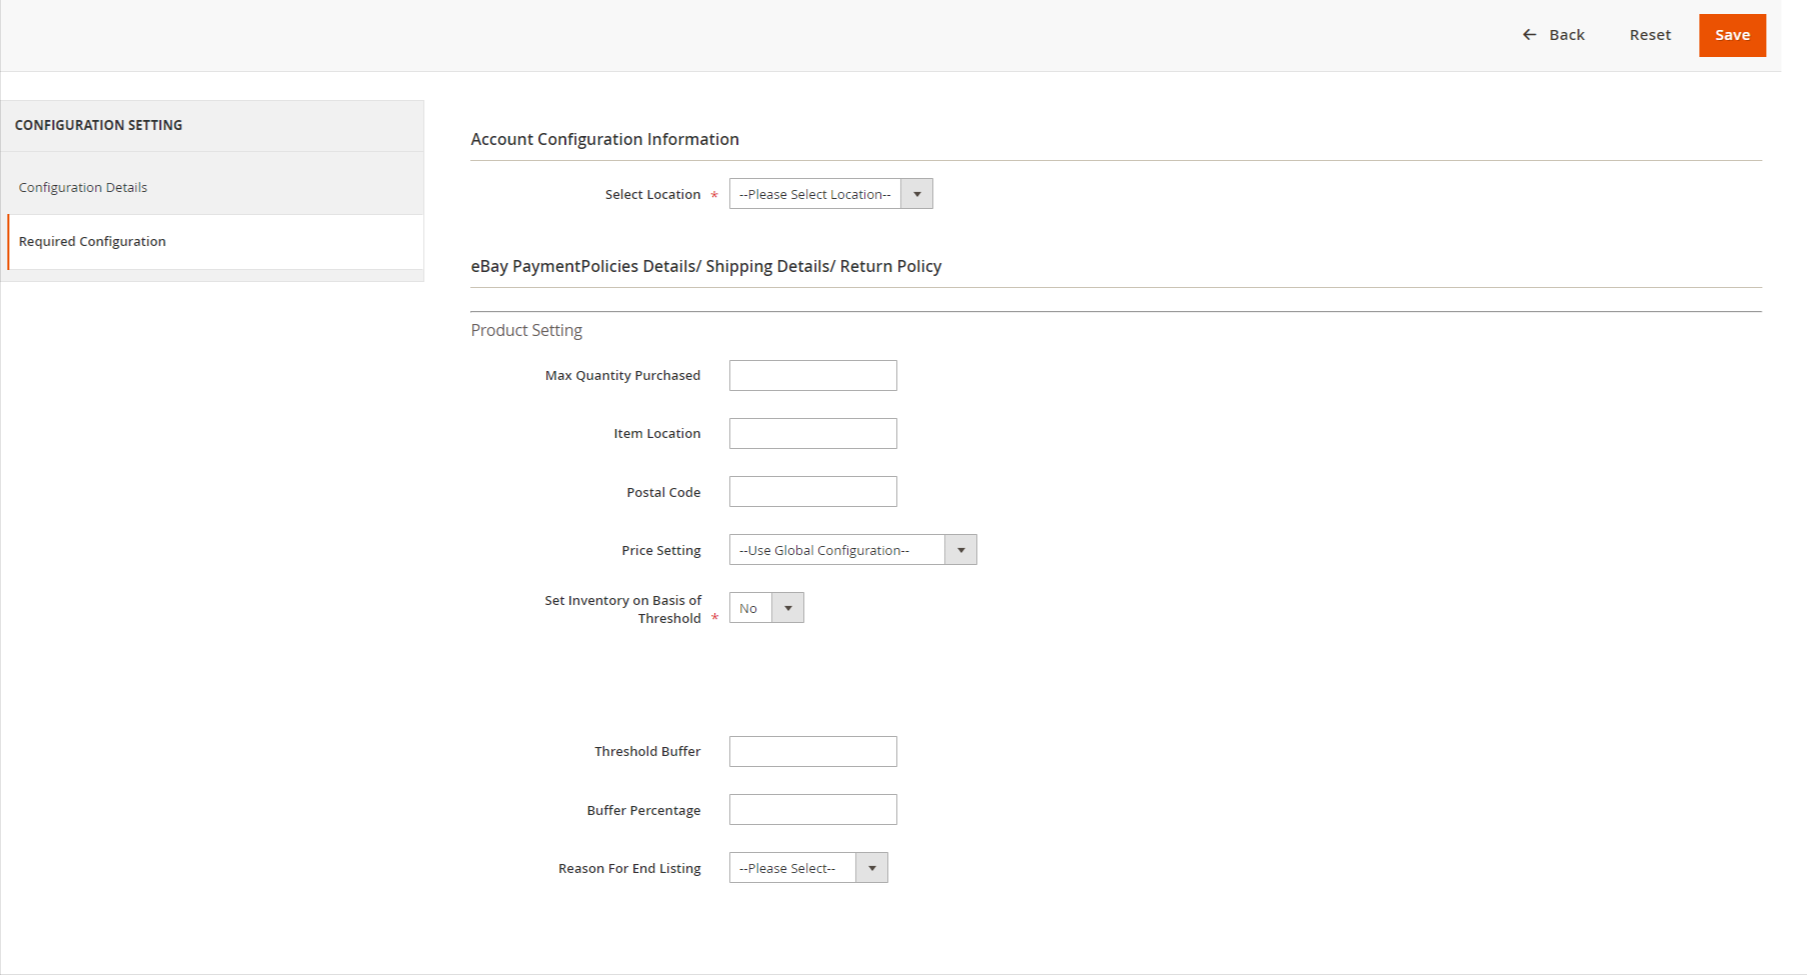
- Under Account Configuration Information, in Select Location choose the location of the account for which you want the information to be configured.
Note: Details will only be rendered here if the account details have been fetched successfully for that particular location in the Manage Account section. - Once the location is selected, the details on the page expand as shown below:
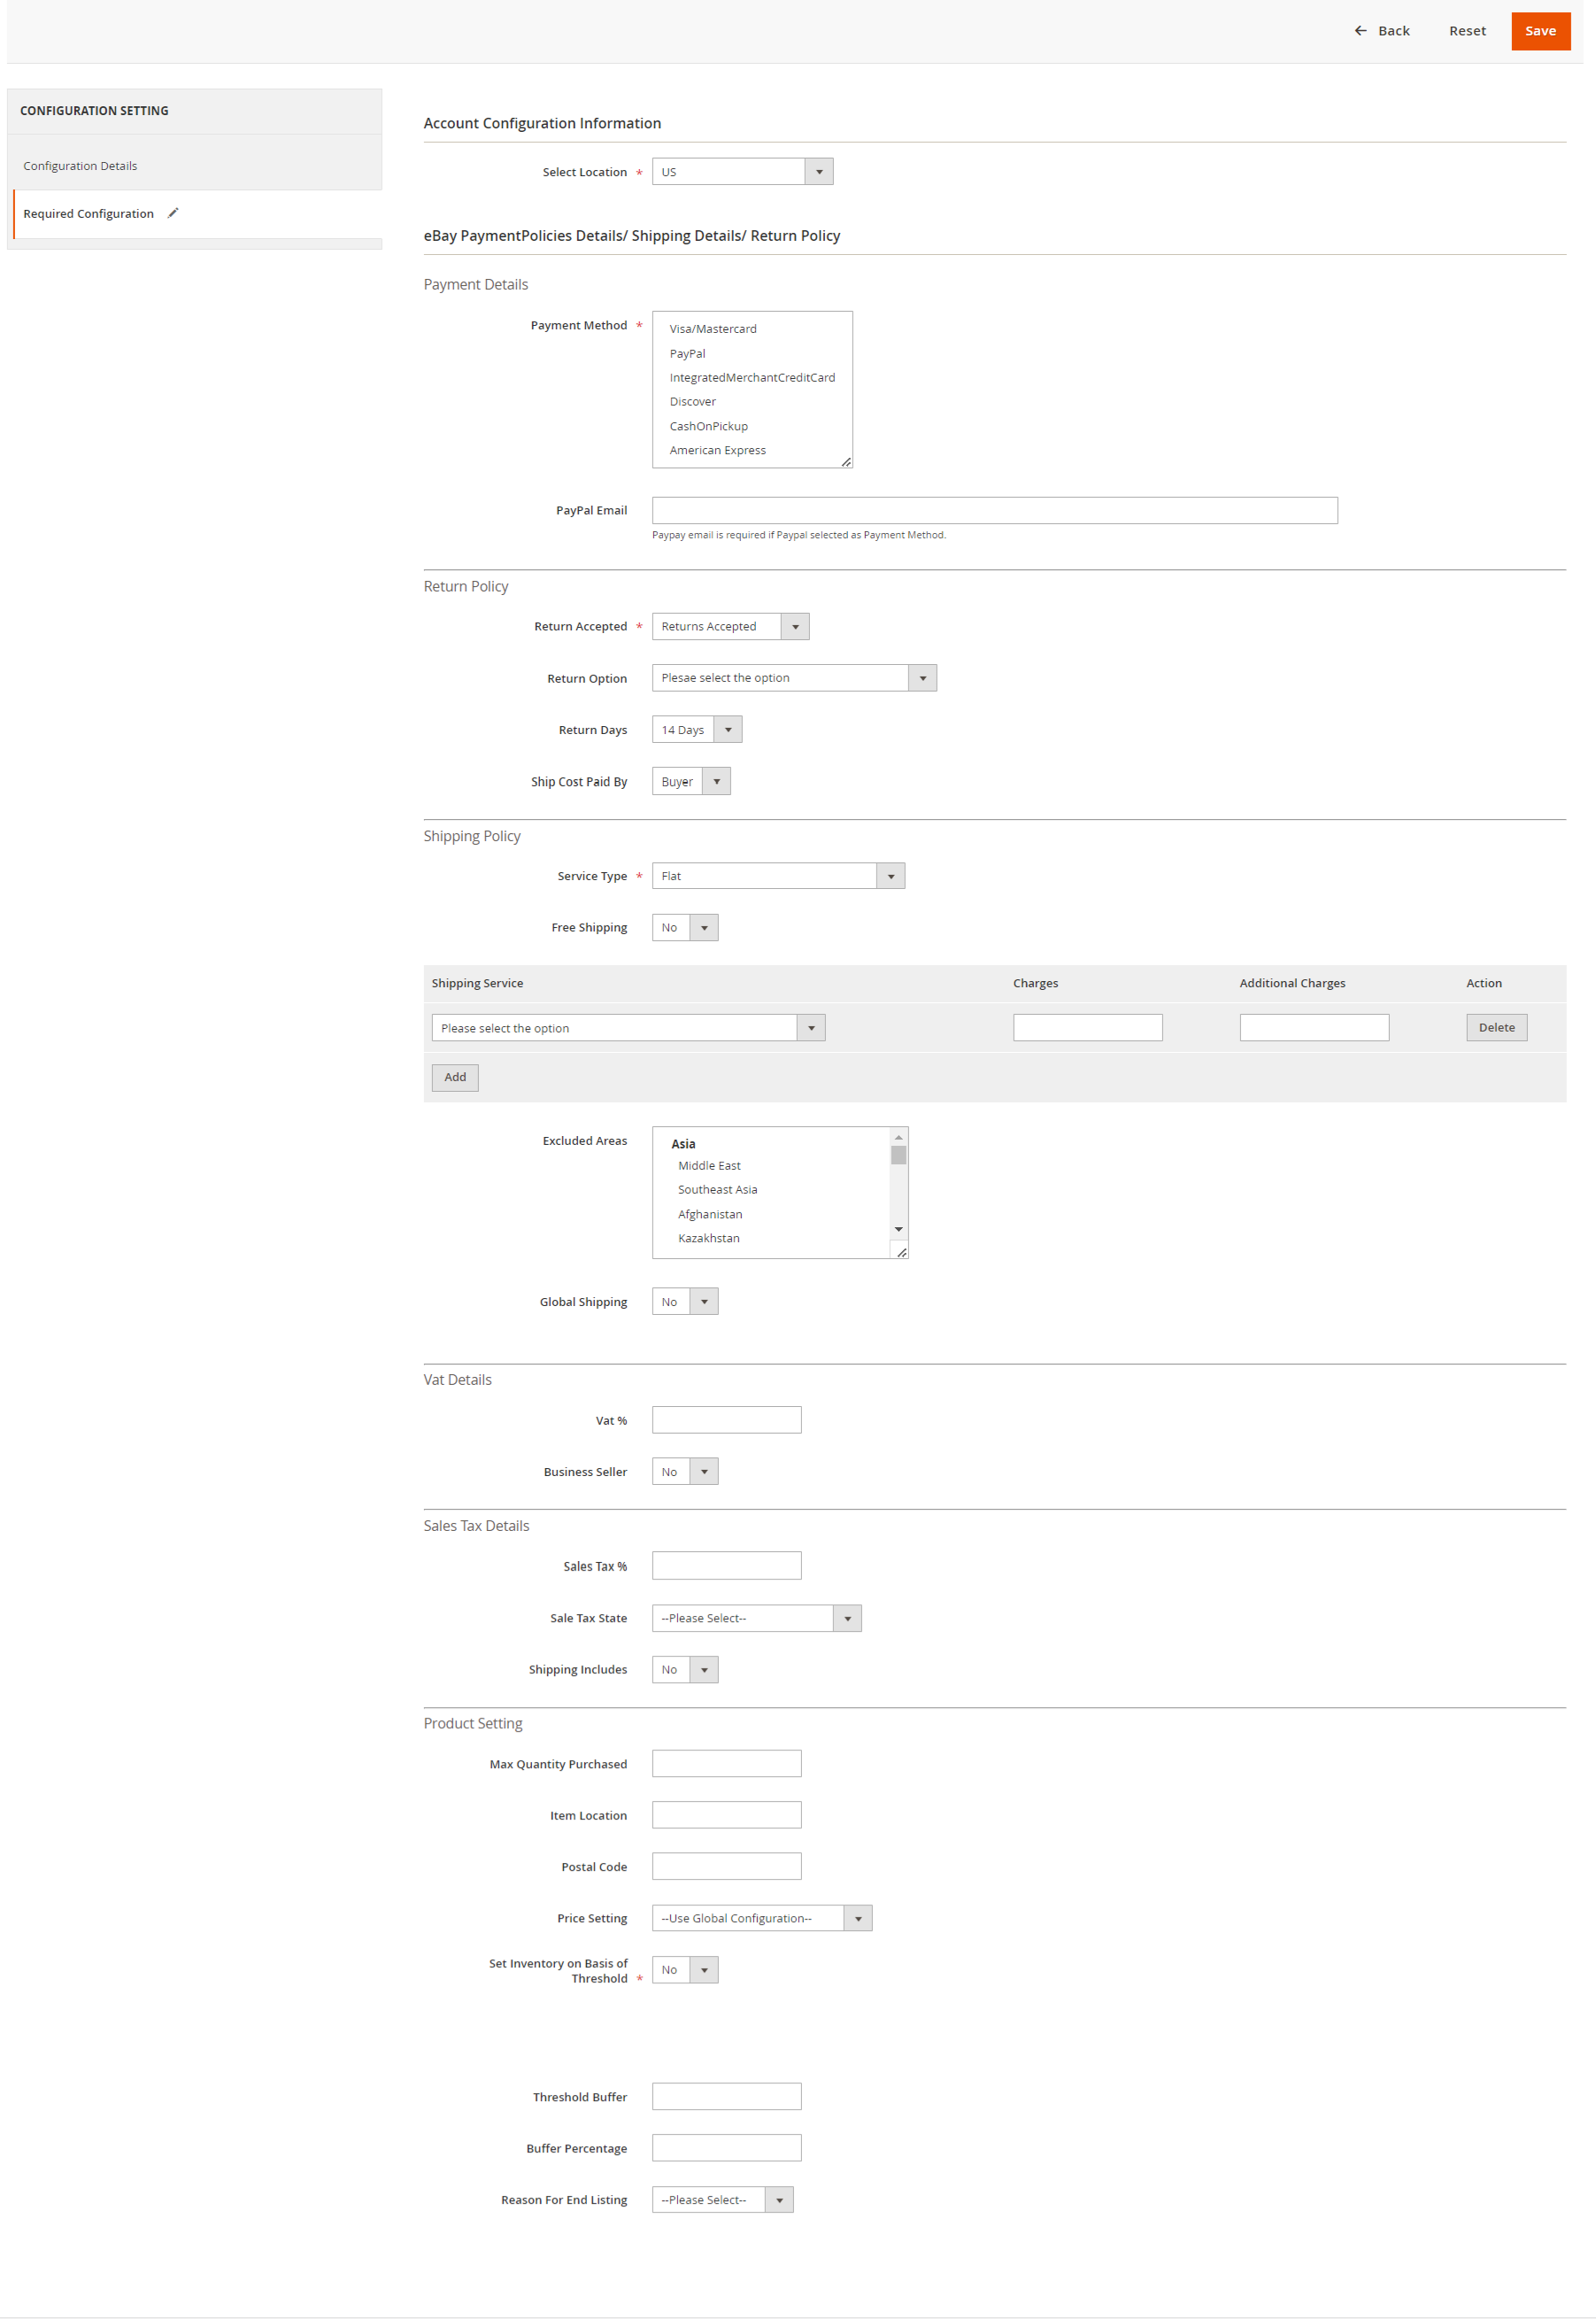
- In Payment Details section, do the following steps:
- In the Payment Method, select the type of payment method that you want to allow for your products on eBay.
- In PayPal Email, enter your PayPal email address. It is only if you have selected the PayPal payment type.
- Under Return Policy do the following steps:
- In Return Accepted, select the option of return accepted if you want the products to be applicable for return after purchase else select Return Not Accepted.
- In the Return Option, select the option according to you that you wish for the return.
- In Return Days, select the time duration under which the return can be requested.
- In Ship Cost Paid By, select the Buyer or Seller who will pay the shipping cost in case of the return.
- Now Under Shipping Policy, do the following steps:
- In the Service Type, select the option for the type of service for the shipping.
- If you select Flat then it means that the shipping amount that we will give from our end will be applied for the products directly.
- If you select Calculated then it means that the shipping amount will be directly calculated on ebay based on the product weight.
- If you select Calculated Domestic Flat International then it means that for domestic it will be calculated and for international, the rate will be flat based.
- If you select Flat Domestic Calculated International then it means that for domestic the shipping amount will be flat type and for international, it will be Calculated.
- In Free Shipping, select Yes if you want the shipping to be free of cost.
- In Excluded Areas, select the regions for which you don’t want to allow the shipping of the products.
- In Global Shipping, select Yes if you want the products to be shipped globally.
- In Ship to location, select the location of the countries for which the products will be shipped.
- In the Service Type, select the option for the type of service for the shipping.
- Under Sales Tax Details, enter the tax details for the particular state for which you want. Do the following steps:
- In Sales Tax %, enter the tax percent applicable for the product for a particular state
- In Sales Tax State, select the state for which you want to apply the sales tax.
- In Shipping Includes, select Yes if you want the shipping amount or tax to be applicable else select No.
- Under Product Settings(the generic settings for products) do the following steps:
- In Max Quantity Purchased, enter the maximum quantity the user can purchase at the time of checkout of the particular listing. (Can override this setting in Configuration Setting)
- In Item Location, enter the geographical location of the item listings. (Can override this setting in Configuration Setting)
- In the Postal Code, enter the postal code of the place where the item is located. (Can override this setting in Configuration Setting.
- In Price Setting, select the Price according to you.
Note: In the above mentioned Product settings you will override the main configuration setting based on the account location. - In Set Inventory on the Basis of Threshold, select Yes if want the inventory value by the threshold
- In the Inventory Threshold Value box, enter the required value.
- In the Send Inventory for Lesser Than Threshold Case box, enter the required value.
- In the Send Inventory for Greater Than Threshold Case box, enter the required value.
- In Threshold Buffer, enter the negative or positive values for the products uploading. The value updated will be buffered according to the value entered.
- Reason For End Listing , select the End Listing reason according to you.
Note: In the above mentioned Reason For End List settings you will override the main configuration setting based on the account location.
- In Payment Details section, do the following steps:
14. Click on Save Button.
The Account Configuration created will be displayed in the grid.
×


