
Manage Products
To manage products,
- Go to the Magento 2 Admin panel.
- On the left navigation bar, click the Claro Shop Integration menu.
The menu appears as shown in the following figure:
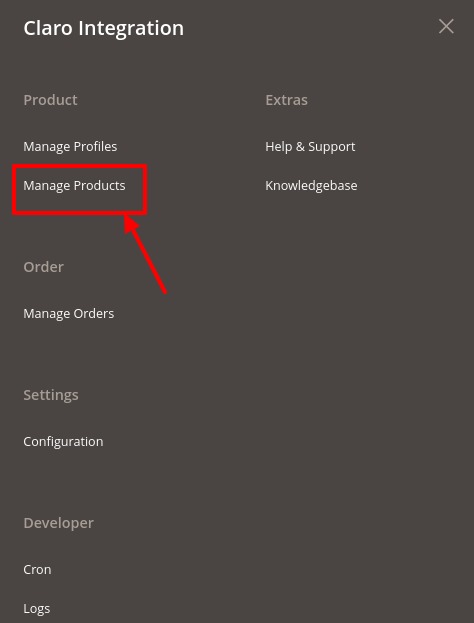
- Click on Manage Products.
The Product Listing Page appears as shown below:
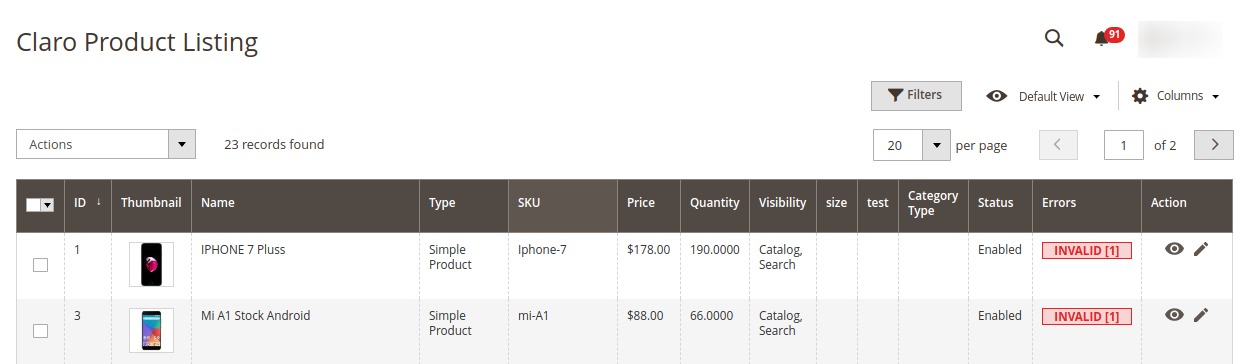
- Scroll down to the required product row.
- In the Action column of the respective row, click the View icon.
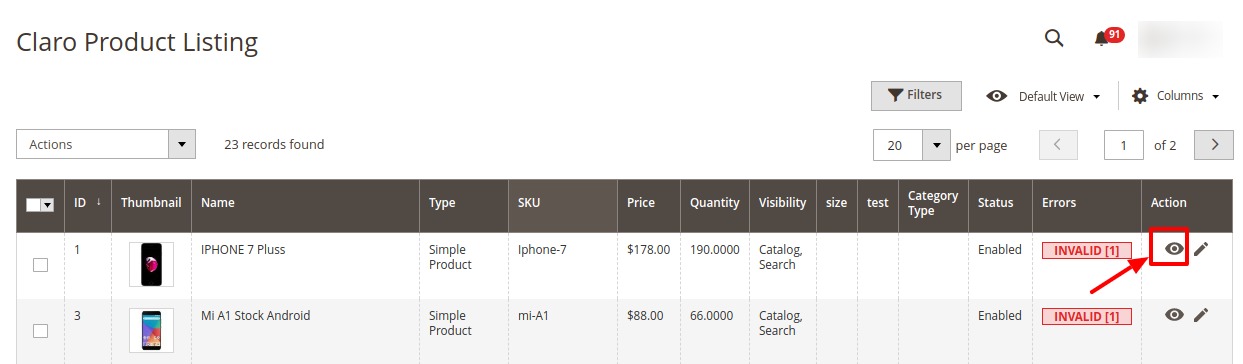 A page appears where the user can view all the product-related details present in Claro Shop.
 - To edit any product detail, click on the Edit button in the Actions column.
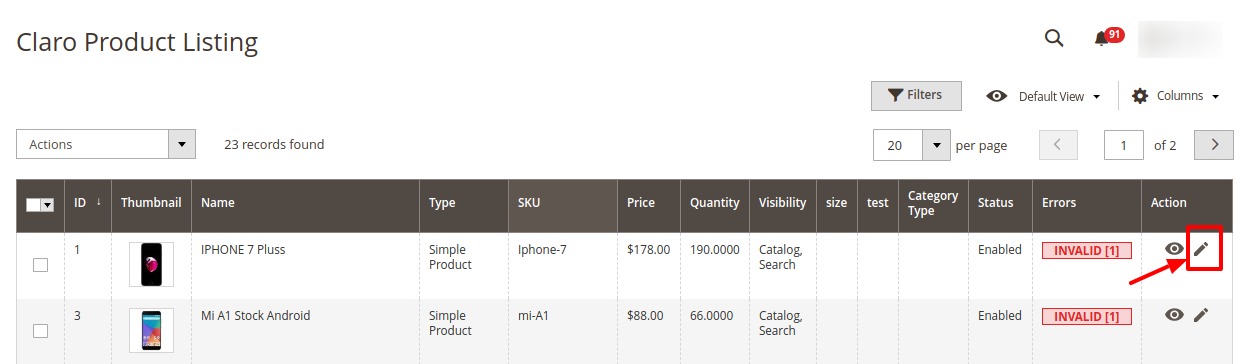
- Do the required edits in the details and Save them.
To perform Bulk Actions on Products,
- In the Actions list, click the arrow button.
A list appears as shown in the figure:
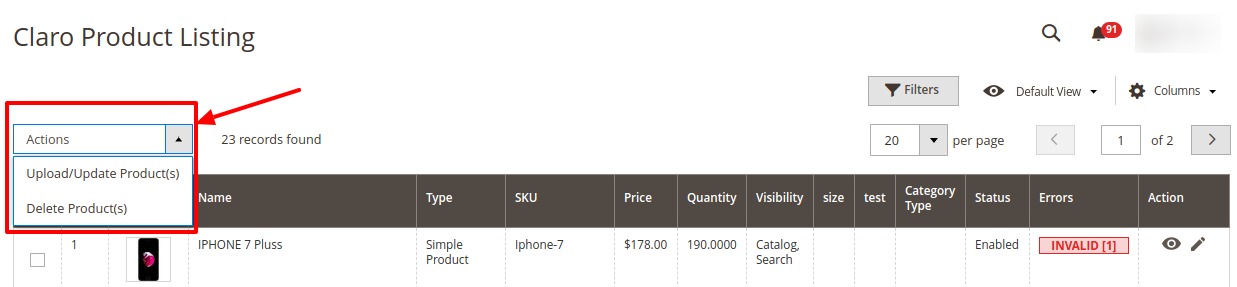
- Select the checkboxes associated with the required products.
- To upload or update products, click on the Upload/Update Product. Selected Products will be uploaded and updated.
- To delete products, click on Delete Products. Selected Products will be deleted.
×


