- Overview
- Amazon Magento 2 Store Integration Extension Installation
- Amazon Integration Configuration Settings
- Manage Accounts
- Manage Amazon Profiles
- Amazon Product Listing
- Manage Amazon Orders
- How to Upload a Product
- Amazon Feeds
- Amazon Reports
- Amazon Queues
- Amazon Cron Details
- Amazon Activity Logs
- Amazon System Status
- Amazon Help And Support
- Knowledge Base

5.1.Add a New Profile ↑ Back to Top
To add a new profile
- Go to the Magento 2 Store Admin
- On the left navigation bar, click the AMAZON INTEGRATION
A menu appears as shown in the following figure:

- Click on Profiles.
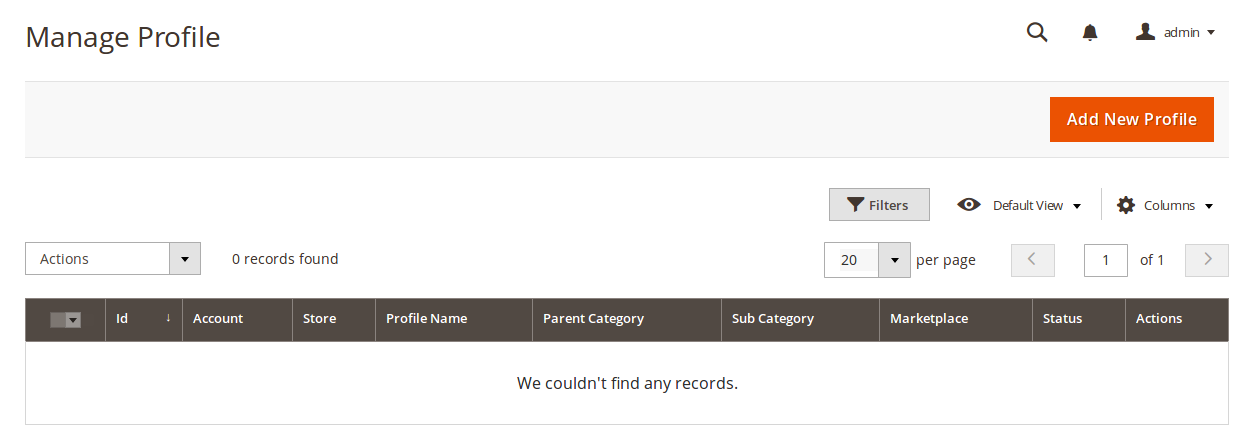
The Manage Profile page appears as shown in the following figure:

- Click the Add New Profile
The New Profile page appears as shown in the following figure:

- In the right panel, under Information, do the following steps:
- In the Enable Profile, select Yes to enable the profile that you are creating.
- In Profile Name, enter the name for the profile.
- Scroll down and click the Mappings section. The section will expand as:

- Under the Mappings section, do the following steps:
- In Barcode Exemption, select Yes if you have permission from Amazon to upload products without barcode for your Brand.
- In Account, select the account.
- In Marketplaces, the marketplace will be automatically selected.
- In Category, select the product category.
- Select ‘Default Category’ as amazon category if products are already present in amazon either in your account or in any other seller’s account.
- Select the relevant Amazon category if you are going to upload a new product to Amazon.
- Now map the attributes. You may also add attributes by clicking on the Add Attribute button.
- Scroll down to Products and the section will appear as:

- In the Default Store, select the Magento store from where you want product details to be updated on Amazon.
- In Auto Assign Category, select the Magento category, whenever a new product is created in that category, that product will automatically assign to this profile. Enable ‘Auto Add Product On Profile’ setting from the configuration for this.
- Click Save on the top right side of the page.
The profile will be created.
×


