
Configuration
Once the installation of Allegro Integration for Magento 2 Extension has been done, the next important step is to complete the configuration which works as the foundation for the integration process.
To complete the configuration,
- Log in to your Magento 2 admin panel.
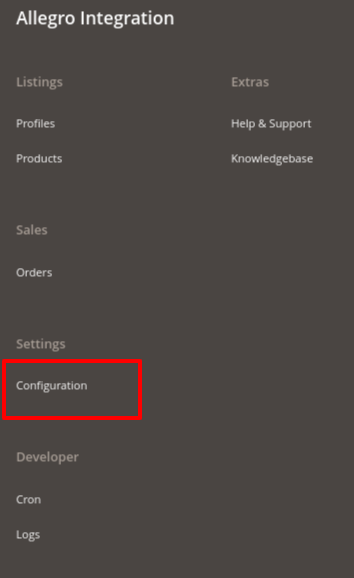
- On the left side in the navigation bar menu click on Allegro Integration and then on Configuration.
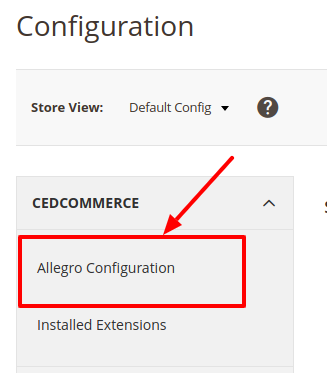
- On clicking it you will be navigated to the Configuration page. Then click on Allegro Configuration on that menu.
Allegro API Settings
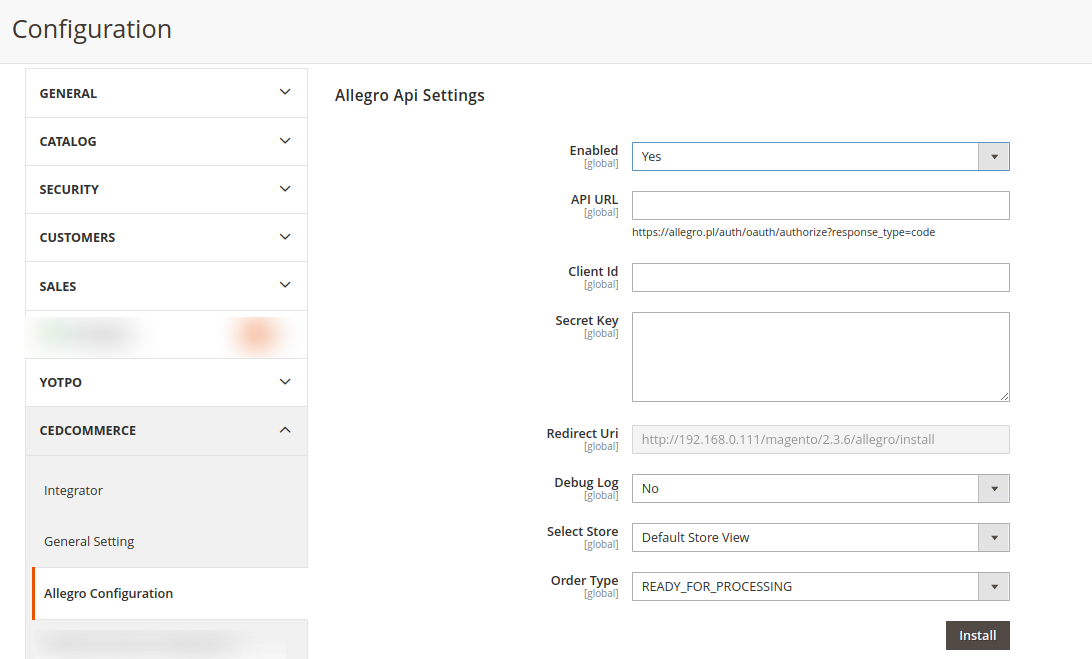
- In the Enabled option select Yes to enable the extension.
- On selecting Yes the section expands as shown in the above figure.
- In API URL paste the URL written in that column.
- Now Copy the Redirect Url for the further process.
- The Client Id and Secret Key needs to be copied from the Seller panel of Allegro.
- Now login to your Allegro seller panel.
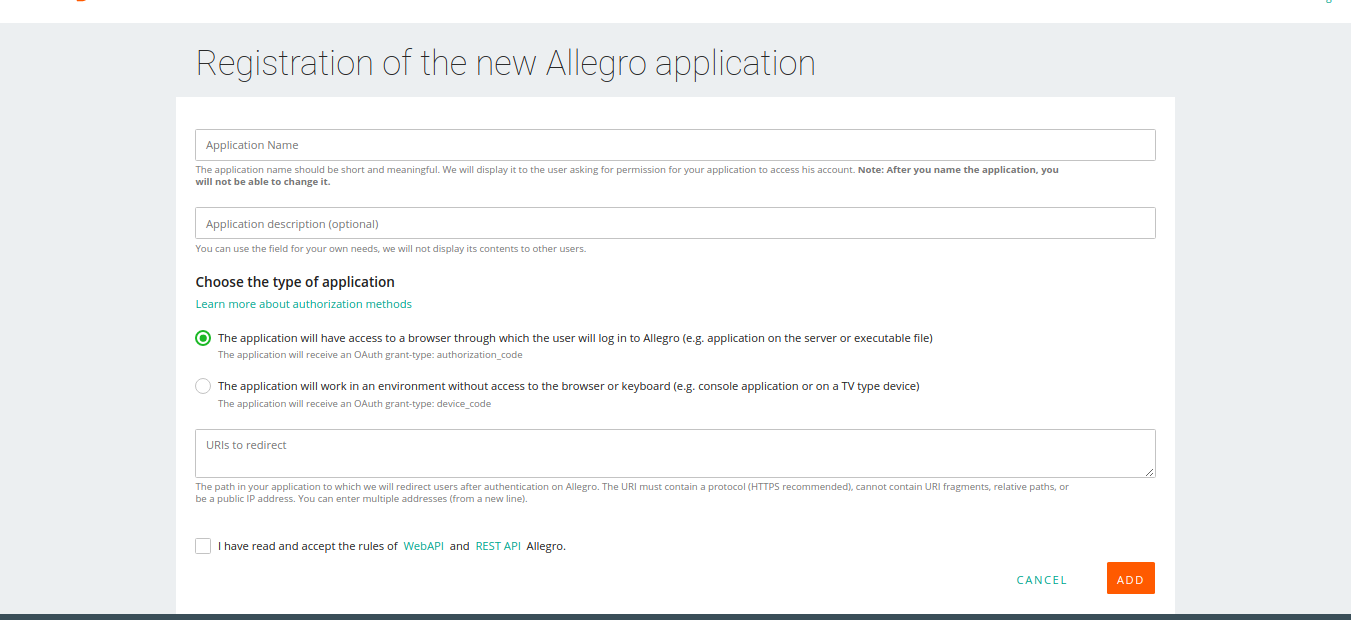
- Register for the new Allegro Application by entering the Application Name, Application Description, choosing the type of application.
- Paste the Redirect Url here which you had copied earlier into the Url to redirect section.
- Then by accepting the rules click on ADD.
- After adding the navigation window appears as shown below where you get your Application Name, Type, Client Id, and Secret Key:
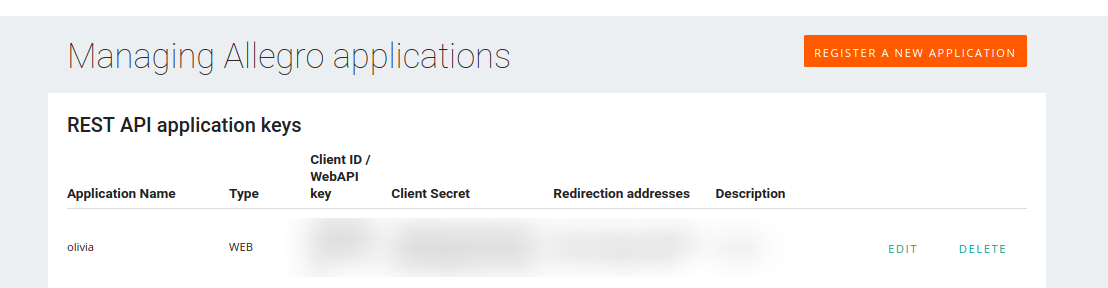
- Now you can copy the client Id and Secret key from here and paste it in the API settings.
- Now login to your Allegro seller panel.
- In Debug Log select the option Yes for fetching the issues.
- In Select Store View, select the view of the store according to you.
- In the Order Type, select the order type which you want to import.
- Then click on the install button.
Note: On clicking install, You will redirect to the allegro seller panel for authorization (if the details you entered are correct)
Pickup Location Settings,
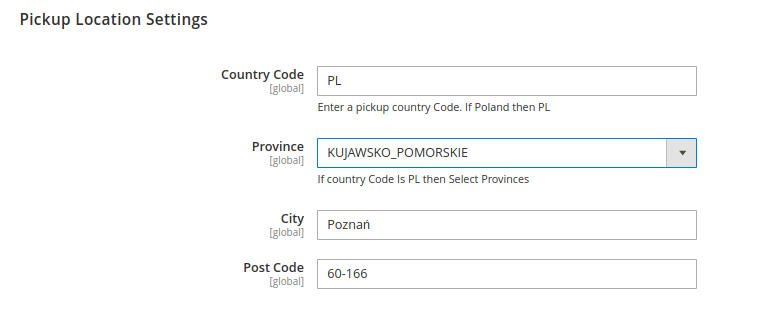 In the section of Pickup Location Settings,
- Enter your Country Code in the section.
- In Province, select the province on the basis of your selected country.
- Then enter the City.
- In Post Code, enter the postal code of the city.
Product Settings,
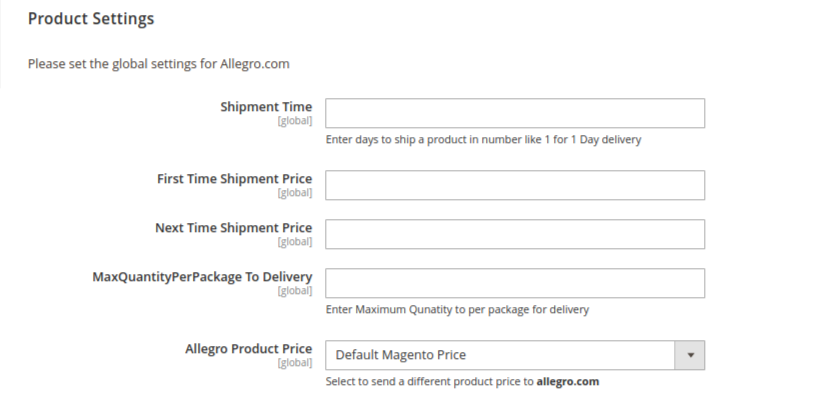
- Enter the Shipment Time in how many days you want the delivery to be done.
- In the First Time Shipment Price, enter the price of shipping for the first time.
- Now in Next Time Shipment Price, enter the amount of price for the next time.
- In MaxQuantityPerPackage To Delivery, enter the maximum quantity for the package delivery.
- In the Allegro Product Price select the required option. This is to set a different price for all the products as shown in the following figure:
- Increase by Fixed Price: If selected, then the Modify by Fix Price field appears.
- Increase by Fixed Percentage: If selected, then the Modify by Percentage Price field appears.
Enter the numeric value to increase the price of the Allegro product price by the entered value % of Magento price
For Example: Magento price + 5% of Magento price.
Magento Price = 100
Select Increase By Fixed Percentage option
Modify by Percentage Price = 5
100 + 5% of 100 = 100 + 5 = 105
Thus, Allegro Product Price = 105 - Decrease by Fixed Price: If selected, then the Modify by Fix Price field appears.
- Decrease by Fixed Percentage: If selected, then the Modify by Percentage Price field appears.
Enter the numeric value to decrease the price of the Allegro product price by the entered value % of Magento price
For Example: Magento price – 5% of Magento price.
Magento Price = 100
Select Decrease By Fixed Percentage option
Modify by Percentage Price = 5
100 – 5% of 100 = 100 – 5 = 95
Thus, Allegro Product Price = 95
Allegro Chunk Settings,
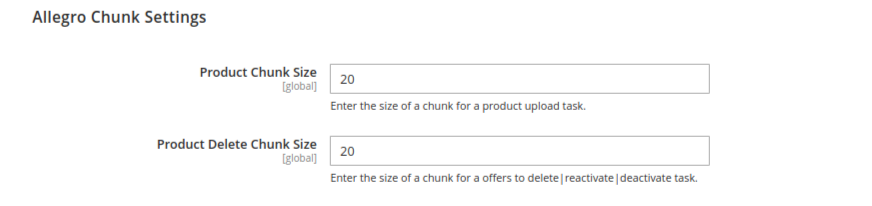
- In Product Chunk Size, enter the size of chunk for uploading product.
- To delete or reactivate an offer enter the chunk size in Product Delete Chunk Size.
Allegro Order Settings,
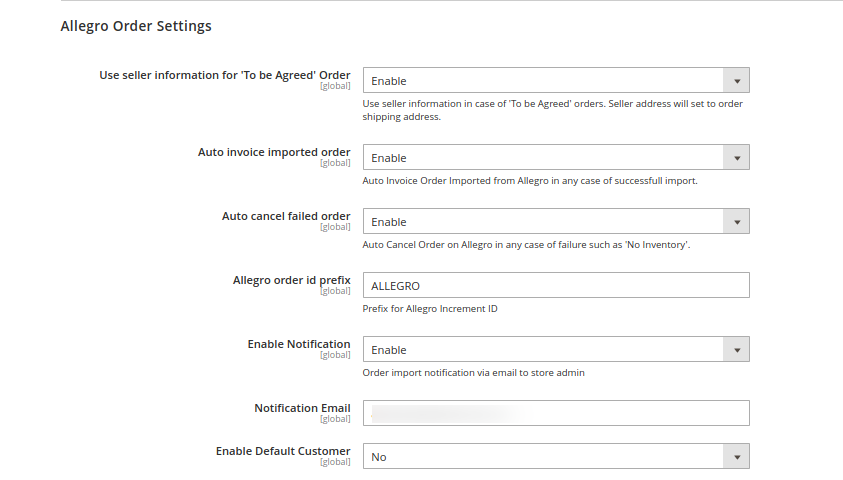
- In Use Seller Information for ‘To be Agreed’ Option Enable to set the order shipping address.
- Enable the Auto invoice imported order for successful order import.
- In Auto Cancel failed order, cancels the failed orders automatically.
- In Allegro order Id Prefix, the Id is to be entered for the Allegro.
- Through Enable Notification, you will be receiving the order notifications via mail if you enable it.
- In Notification Email, enter the email id where you want to receive the notifications.
- In Enable Default Customer, select the Yes or No to select a customer.
Allegro Cron Settings,

- In Order Cron, select Enable from the menu to fetch the orders through cron.
- In Inventory Cron, select Enable to synchronize the inventory to the cron.
Allegro Developer Settings,

- In the Debug option enable or disable to get the errors.
- Choose the Logging Level to create the logs when the debug is enabled.
×


