
Configuring Account On VidaXL
To accomplish the Integration, the first mandatory step needs to be taken by the admin is to complete the Configuration.
To set up the configuration settings in the WooCommerce admin panel
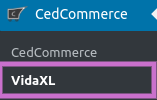
- Go to your Woocommerce admin panel, below the CedCommerce Menu which is on the left navigation bar.
- Click on the VidaXL on the panel as shown in the image below:
- The Appearing page will provide the Shop Username, VidaXLShop Id, VidaXL Shop Name and its Account Status.
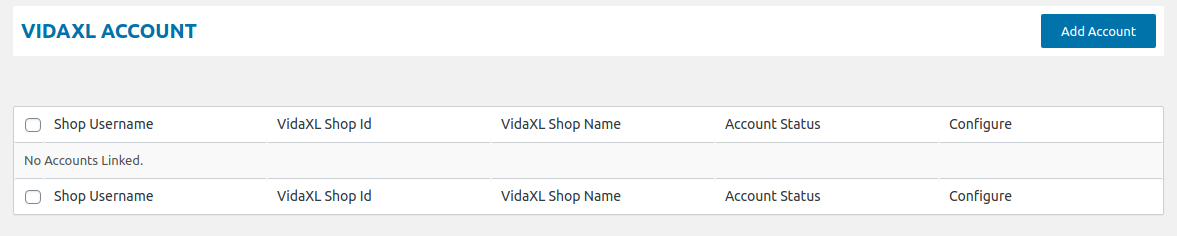
- If you want to add an account, then it’s just a ” ONE CLICK AUTHORIZATION” step as shown in the image below:

- Once you will click on Add Account, it will appear a popup where you have to fill some details:
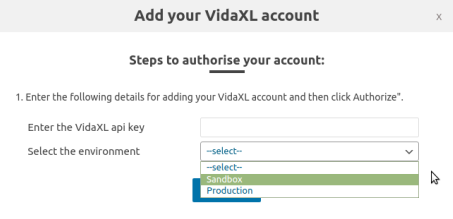
- In this, as you see you have provide-
a) The VidaXL API key.
b) Select the environment in which you want to keep your account between 2 of them
–>Sandbox: which means the test mode.
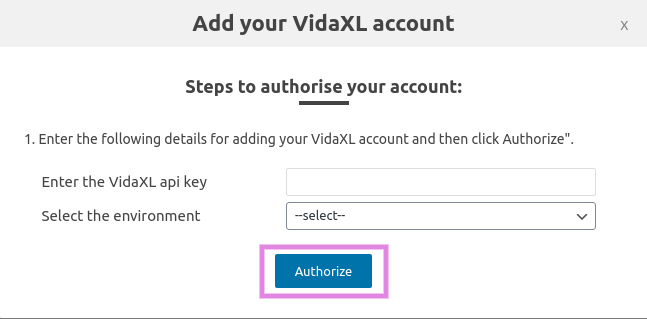
–>Production: which means on the live mode. - Once you have performed the above step then click on the Authorize button as shown in the image below:
- After this, your account name will be visible with your Shop Username, VidaXLShop Id, VidaXL Shop Name and its Account Status and in the Configure, you have to click on configure tab as shown in the image below:

- On clicking “CONFIGURE” you will be redirected to the page where your Account Details will be visible to you as shown in the image below:

×


