
Onboarding
The onboarding process of the plugin is quite simple, with just 5 simple steps to follow –
Step-1 Account
Step-2 Merchant center
Step-3 Link Ads account
Step-4 Configuration
Step-5 Campaign

Step 1 – Account
In this step, you need to connect your Google account. Proceed to enter your Google account credentials by accepting the terms and conditions.
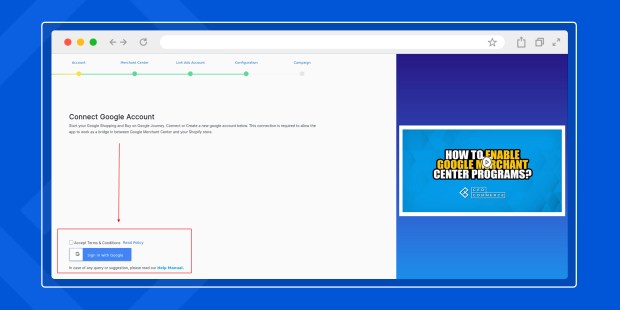
Once you’re done connecting your Google account, accept the terms and conditions again and click ‘Next’ to proceed to step – 2.

Step- 2 Merchant Center
In this section, you must configure the Google Merchant Account linked to your Google account.

If you don’t have a merchant account, create a new one by clicking on the ‘Create New Account’ as shown in the image below. If you already have the merchant account, proceed to ‘Connect Account.’

On the next step, authenticate all your details and click ‘Next’ to complete the merchant account setup.

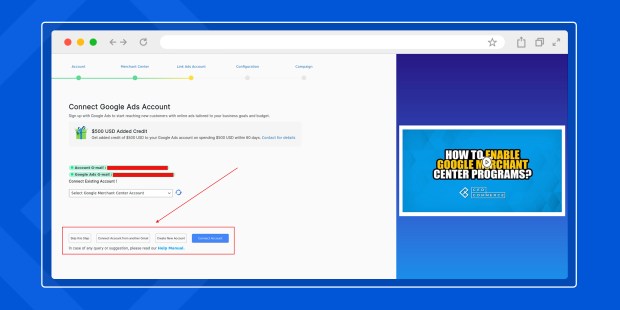
Step – 3 Link Ads Account
Connect your Google Ads account for paid advertising in this step.

You can connect an ads account from another Gmail account, create a new one, or connect an existing one. However, this step is not mandatory, and you can skip this step if you don’t need a Google Ads account.
Step-4 Configuration
In this step, you need to set up a default configuration for uploading your products on the Google Shopping platform. Details such as target country, content language, currency, gender, etc., are required. Once all the details are filled in, click Submit to proceed to the final step.

Step- 5 Campaign
Set up and manage budgets for your paid campaigns to effectively manage your promotional campaigns. Assign a campaign name, set a daily budget, and click create Performance Max Campaign to complete the campaign setup process.
If paid campaigns are not on your preference list, then just skip and finish to complete the onboarding process.


