
4.Registration And Newegg Canada Configuration Setup ↑ Back to Top
Once the app is installed in the panel, you can resume the registration and app configuration process. The registration and configuration involve set of steps which requires you to provide account information and map your store with Newegg Canada.
To follow the registration process and set up the configuration settings
- Go to the Shopify store.
- In the left navigation panel, click the Apps link.
The page appears as shown in the following figure:

- In the right panel, click the NeweggCanada Marketplace – Integration app link.
The Step 1: Registration page appears as shown in the following figure:
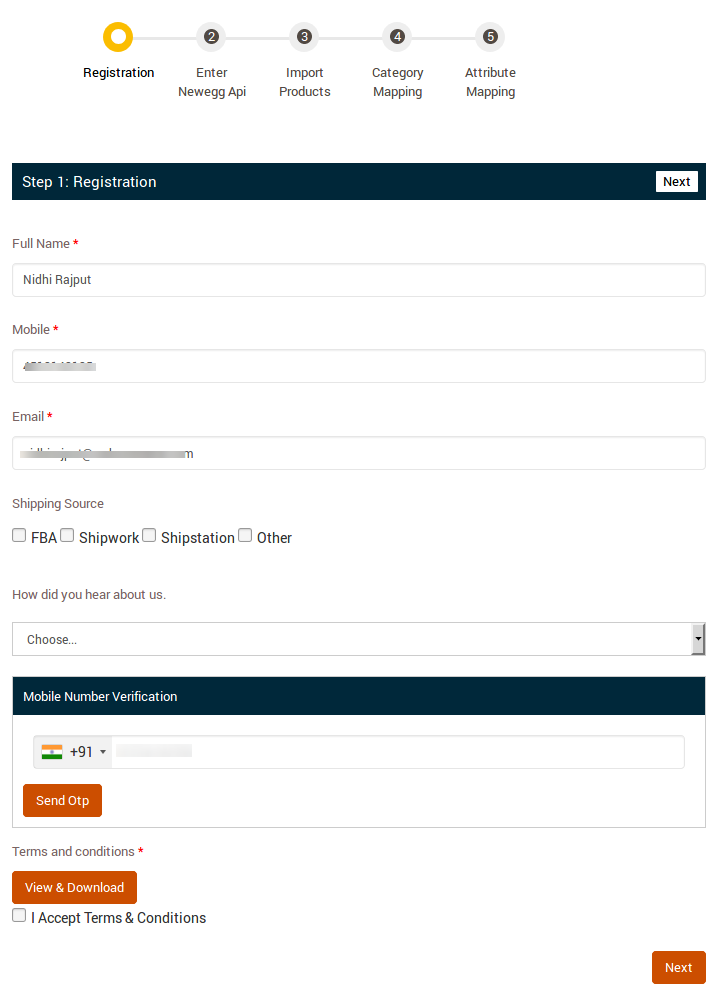
- Enter the following information in the respective fields:
- First Name: First Name of the Store Owner.
- Last Name: Last Name of the Store Owner.
- Mobile: Mobile number of the Store Owner.
- Email: Email Id of the Store Owner.
- Shipping Source: Select the checkboxes associated with the required shipping source.
Note: If not Shipwork or Shipstation, then select the checkbox associated with the Other option. - How did you hear about us?: Select the required option from the available list.
- Under Terms and conditions, read the content and then select the checkbox associated with the I Accept Terms & Conditions text.
- Click the Next button.
The Step 2: Enter Newegg API page appears as shown in the following figure:
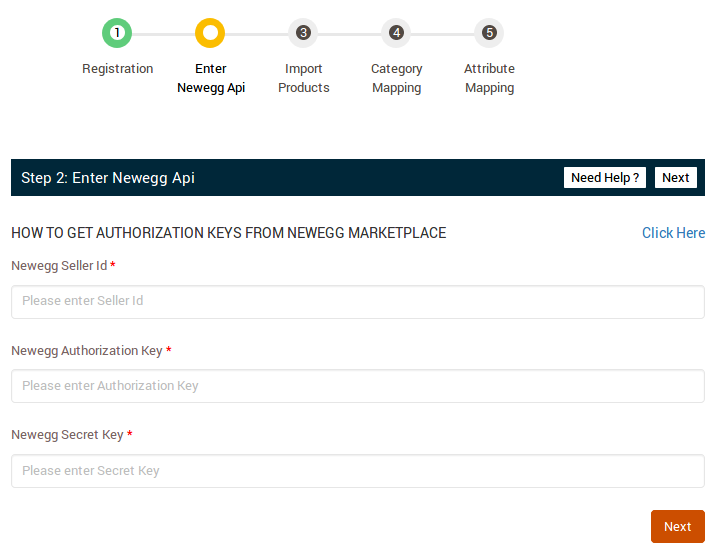
- In the Newegg Seller Id box, paste the Seller Id copied from the Newegg Seller Account.
- In the Newegg Authorization Key box, paste the Authorization Key that you received from Newegg through an email.
- In the same manner, paste the Secret Key in the Newegg Secret Key box.
- Click the Next button.
The Step 3: Import Products page appears as shown in the following figure:
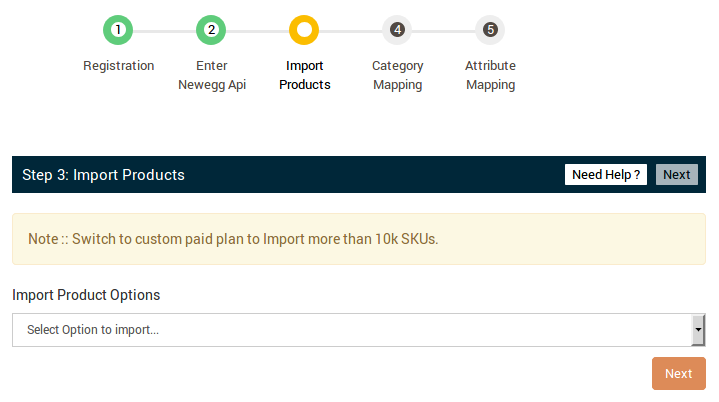
- In the Import Product Options list, select one of the following options:
- All products: It enables the store owners to import all the Shopify store products in the app.
- Published Products: It enables the store owners to import only those products which are available at the Shopify store front-end.
- Select Products to Import: It enables the store owners to import only those products which they want to upload from their Shopify store to the app.
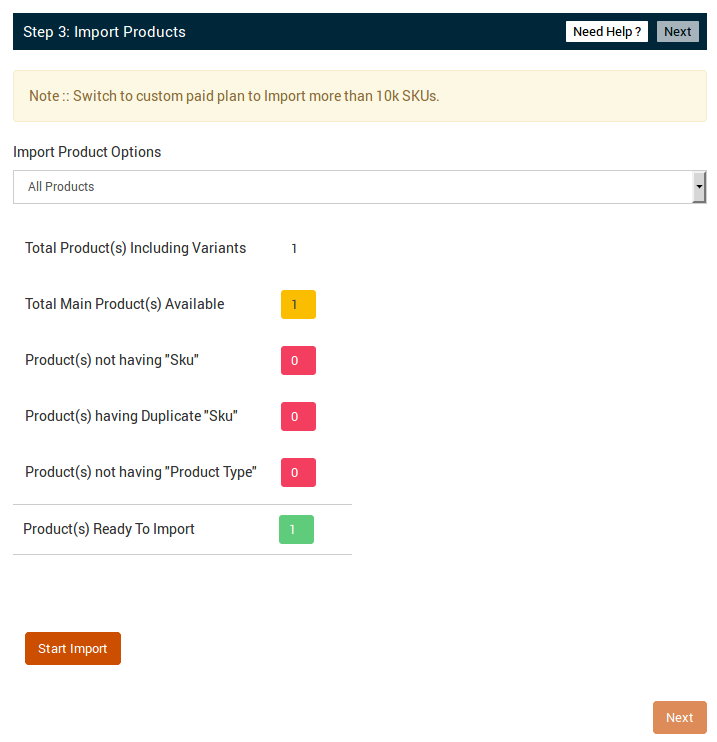
- If selected the All Products option, then the page appears as shown in the following figure:
- If selected the All Published Products option, then the page appears as shown in the following figure:
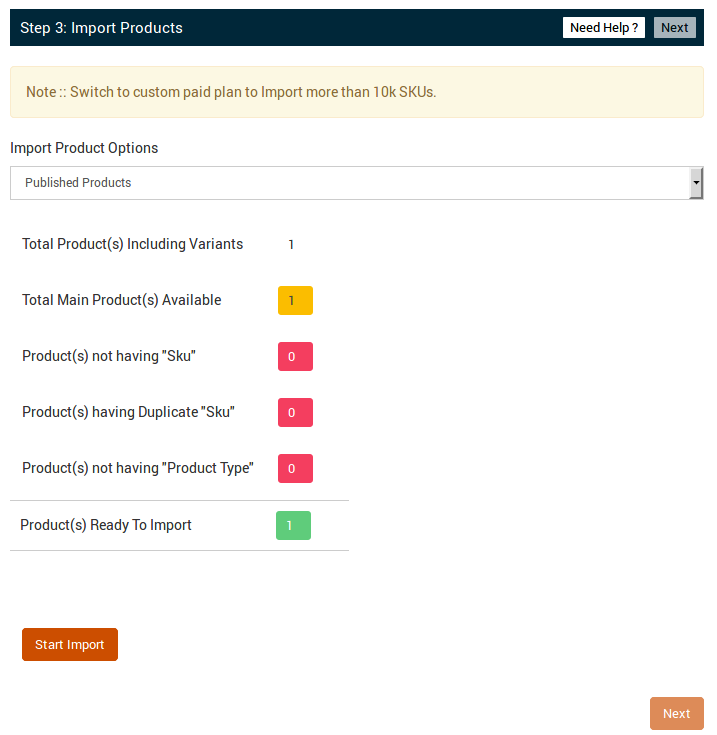
- If selected the Select Products to Import option, then the page appears as shown in the following figure:
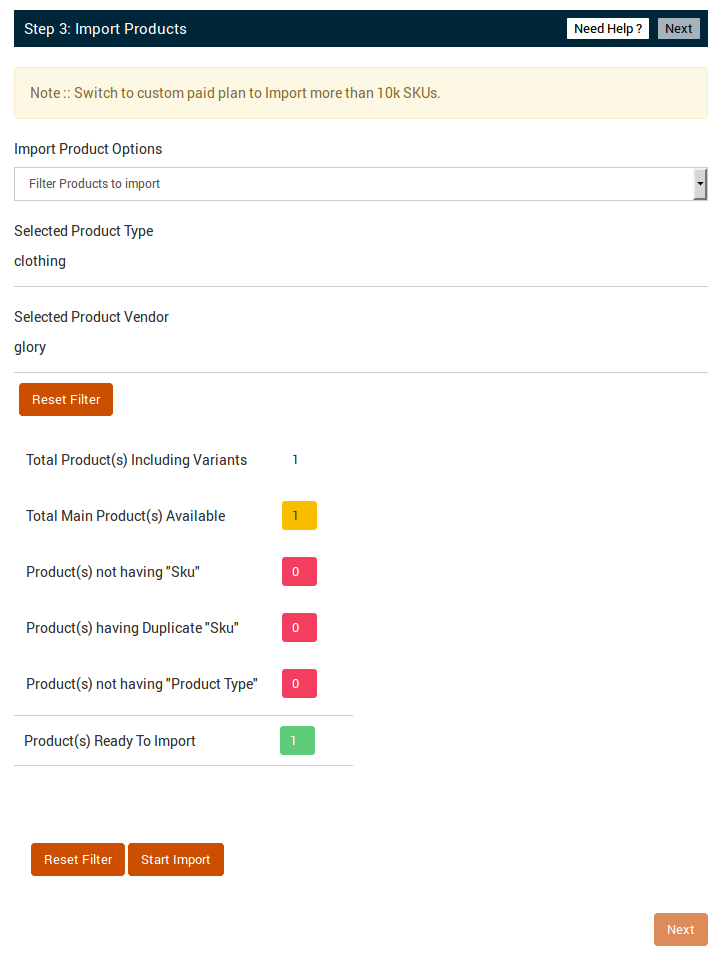
- Do one of the following steps:
- Select the checkboxes associated with the required product SKU.
Or - Select the checkbox associated with the SKU label to select all the products listed on the page.
- Select the checkboxes associated with the required product SKU.
- Scroll down to the Start Import button and then click the button.
- You will be re-directed to the next page.
The Step 4: Category Mapping page appears as shown in the following figure:
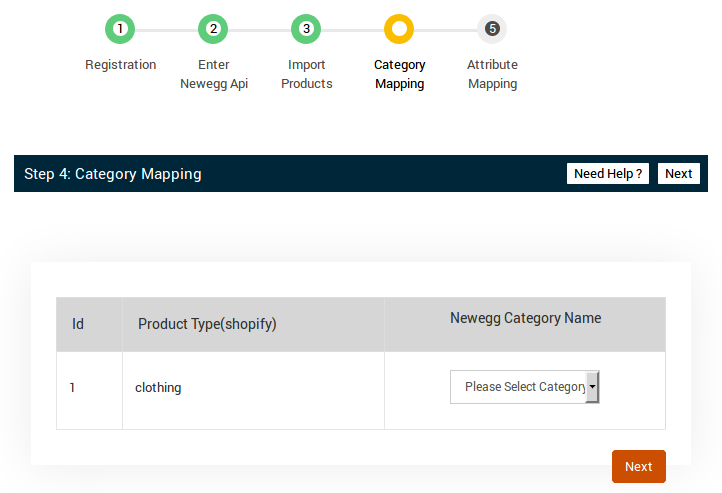
- Now select the Newegg Category Name from the Drop-down “Please Select Category”. As shown in the following figure:


- Click the Next button.
The page appears as shown in the following figure:
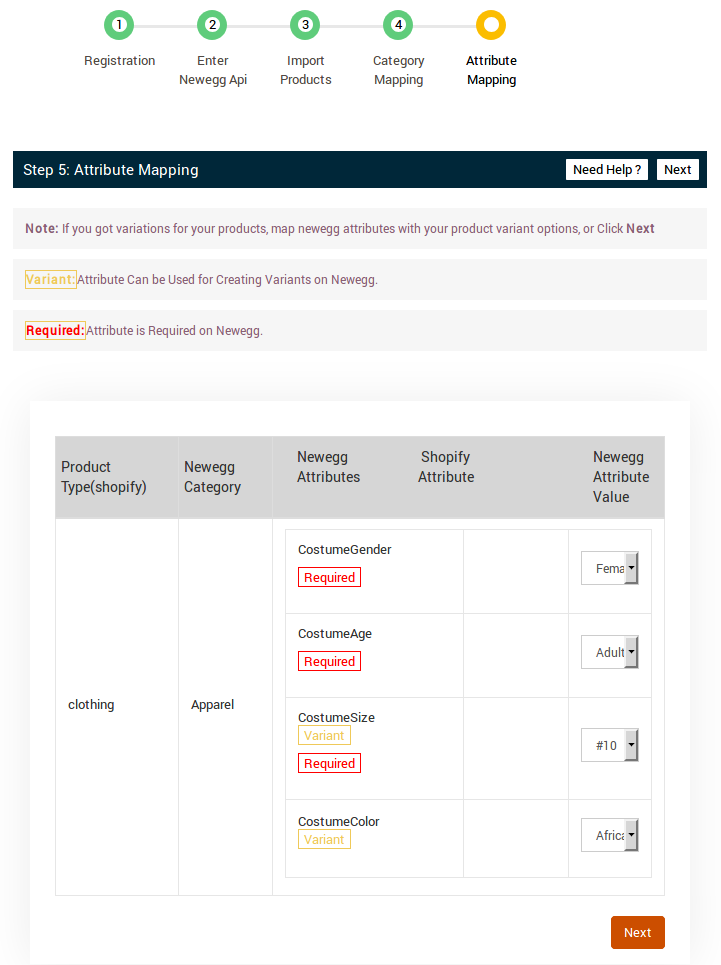
- Scroll down to the row of the required Newegg attribute.
- In the SHOPIFY column of the respective row, do one of the following steps:
- Select the checkbox associated with the appropriate Shopify options for the Newegg attribute.
OR
- Enter any value for the Newegg attribute if there is no similar option available in the Shopify column.
- Select the checkbox associated with the appropriate Shopify options for the Newegg attribute.
- Click the Next button.
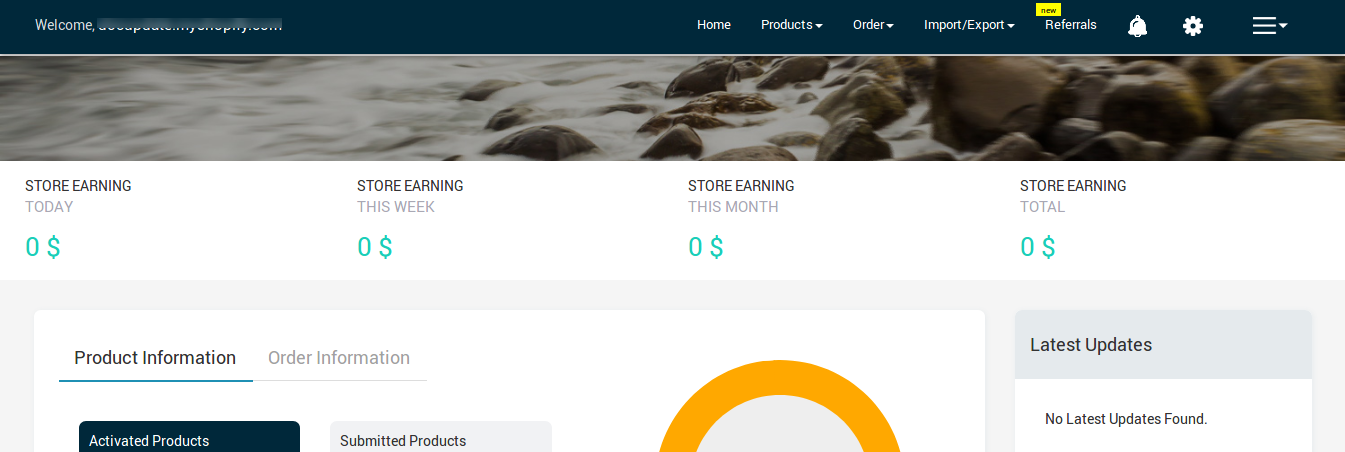
The Newegg Marketplace Integration App page appears as shown in the following figure:
×


