5.1.Add New Profile ↑ Back to Top
To add a new profile
1. Go to the Bonanza Marketplace Integration App.
2. On the top navigation bar, click the Profiling menu.
The menu appears as shown in the following figure:

3. Click the Add New Profile button.
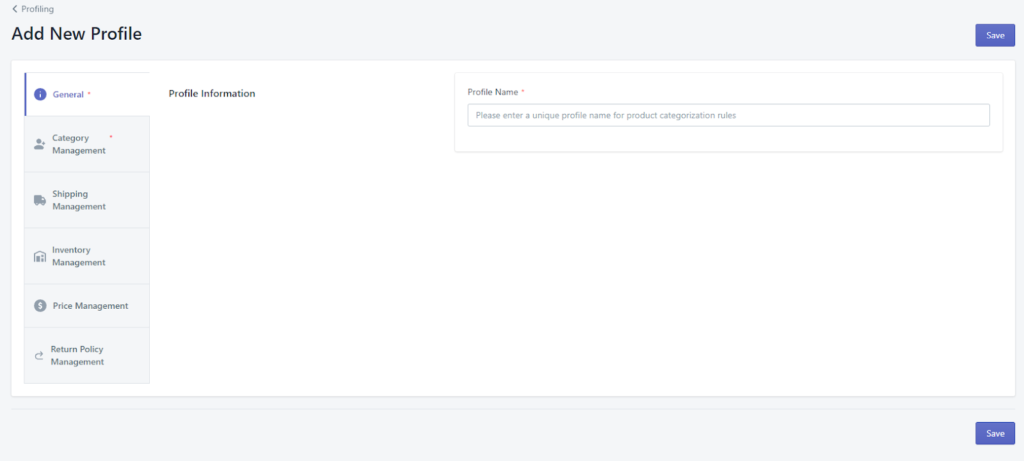
The Bonanza Profile Management page appears as shown in the following figure:
Add new Profile:

The Bonanza Profile Management section has the following subsequent sections to be filled-
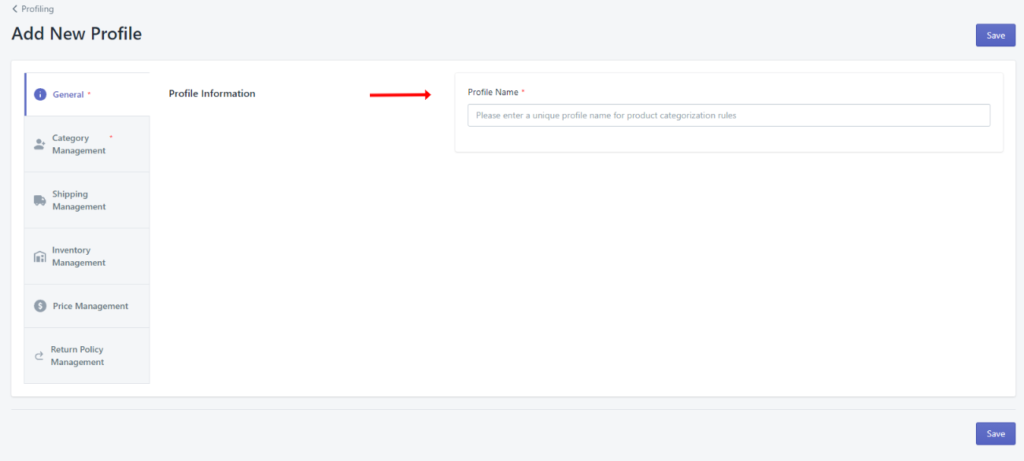
1) General- This section is mandatory to be filled. In the general category, you have to fill the Profile Information (Profile Name).

2) Category Management- This is a mandatory section to be filled.
This section has two parallel panels-

Product Type(Shopify ) – This panel will allow you to select a product based on the Product Types that you have provided on your Shopify Store or any other information that you have set on Shopify for your products.
This has two subsequent options to choose from-
- Manual ( Product Type Category Mapping )
- Advanced ( Advanced Category Mapping )
a) Manual ( Product Type Category Mapping ) – This section requires you to profile your product according to the product type as updated on your Shopify store.

b) Advanced ( Advanced Category Mapping ) – This section provides you with the following options to profile your product-
- Product Title
- Product Type
- Product Vendor
- Product Tags

–> Bonanza Category- In this section, you have to select a subcategory that suits your products to be uploaded.
Category Management is very important for a seamless syncing process.
3) Shipping Management- This section allows you to set Domestic Shipping Settings as well as International Shipping Settings to your products as per what you desire.

–> Domestic Shipping Management- Within this, you can set the following for your products-
a) Item Shipping Type : You can choose on of the following options-
- Free
- Fixed
- See Description
- No Changes
b) Shipping Service Type- You can choose any one of the following shipping services-i
c) Shipping Within Days (Number of Days)- You can set a limit within which you can promise your products to be delivered.
–> International Shipping Management- Within this, you can choose whether you want to ship your products overseas or not.
You can opt either a Yes or a No.
On opting, “Yes”, you will be required to fill preferable Item Shipping Type from the following-
a) Free- On selecting this option, you have to choose a “Ship to Location”.
b) Fixed- On selecting this option, you have to choose a “Ship to Location” and “Shipping Cost”.
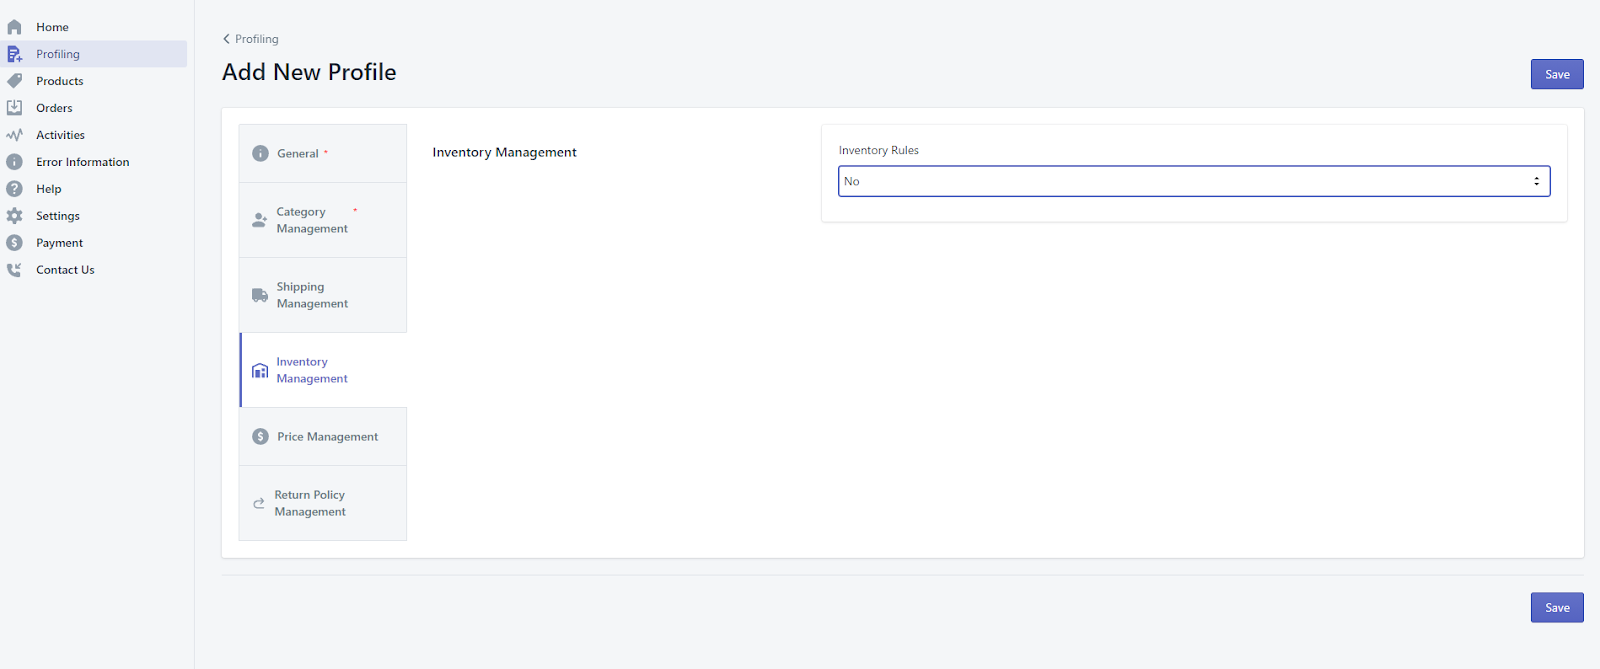
4) Inventory Management- In this section, you can select inventory rules to be imposed on your products-
It can be-
a) No – Setting this Option to No would mean whatever inventory you have set on Shopify same inventory will be sent to Bonanza Marketplace.

b) Fixed Inventory- In this section, you need to fill default fixed quantity you want to be displayed for your products.

c) Custom Inventory- If you choose this section, you need to set a Minimum threshold quantity and a Maximum threshold quantity for your products.

5) Price Management- In this section, you have two subsequent sections to be filled-
- Price sent on bonanza: From this subsection, you can choose either Shopify sale price or Shopify compare at price.
- Enable Custom Pricing: If you want to enable Custom Pricing, you can select “Yes” otherwise choose “No” option.

Return Policy Management: This section has the following field to be filled-
a) Returns Accepted Option: You can select either “Returns Accepted” or “Returns Not Accepted”, depending upon what you want for your buyers.
b) Return Within Days (Number of days): Enter the number of days within which you desire your customers to return products.
c) Shipping Cost Paid By Option: You can choose whether the shipping cost during return of a product is to be paid by the seller or the buyer.
d) Return Description: In this field you can write a short description regarding the way you want Product Return Framework to be executed for your products.


