
Cron Setup on cPanel
Once you have completed your configuration, In the configuration, you will see cron settings at below:
- Go to the Prestashop Admin panel.
- In the left navigation panel, place the cursor on the Wish Integration menu.
The menu appears as shown in the following figure:
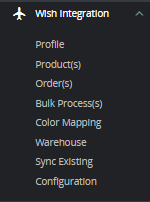
- Click on Configuration.
The Configuration page appears, Scroll up and Lastly, you see Cron Settings,

- In this Cron setting, do the following steps:
- Click on Generate button and generate a unique String.
- In Crontab, you will see Cron URL’s, Recommended Time, copy these URLs and paste it into your Cpanel (Control Panel).
Here are the steps to set up Cron URL into your Cpanel.
Step 1: Login into your Cpanel, scroll down to the Advanced section and there you see Cron Jobs.
![]()
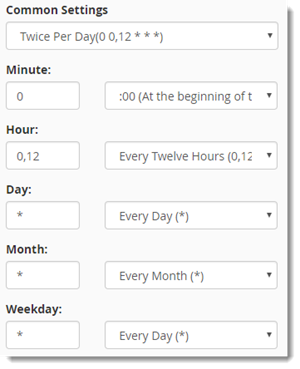
Step 2: Scroll down to the Add New Cron Job section. You can either select from the Common Settings drop-down menus or fill out your own custom values.
Fill out the form as follows:
- Common Settings: This option allows you to select a preset interval for your cron job to run.
If you have not chosen one of the preset Common Settings, choose from the other options:
-
- Minute: Either enter a custom value or select a preset value from the Common Settings menu.
- Hour: Either enter a custom value or select a preset value from the Common Settings menu.
- Day: Either enter a custom value or select a preset value from the Common Settings menu.
- Month: Either enter a custom value or select a preset value from the Common Settings menu.
- Weekday: Either enter a custom value or select a preset value from the Common Settings menu.
Step 3: Enter the command you want to run in the Command field and click Add New Cron Job.
The command can be any command able to be run from the Linux terminal. This includes scripts per our example.
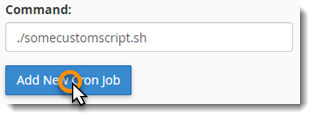
A confirmation will appear to confirm that the job has been added.


