
Configuration Settings
To set up the configuration settings in the Prestashop Admin panel
- Go to Prestashop Admin Panel
- On the left navigation bar, place the cursor on Facebook Integration and you will see it getting expanded as below:
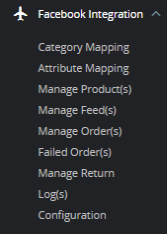
- Click on Configuration
The page appears as shown in the figure:
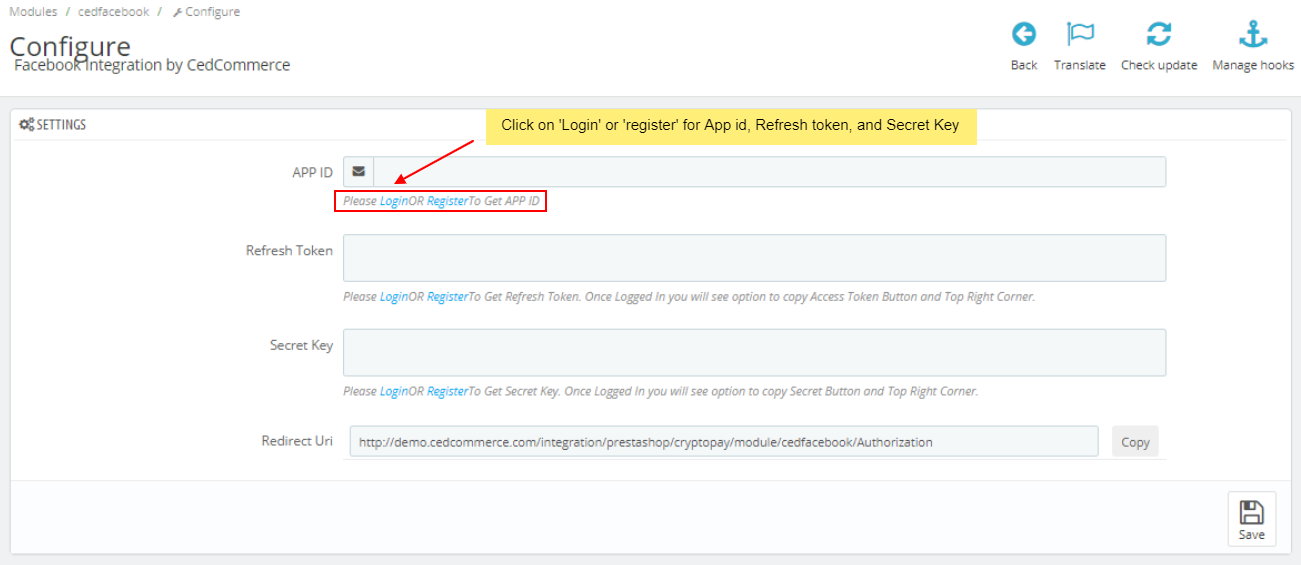
- In this configuration settings, do the following steps.
- For APP Id, Refresh Token, Secret Key information you need to follow below steps:
- If you have Facebook Account then click on ‘Login’ to fetch details otherwise click on ‘Register’ to set up your account.
- Once you click on ‘Login’ button. (Link: https://apps.cedcommerce.com/api-connect/app/auth/login)
The page appears as shown in figure:
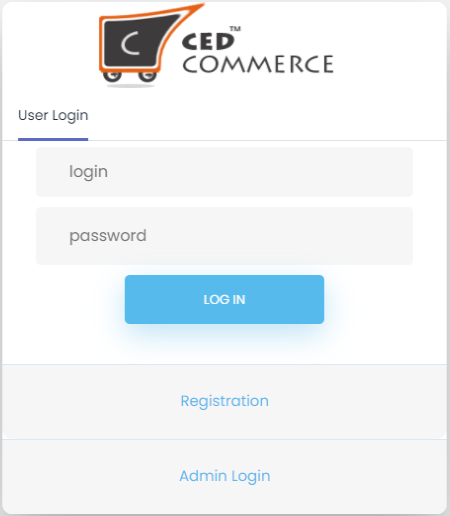
- Enter Username and Password to login into your account.
- Once logged in, the page appears as shown in the figure:
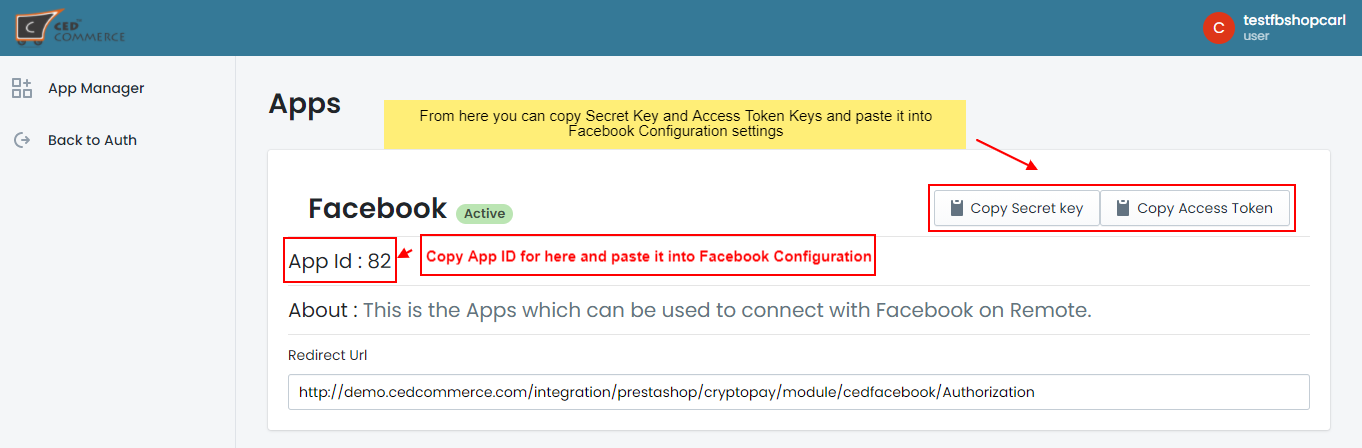
- You can copy APP ID, Secret key and Access Token(Refresh Token) and paste it into Facebook configuration section.
- Click on save button to save above information.
- Once saved, you can see a new button ‘Authorize with Facebook’
The tab appears as shown below:
- Click on this button and login into your Facebook account to authorize your account with Facebook.
- You can see a success authorized message.
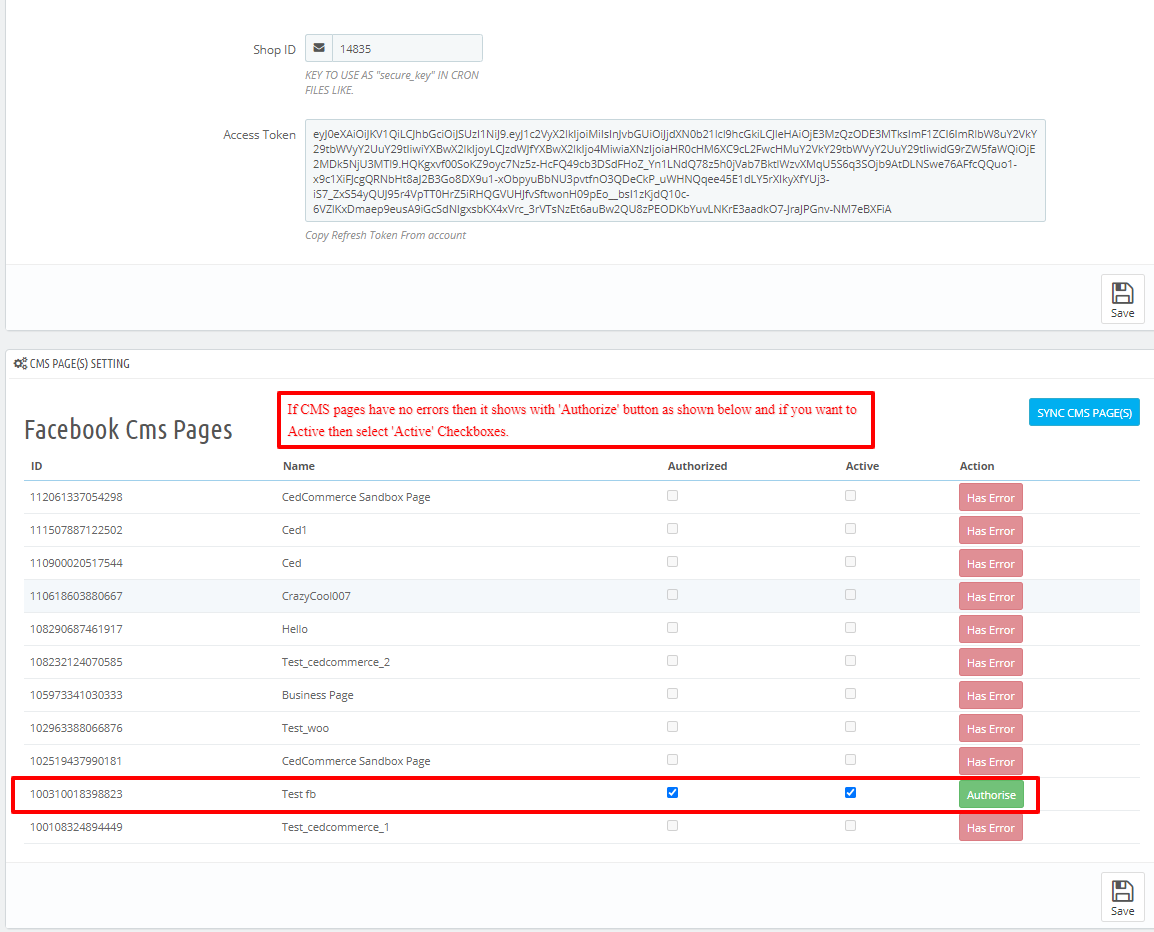
- After got authorized, Go to Facebook Configuration page and refresh tab to get Shop ID, Access Token and Facebook CMS pages.’
The tab appears as shown below:
- Now move on Products & Order Settings,
The tab appears as shown in figure:
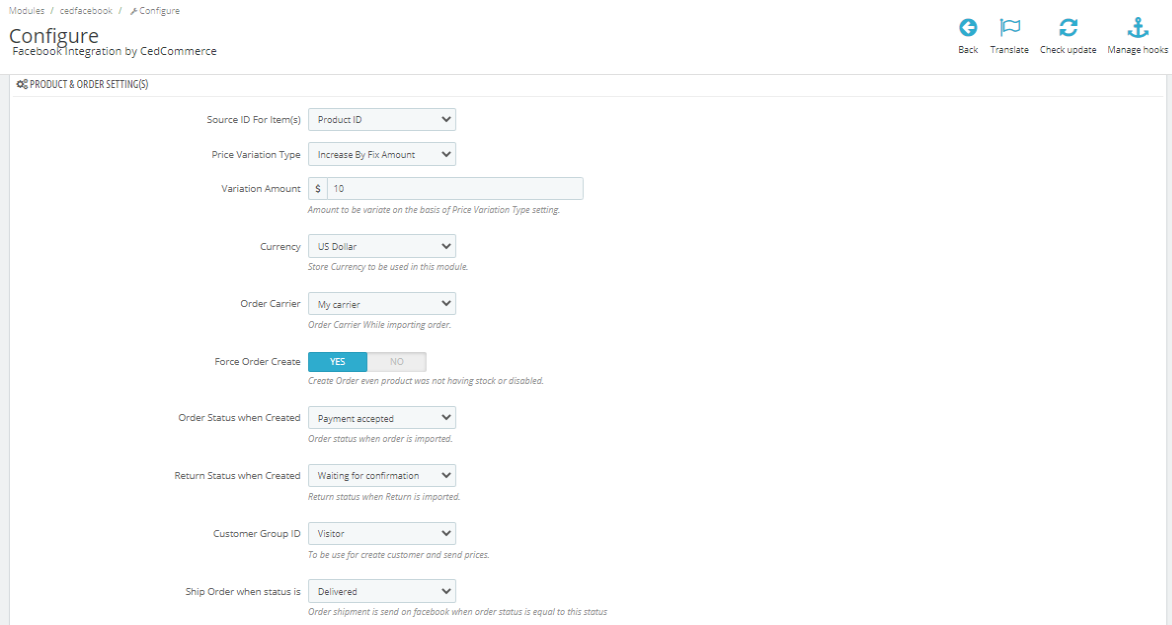
- In the Product & Order Settings, do the following steps:
- In the Source ID for items, choose your source id from dropdowns for your items.
- In the Price Variation Type, you can vary your product prices by choose ‘Increase by Fix Amount’ and ‘Increase by fix Percentage’.
- In the Currency, choose your currency used for the module.
- In the Order Carrier, choose your carrier while importing order.
- In the Force Order Create, select ‘Yes’ to create order even product was not having stock or disabled.
- In the Order Status when Created, choose order status when order is imported into Prestashop store.
- In the Return Status when Created, choose return status when return is imported into Prestashop store.
- In the Customer Group ID, you can choose your customer group use to create customer and send prices.
- In the Ship Order when status is, choose status accordingly whatever the status you choose equals to order status, if it matches then your order is send to Facebook.
- In the Debug Mode, select ‘Yes’ to enable the debug mode to identify errors in module.
- In the Cron Settings, the tab appears as shown in figure:

- In the Cron Secure key, click on ‘Generate String’ to generate cron secure keys.
- Once done, click on Save button to save the above configuration settings.
×


