
Manage Bonanza Accounts
Once save the configuration settings, the Bonanza menu appears on the top navigation bar of the Admin Panel. The store owner has to fill out the retrieved the Bonanza DEVELOPER ID and BONAPITIT CERTIFICATE ID details in the respective fields displayed on the Bonanza Configuration page of the admin panel.
To Manage Accounts
- Go to Prestashop Admin Panel
- In the left navigation panel, place cursor on the Bonanza Integration menu.
The menu appears as shown in the following figure:
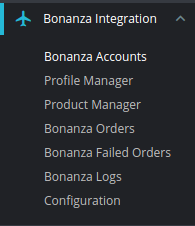
- Click on Bonanza Accounts
The page appears as shown in the following figure:
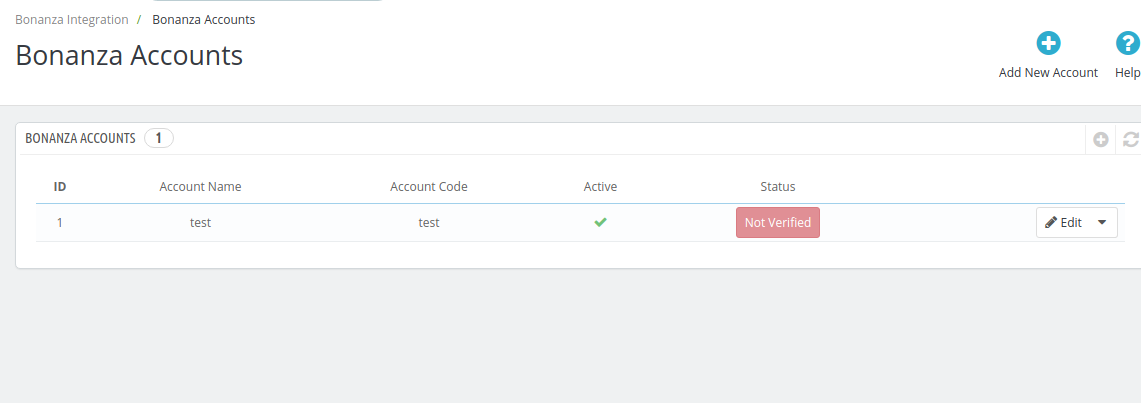
- Click the Add Account
The Add Account page appears as shown in the following figure:
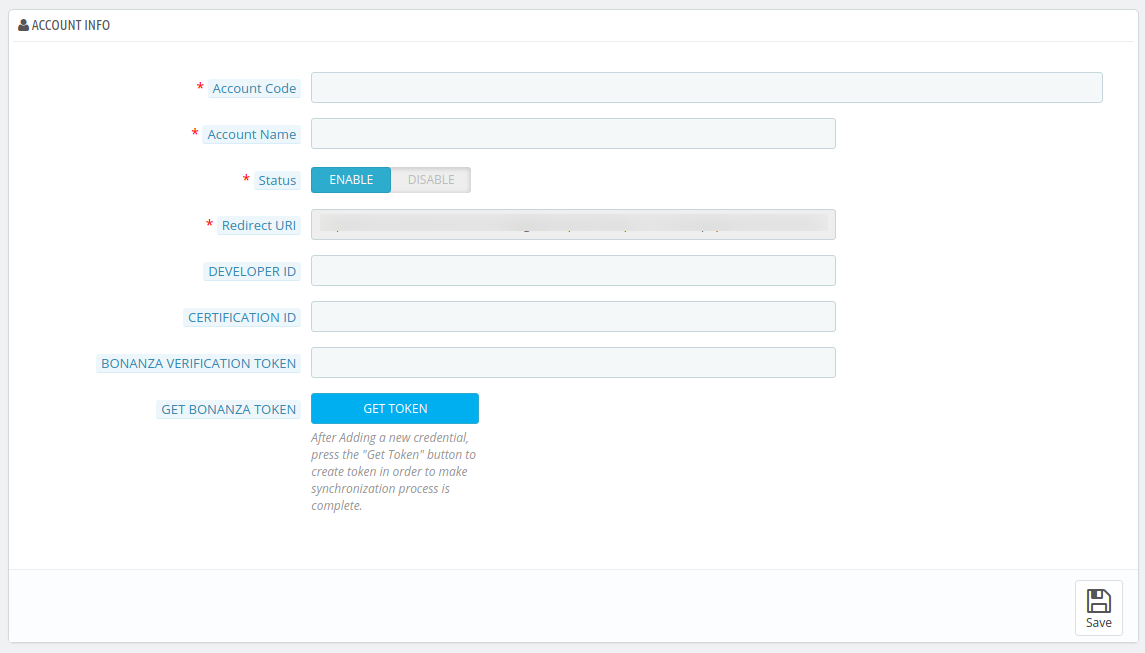
- In the New Account, do the following steps:
- In the Account Code box, you can enter your account code.
Note: For internal use. Must be unique with no spaces - In the Account Name box, enter the account name.
- In the Status box, select the Yes option to enable the account.
- Now here the sections of Developer ID, Certificate ID, Bonanza Verification Token.
To fetch details you need to follow these steps:
- In the Account Code box, you can enter your account code.
- Go to the http://www.bonanza.com/ link.
The page appears as shown in the following figure:

- In the right upper corner, click the Login link.
The login page appears as shown in the following figure:
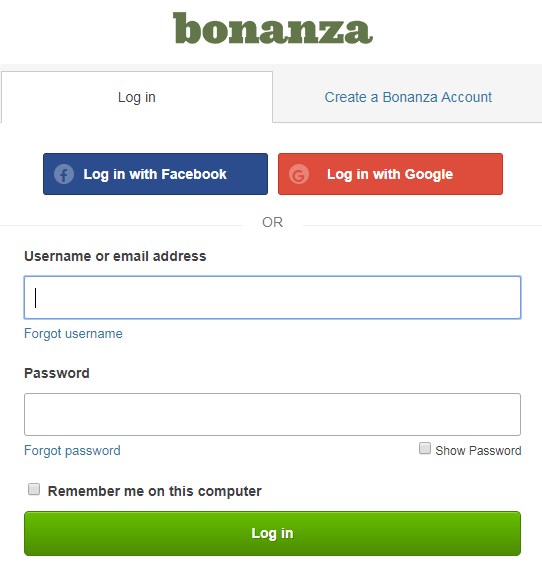
- Enter the login credentials to log into the Bonanza seller account.
The seller account page appears. - Scroll down to the API link.

- Click the API link.
The Bonanza API page appears.

- Click the My Account link.
The page appears as shown in the following figure:
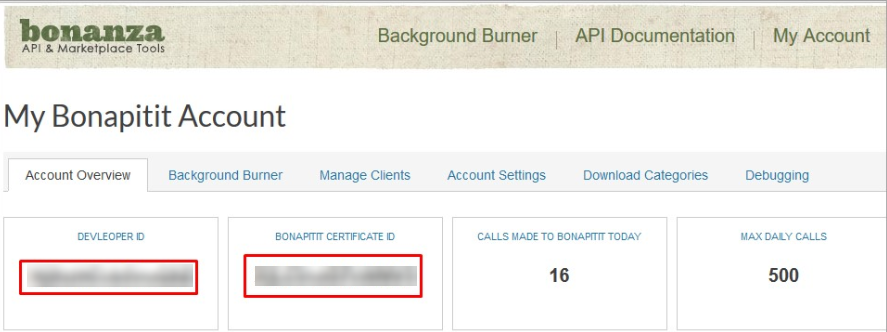
- Copy the DEVELOPER ID and the BONAPITIT CERTIFICATE ID values.
- Paste it on Bonanza Accounts section and Click on Save Button to save the details.
- After again click on Edit button to edit the account.
The image as shown in the following figure:

- After clicking the edit button, Press Get Token button.
- Once you pressed, you will redirect to Bonanza Seller Account for verification token.
The page appears as shown in the following figure:
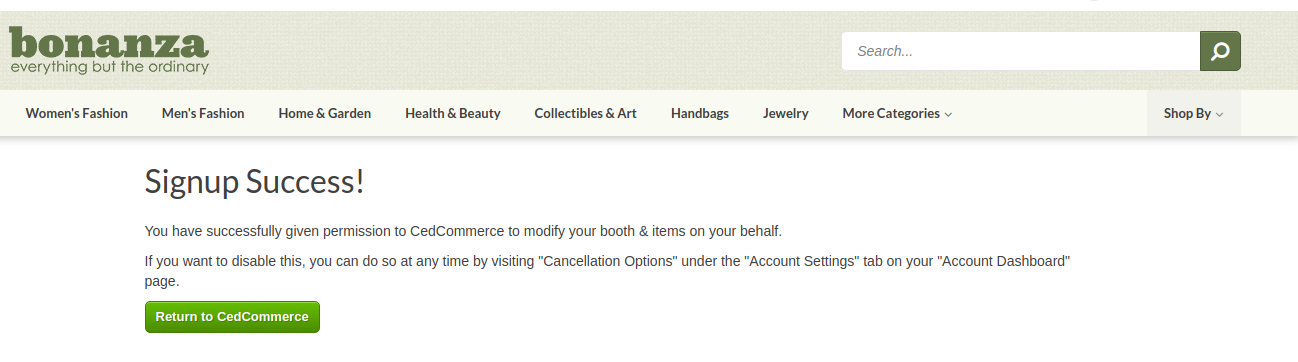
- Click on Return to CedCommerce button.
- Once you clicked, your Bonanza Verification Token get automatically filled.
- Then click on Save Button, to save the details.
×


