
Banggood Configuration Settings
Once the module has been installed, the first necessary step that needs to be taken by the admin is to complete the Configuration.
To do the Configuration Settings
- Go to the Prestashop Admin panel.
- In the left navigation panel, place cursor on Banggood Importer and the section expands as:
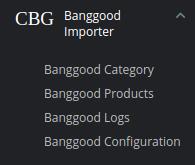
- Now click on Banggood Configuration.
The tab appears as shown in the figure:
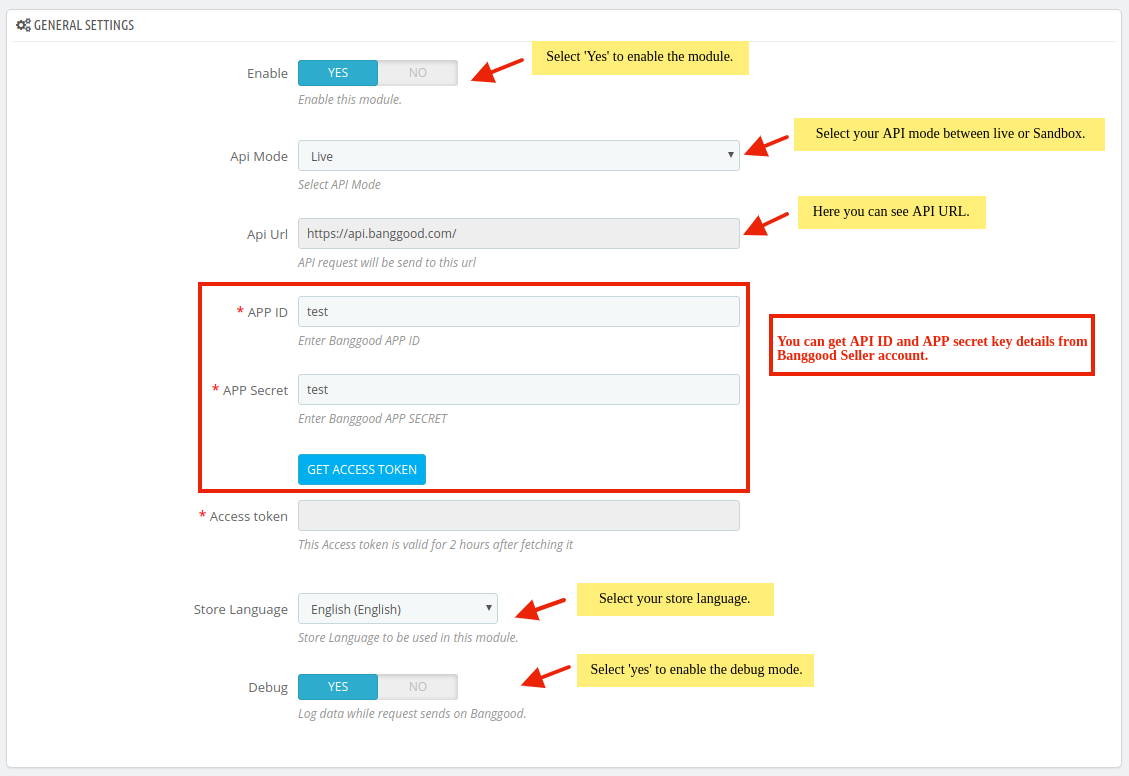
- In the General Settings, do the following steps:
- In the Enable option, select ‘Yes’ to enable the module.
- In the API mode, choose your account status.
- In the API URL, here you can see the API URL where a request will be sent.
- In the App ID, App Secret key, these details you can get from Banggood Seller Account.
- You first need to save the settings by clicking on ‘Save Button‘.
- Once data is saved, then click on the ‘Get Access Token’ button after that token will get filled automatically.
- In the Store Language, selected store language will be used in a module.
- In the Debug, select ‘Yes‘ to enable the debug mode, if any exception or errors occur in a module.
- Now move on to the next tab, Go to Product Settings.
The tab appears as shown in the following figure:
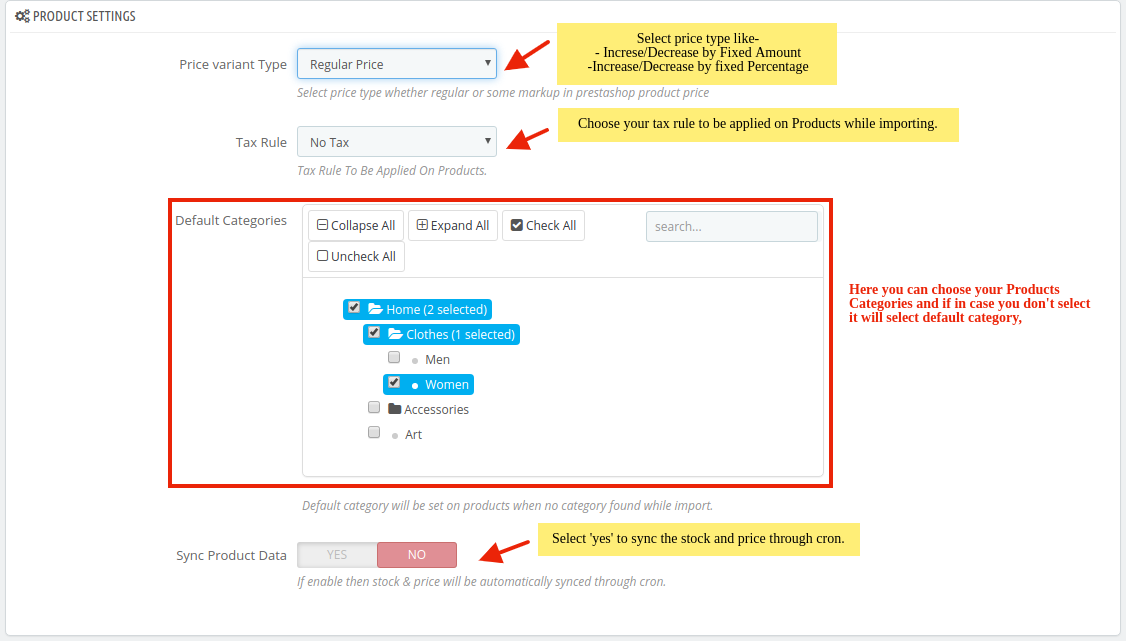
- In the Product Settings, do the following steps:
- In the Price Variant type, choose your product price type.
- Increase by Fixed Price: If selected, then the Modify by Fix Price field appears.
- Increase by Fixed Percentage: If selected, then the Modify by Percentage Price field appears.
- Decrease by Fixed Price: If selected, then the Modify by Fix Price field appears.
- Decrease by Fixed Percentage: If selected, then the Modify by Percentage Price field appears.
- In the Tax Rule, select your tax rule applied on products while importing from Banggood.
- In the Default Category, it will be assigned to a product while import if category id is not present in Banggood product data (possible case, while importing single product)
- In the Sync Product Data, Select ‘Yes’ to enable the stock and price of the products through crons.
- In the Price Variant type, choose your product price type.
- Now move to the last tab, Go to Cron Settings.
The tab appears as shown in the figure:
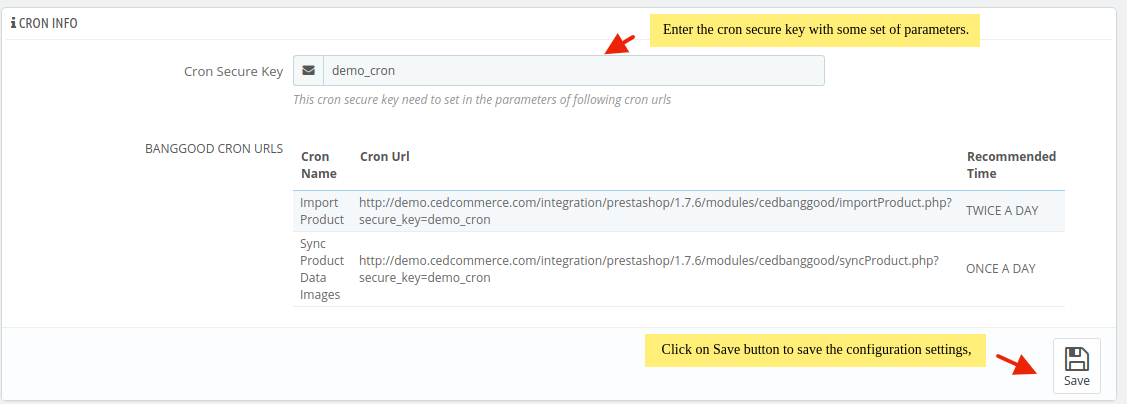
- In the Cron Settings, do the following steps:
- In the Cron Secure Key box, enter the cron secure key with some set of parameters.
- Here you can see cron URLs, import product, sync product, data images URLs.
- Click on the Save Config button to save the configuration information.
×


