
Rakuten France Configuration Settings
After installing the extension, you need to move to the configuration settings.
To set up the configuration settings in the Magento Admin panel
- Go to the Magento Admin panel.
- On the top navigation bar, point to the Rakuten France menu.
- The Menu opens up as shown in the figure:
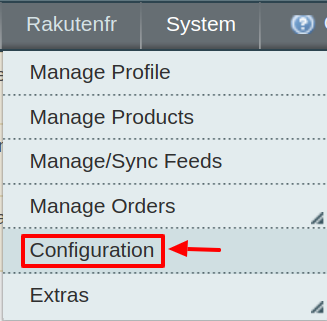
- Click on Configuration
- The Rakuten France Configuration page opens up:
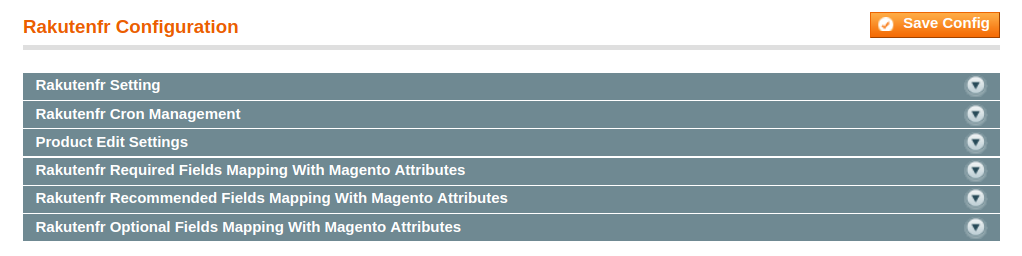
- Click the Rakutenfr Settings tab.
The tab is expanded and the relevant field appears under the Rakutenfr Settings section.

Under Rakutenfr Settings, do the following steps:
- In the Enabled list, select Yes to enable the extension features.
- In the API Url enter the Following URL- https://ws.fr.shopping.rakuten.com/
- In the Rakutenfr Token, enter the seller token that you are provided by Rakuten France once you register yourself with its seller panel.
- In Rakutenfr Login, Enter the login credentials of your Rakuten seller panel.
- The Rakuten Validation gets automatically filled as validated or invalid.
- Choose Yes in the Debug Mode. By doing so the extension will start capturing the log for the debug process.
- In the Select Store, choose the store from where you want your products to be integrated into the Rakuten marketplace.
- In the Choose Default Payment Method for Rakutenfr Orders list, select Rakutenfr.com.
- In the Order Prefix for Rakutenfr Orders select the Order Prefix for Rakuten Order Id. This is for your own recognization. For example, you can use the prefix “ON” in front of the order id. The product can be identified as RAK46468.
- In the Store Admin Email Id box, enter the email Id on which you want to receive a mail whenever an order is placed for your product, on Rakuten.
- Through this extension, sellers can Enable Automated Shipment which is supported for Shipstation and Shipworks by selecting Yes.
- In Enable Order For Disabled or Out of Stock Product, choose Yes if you wish to sell the items which are out of stock or disabled at a time of order fetch.
- Click on Save Config to save the details that you have entered.
- Now move to Rakuten France Cron Management.
- Click on the tab and the additional menu appears as shown:

- In Cron Chunk Size enter the chunk size for the cron jobs to sync product on rakutenfr.com
- Now click on the Product Edit Settings, and the section expands as:
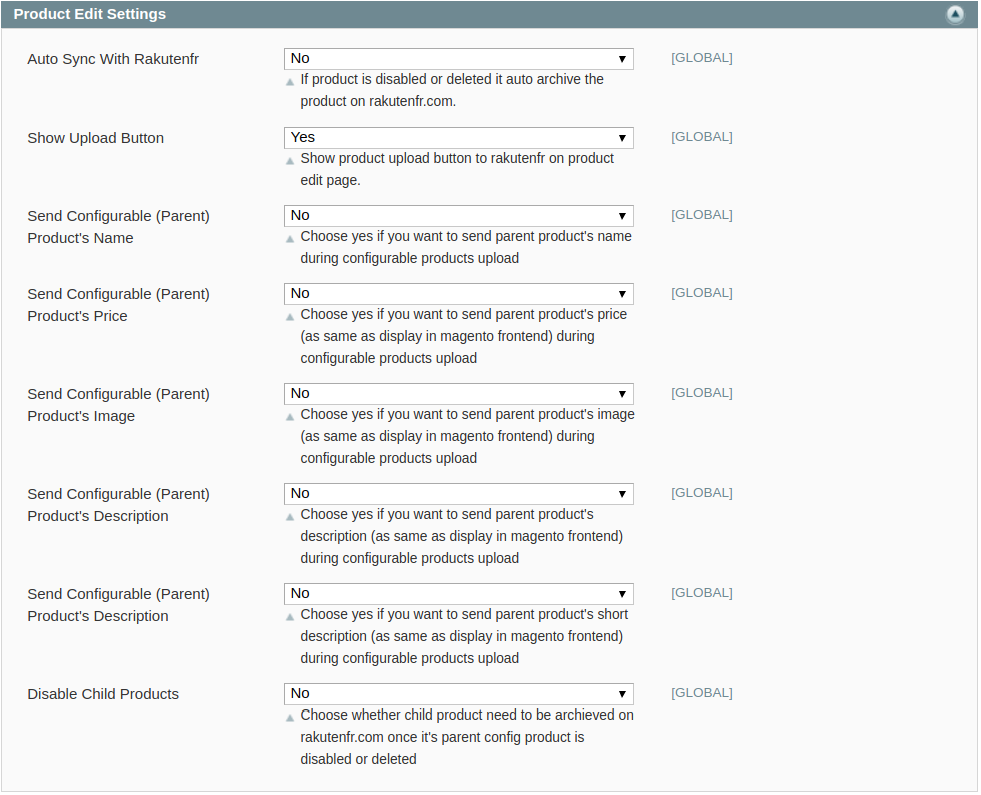
- In Auto Sync With Rakutenfr, select yes to automatically synchronize products between your store and Rakuten France Marketplace.
- In Show Upload Button, select Yes to enable the Product Upload button on the profile page.
- In Send Configurable (Parent) Product’s Name, Choose yes if you want to send parent product’s name during configurable products upload.
- In Send Configurable (Parent) Product’s Price, Choose yes if you want to send parent product’s price (as same as display in Magento frontend) during configurable products upload.
- In Send Configurable (Parent) Product’s Image, Choose yes if you want to send parent product’s image (as same as display in Magento frontend) during configurable products upload.
- In Send Configurable (Parent) Product’s Description, Choose yes if you want to send parent product’s description (as same as display in Magento frontend) during configurable products upload.
- In Disable Child Products, Sellers can Choose whether child product need to be archived on rakutenfr.com once it’s parent config product is disabled or deleted.
- Now Click on Rakutenfr Required Fields Mapping With Magento Attributes and the section expands as:
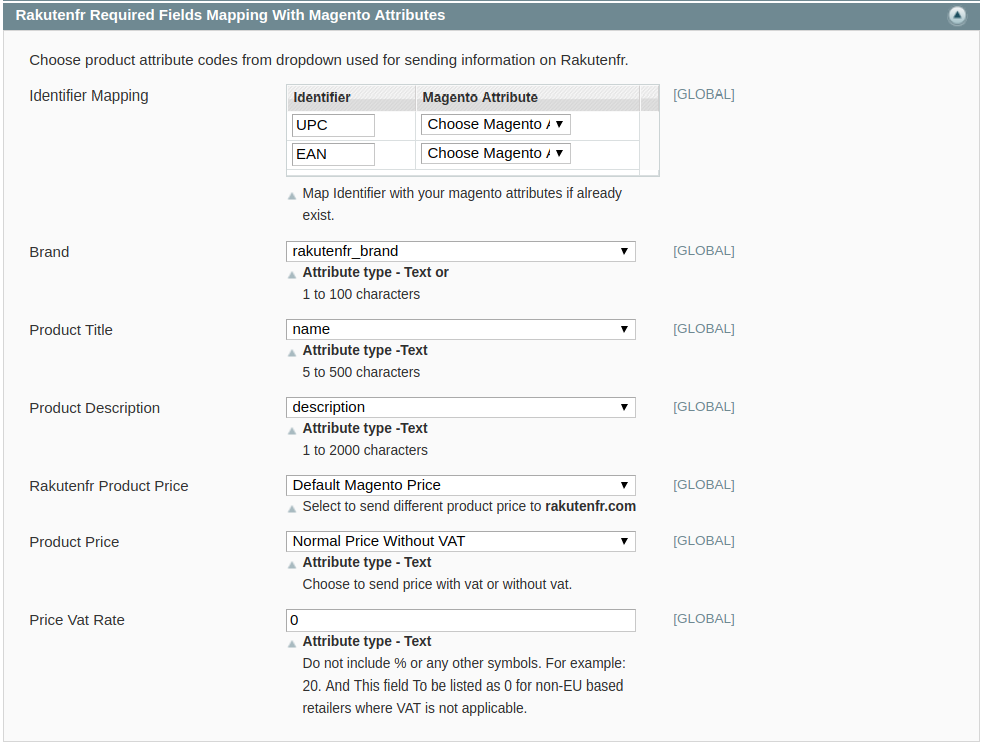
- In Identifier Mapping section, Choose product attribute codes from dropdown used for sending information on Rakutenfr.
- Map the required identifier with the desired Magento Attribute.
- In the Brand menu, select the desired store attribute for the brand.
- Same is the case with Product Title, Product Description, and Product Price.
- In the Product Price, select whether you want to apply the VAT in the final product price.
- In the Price Vat Rate, enter the rate at which you wish to apply the VAT. Be careful not to include % or any other symbols. If you are applying 15% VAT then enter 15.
- Click on Save Config to save the entered details.
×


