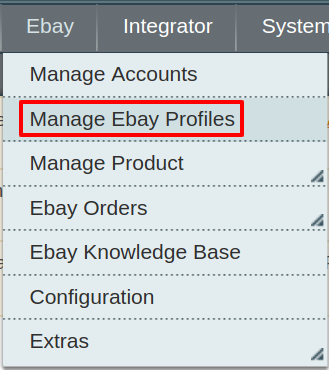
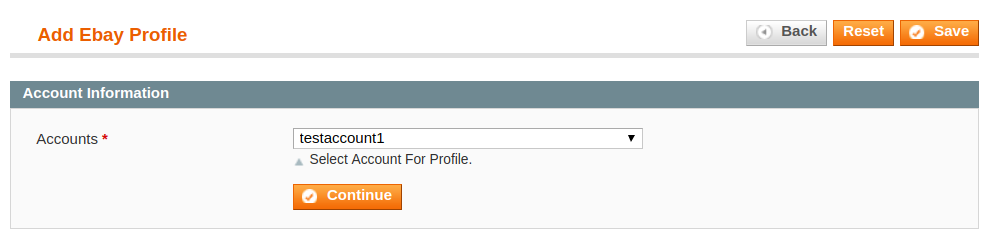
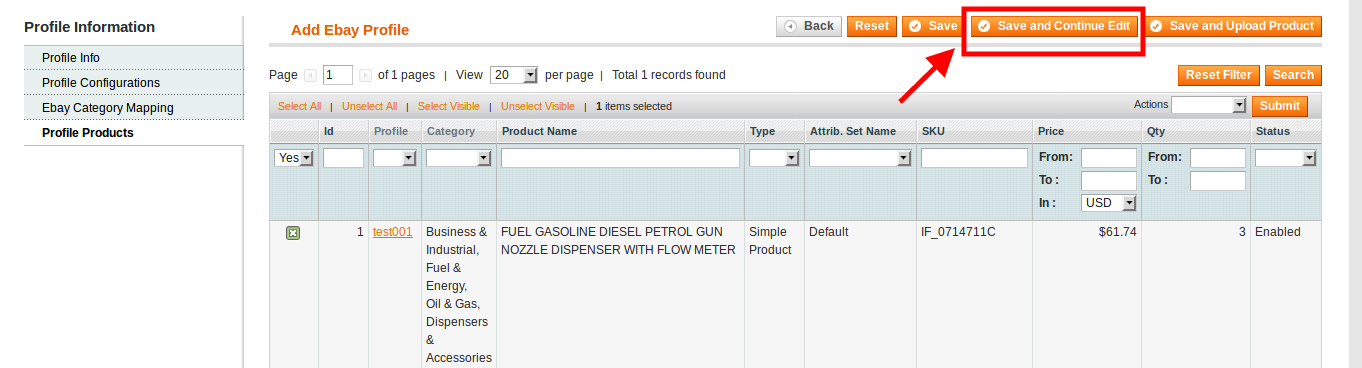
Procedure to Add A New Profile: 1. Go to the Magento Admin panel. 2. On the top navigation bar, point to the Ebay menu. The menu appears as shown: 3. Click Manage Ebay Profiles. The eBay Profile Listing page appears as shown: 4. Click the Add New Profile button. The page appears as shown Choose the desired account for which you wish to create the profile. Once you do so click on continue and you will be redirected to add eBay Profile page 5. In the right panel, under Profile Information, do the following steps: 7. Next, in the left navigation panel, click the Ebay Category Mapping menu. 9. In the left navigation panel, click the Profile Products menu. 10. Click the Reset Filter button highlighted in the above image. All the products will be listed in the table as shown: 11. Select the check boxes associated with the required products that you want to assign to the profile. 14. Or you may click the Save and Continue Edit button to save the created profile and continue editing, if required. 
Add A New Profile

The page appears as shown in the following figure: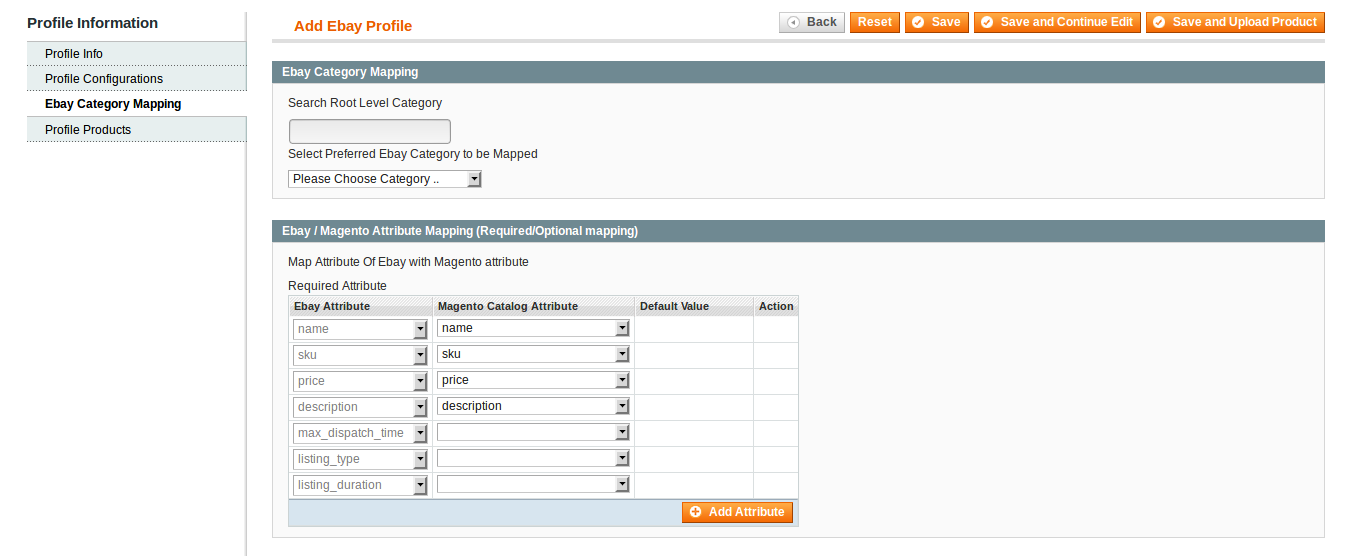

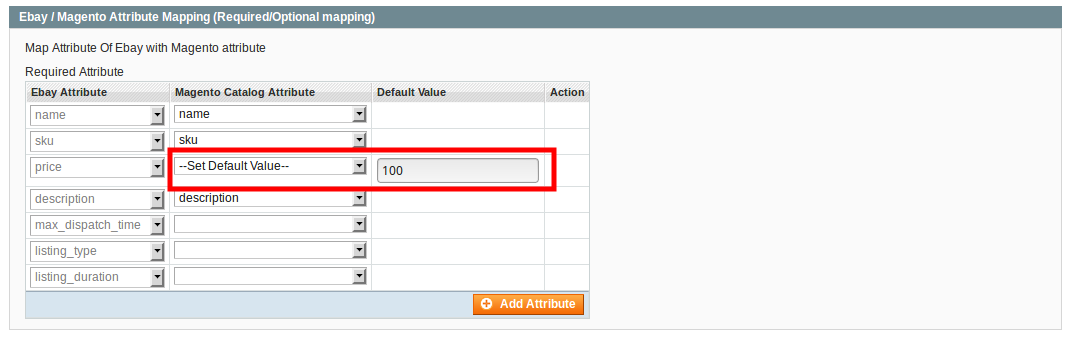
8. Now, move down to the Ebay/ Magento Attribute Mapping (Required/ Optional mapping) section.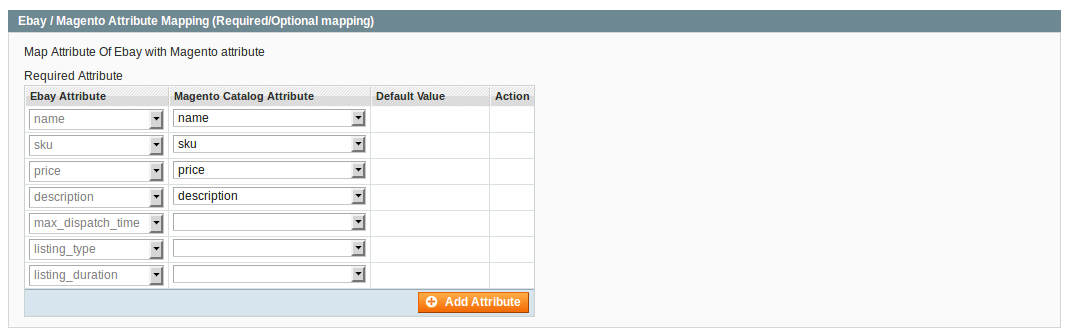
The page appears as shown: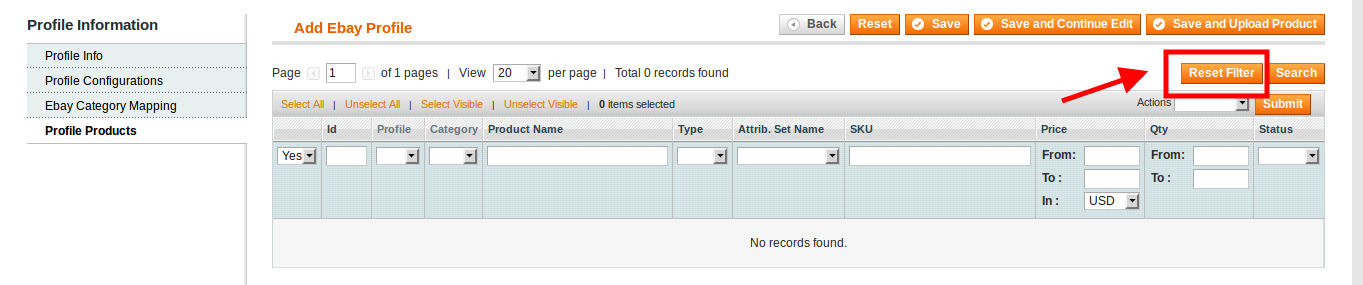
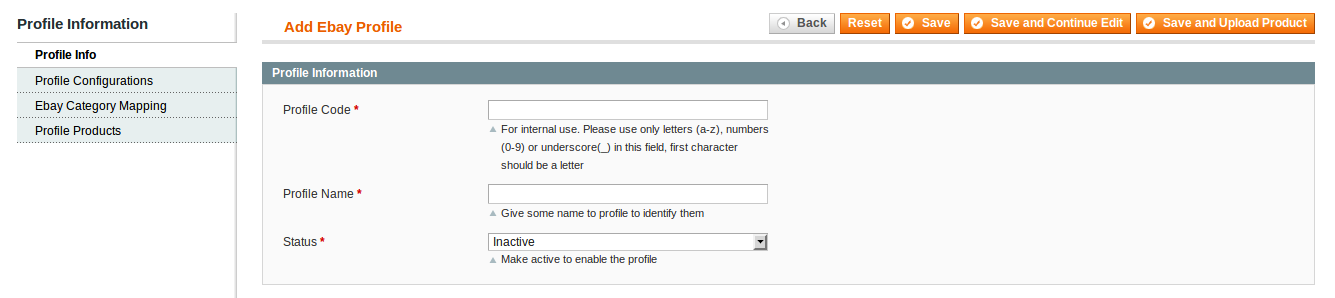
( Note: Admin can assign one product to one profile only. It means, admin can assign multiple products to the same profile but can associate a product only to one profile at one time. To assign a product to another profile, the admin has to remove that product from the currently assigned profile.)
12. Click Select All to select all the products available in the store.
(Note: To clear the selection, click the Unselect All link.)
13. Click the Select Visible link to select the products displayed on the current page.
(Note: To clear the selection, click the Unselect Visible link.)
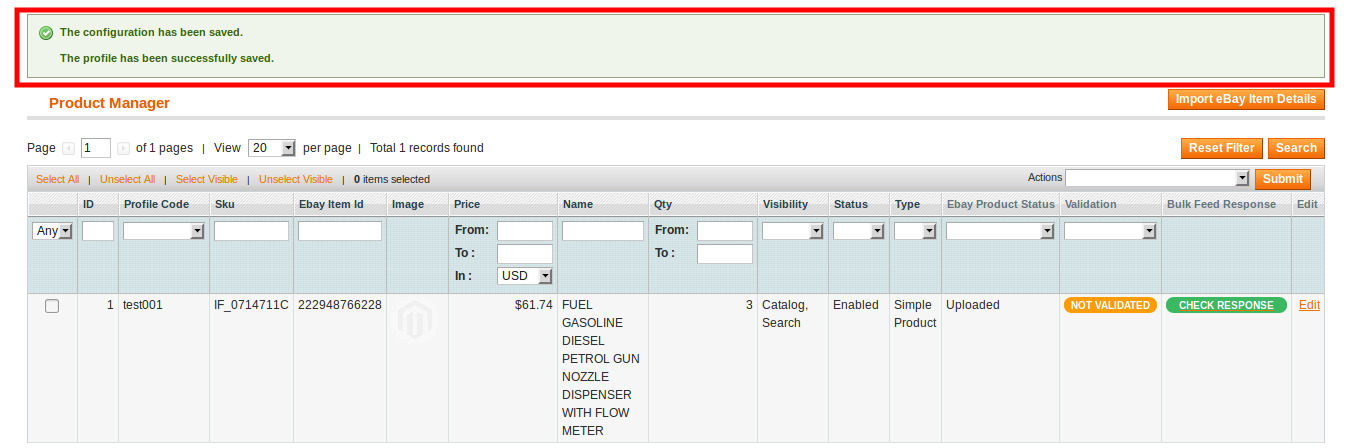
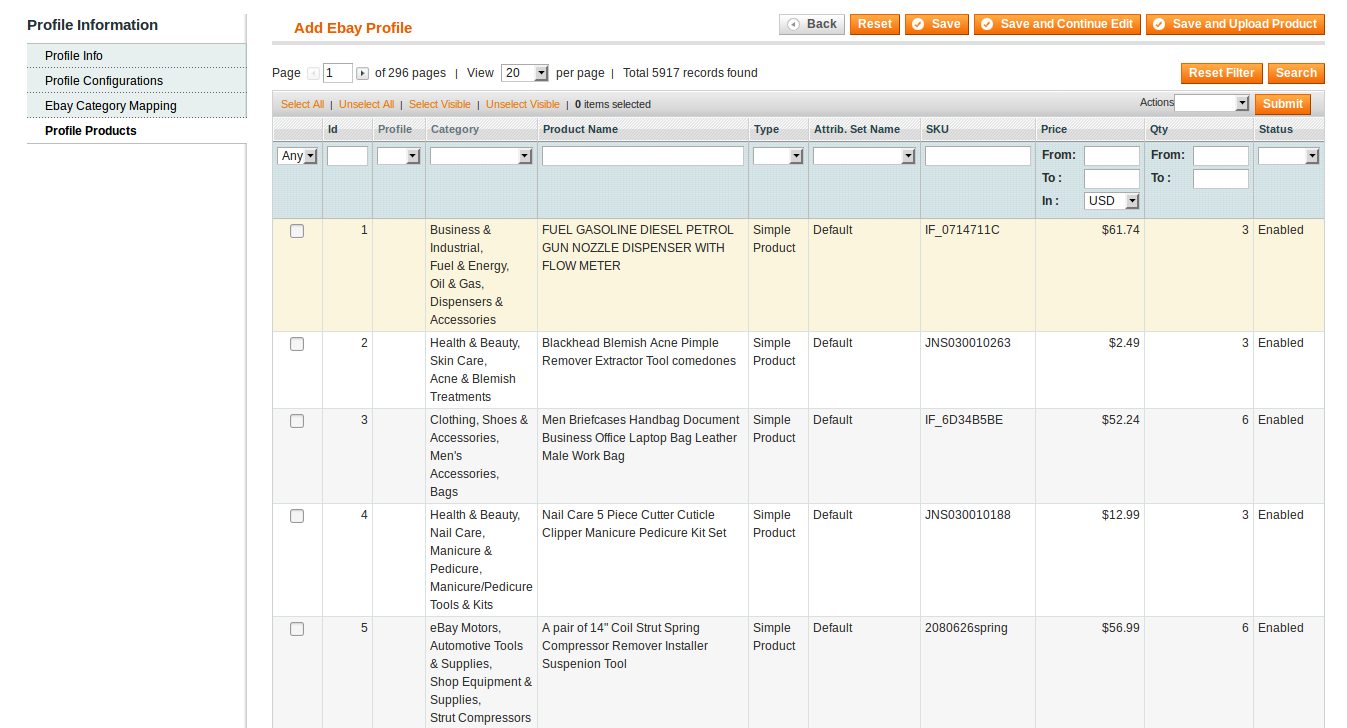
15. Click the Save button. The profile will be created and you will be navigated to the Ebay Profile Listing page. A success message will appear on the page as highlighted in the image below and the newly created profile will be listed in the column.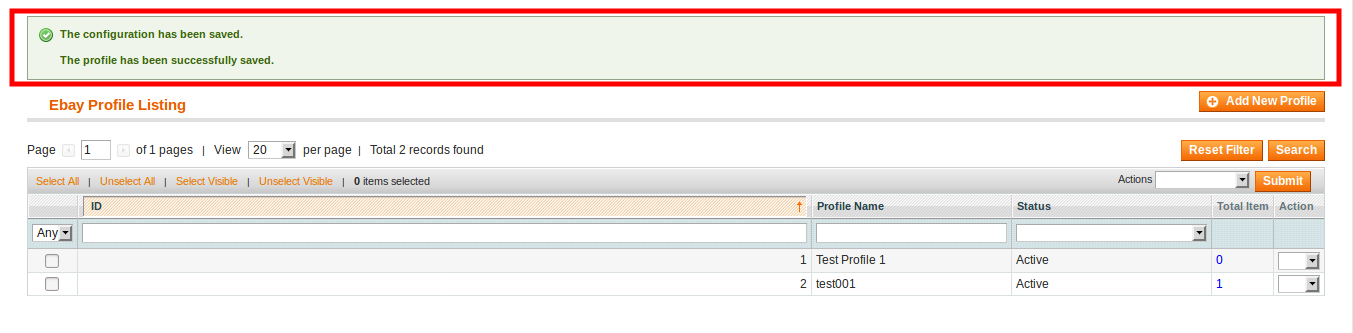
15. You may also click the Save and Upload Product button to save the profile and upload the products on Ebay.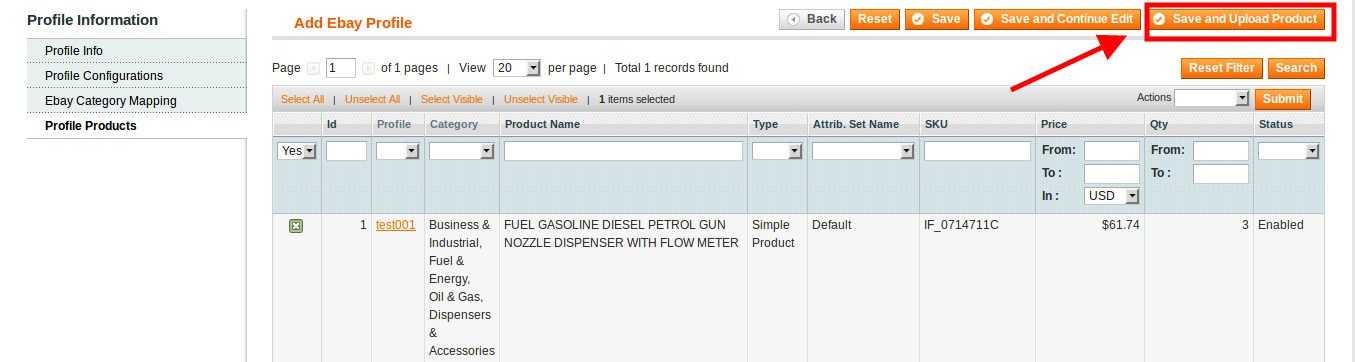
16. The assigned products are listed on the Product Manager page as shown in the following figure, and a success message appears as highlighted in the image.