
BestBuy Configuration Settings
After obtaining the API Key value from the BestBuy Seller account, the Magento® store owner has to paste it in the respective field displayed on the Bestbuy Configuration page of the admin panel.
To set up the configuration settings in the Magento Admin panel:
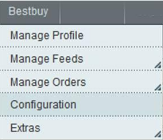
- Go to the Magento Admin panel.On the top navigation bar, point to the Bestbuy menu.The menu appears as shown in the following figure:
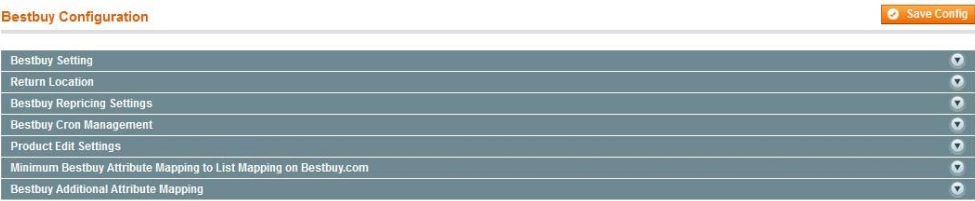
2.Click Configuration.The Bestbuy Configuration page appears as shown in the following figure:
3.lick the Bestbuy Setting tab.The tab is expanded and the section appears as the following figure:
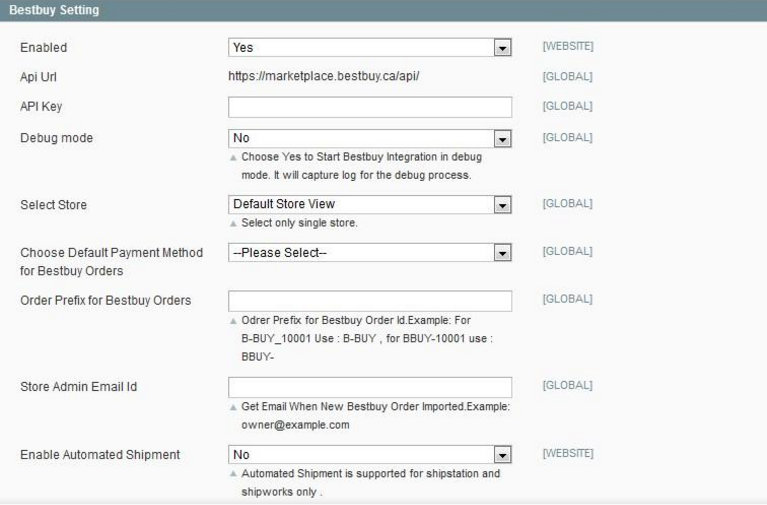
4.Under Bestbuy setting, do the following steps:
- In the Enabled list, select the Yes option to enable the extension features.
- In the API Key box, enter the API Key value copied from the Bestbuy Seller account.
- In the Debug mode list, select the Yes option.
Note: Choose Yes to Start Betsbuy Integration in debug mode. It captures the log for the debug process. - In the Select Store list, select the single store.
- In the Choose Default Payment Method for Bestbuy Orders list, select the required payment method.
- In the Order Prefix for Betsbuy Orders box, enter the text to prefix with the Order Id.
For example, Use B-BUY for B-BUY_10001 or Use BBUY- for BBUY-10001 - In the Store Admin Email Id box, enter the email Id.
- In the Enable Automated Shipment list, select the Yes option to enable the automated shipment.
Note: Automated Shipment supports only Shipstation and Shipworks.
9.Scroll down to the Return Location tab, and click the tab.The tab is expanded and the expanded section appears as shown in the following figure:
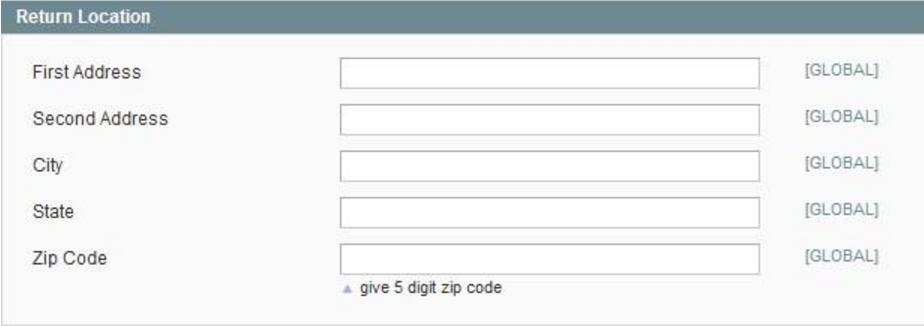
10.Under Return location, enter the values in the following fields:
-
- First Address
- Second Address
- City
- State
- Zip Code
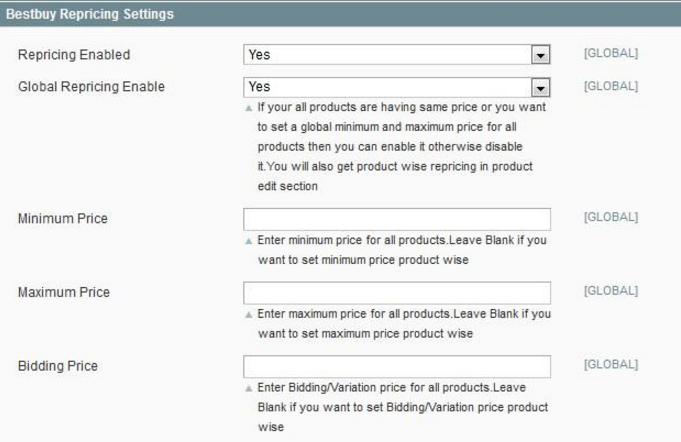
11.Scroll down to the Bestbuy Repricing Settings tab, and click the tab. The tab is expanded and the expanded section appears as shown in the following figure:
 12.Under Bestbuy Repricing Settings, do the following steps:
- In the Repricing Enabled list, select the Yes option to enable the repricing.
13.In the Global Repricing Enable list, select the Yes option to set a global minimum and maximum price for all products.
The relevant fields appear as shown in the following figure:
-
- In the Minimum Price box, enter the minimum price for all the products.
Note: Leave the field blank to set the minimum price on each product level. - In the Maximum Price box, enter the maximum price for all the products.
Note: Leave the field blank to set the maximum price on each product level. - In the Bidding Price box, enter the bidding price for all the products.
Note: Leave the field blank to set the bidding price on each product level.
- In the Minimum Price box, enter the minimum price for all the products.
14.Scroll down to the Bestbuy Cron Management tab, and click the tab.The tab is expanded and the expanded section appears as shown in the following figure:
 15.Under Bestbuy Cron Management, do the following step:
1.In the Cron Chunk Size list, select the chunk size for cron jobs to sync the product with bestbuy.com
16.Scroll down to the Product Edit Settings tab, and then click the tab.The tab is expanded and the corresponding fields under the section appear as shown in the following figure:
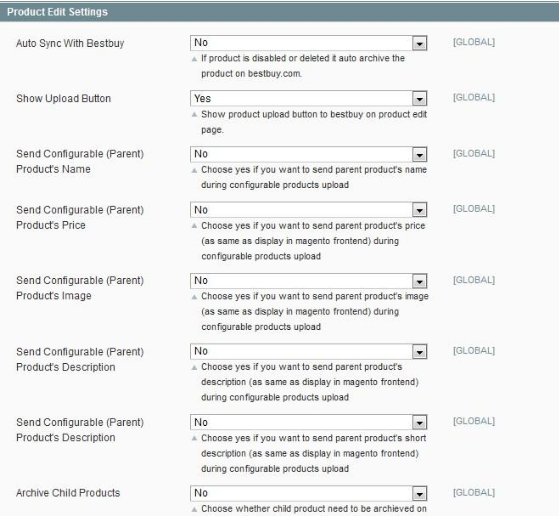
17.Under Product Edit Settings, enable or disable the following fields based on the business requirement:
- Auto Sync With Bestbuy: If selected the Yes option, then it auto disables the product on bestbuy.com if the product is disabled or deleted.
- Show Upload Button: If selected the Yes option, then it displays the product upload button on the product edit page.
- Send Configurable (Parent) Product’s Name: Choose the Yes option to send parent product name during configurable products upload if required.
- Send Configurable (Parent) Product’s Price: Choose the Yes option to send parent product price (similar to the price displayed on the Magento frontend view) during configurable products upload if required.
- Send Configurable (Parent) Product’s Image: Choose the Yes option to send parent product image (similar to the image displayed on the Magento frontend view) during configurable products upload if required.
- Send Configurable (Parent) Product’s Description: Choose the Yes option to send parent product description (similar to the product description displayed on the Magento frontend view) during configurable products upload if required.
- Archive Child Products: If required, choose the Yes option to archive the child product on bestbuy.com once its parent configuration product is disabled or deleted.
18.Scroll down to the Minimum Bestbuy Attribute Mapping to List Mapping on Bestbuy.com tab, and then click the tab.
The tab is expanded and the expanded section appears as shown in the following figure:
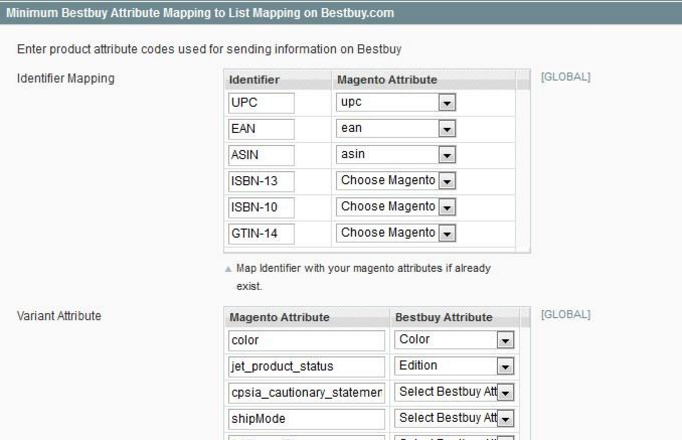
19.Under Minimum Bestbuy Attribute Mapping to List Mapping on Jet.com, do the following steps:
- In the Identifier Mapping field, select the corresponding existing Magento Attribute from the list to map it with Identifier.
- In the Variant Attribute field, select the corresponding Jet Attribute from the list to map it with Magento Attribute.
20.Scroll down to the further fields.
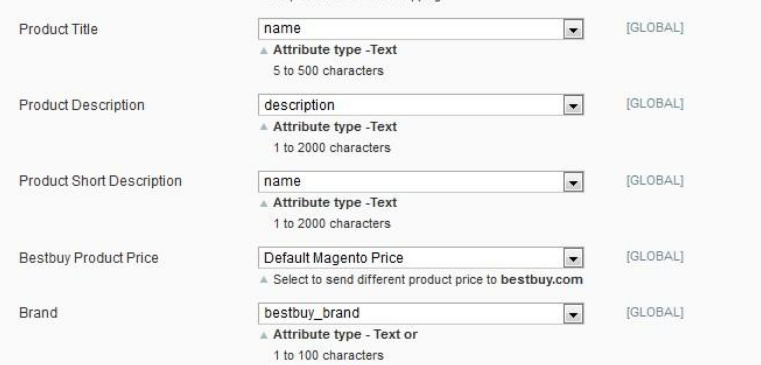
3.In the In the Product Title list, select the required attribute.
Note: Select the Text-Type attribute. Limitation on the attribute value is 5 to 500 characters.
4.In the Product Description list, select the required attribute.
Note: Select the Text-Type attribute. Limitation on the attribute value is 1 to 2000 characters.
5.In the Short Description list, select the required attribute.
Note: Select the Text-Type attribute. Limitation on the attribute value is 1 to 2000 characters.
6.In the Bestbuy Product Price list, select the required option to set a different price for all the products.
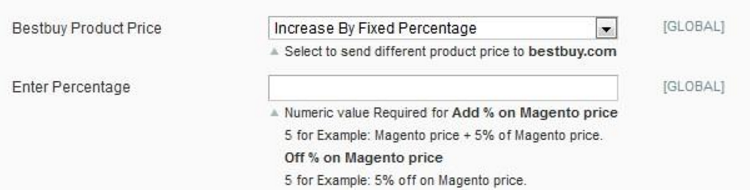
7.A user can set the price on the following basis: –
- Increase in Fixed Price: If selected, then the Enter Amount field appears.
- Increase by Fixed Percentage: If selected, then the Enter Percentage field appears.
Enter the numeric value to increase the price of the Bestbuy product price by the entered value % of Magento price
For Example, Magento price + 5% of Magento price.
Magento Price = 100
Select Increase By Fixed Percentage option
Enter Percentage = 5
100 + 5% of 100 = 100 + 5 = 105
Thus, Betsbuy Product Price = 105 - Decrease by Fixed Price: If selected, then the Enter Amount field appears.
- Decrease by Fixed Percentage: If selected, then the Enter Percentage field appears.
Enter the numeric value to decrease the price of the Bestbuy product price by the entered value % of Magento price
For Example, Magento price – 5% of Magento price.
Magento Price = 100
Select Decrease By Fixed Percentage option
Enter Percentage = 5
100 – 5% of 100 = 100 – 5 = 95
Thus, Bestbuy Product Price = 95
-
- In the Brand list, select attribute code for Brand of the product.
Attribute type used is Text – 1 to 100 characters. - Select the required attribute code in the corresponding fields.
- In the Brand list, select attribute code for Brand of the product.
8.Scroll down to the Bestbuy Additional Attribute Mapping tab, and then click the tab.The tab is expanded and the expanded section appears as shown in the following figure:
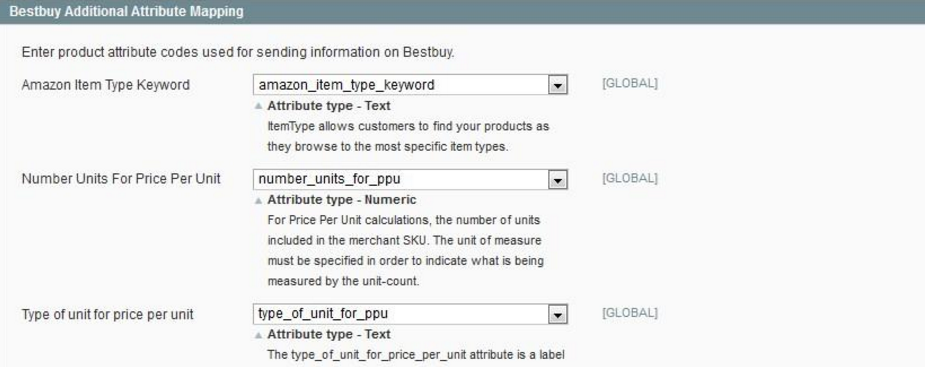 9.Under Bestbuy Additional Attribute Mapping, select the corresponding attributes for mapping:
- Amazon Item Type Keyword: Select the Text-Type attribute.
It allows customers to find the specific products. - Number Units For Price Per Unit: Select the Numeric-Type attribute.
The attribute value should specify unit of measure to indicate what is being measured by the unit-count. - Type of unit for price per unit: Select the Text-Type attribute.
The attribute value of the type_of_unit_for_price_per_unit attribute is defined as a label for the attribute value of the number_units_for_price_per_unit attribute.
Price per unit = selling price divided by the number of units and appending the text per unit value.
For example: If the product is six-pack of soda, then number_units_for_price_per_unit= 6, type_of_unit_for_price_per_unit= can,
thus, price per unit = price per can. - Package Length Inches: Select the Numeric-Type attribute.
The allowed attribute value is >= 0.01. - Package Width Inches: Select the Numeric-Type attribute.
The allowed attribute value is >= 0.01. - Package height inches: Select the Numeric-Type attribute.
The allowed attribute value is >= 0.01. - Display Length Inches: Select the Numeric-Type attribute.
The allowed attribute value is >= 0.01. - Display width Inches: Select the Numeric-Type attribute.
The allowed attribute value is >= 0.01. - Display Height Inches: Select the Numeric-Type attribute.
The allowed attribute value is >= 0.01. - Legal Disclaimer Description: Select the Text-Type attribute.
Any legal content that the admin wants to display with the product. - Safety Warning: Select the Text-Type attribute.
Limitation on the attribute value is 2000 characters. - Country Of Origin: Select the Text-Type or the Select-Type attribute.
Specifies the country where the product is manufactured. Limitation on the attribute value is 50 characters. - Manufacturer’s Suggested Retail Price: Select the Numeric-Type attribute.
Retail price or list price suggested by the manufacturer. The allowed attribute value is >= 0.01. - Fulfillment Time: Select the Numeric-Type attribute.
- No return fee adjustment: Select the Numeric-Type attribute.
10.Click the Save Config button.


