
Approve the sub-vendor account
Once the individuals accept the request, they are added on the Manage Sub-Vendors page, and the vendor can view the list of all the added sub-vendors.
The vendor can approve, disapprove, or delete the sub-vendors accoumts.
To approve the sub-vendor accounts
- Go to the Vendor panel.
- On the left navigation bar, click the Associated Sub-Vendors menu.
The Manage Sub-Vendors page appears as shown in the following figure:
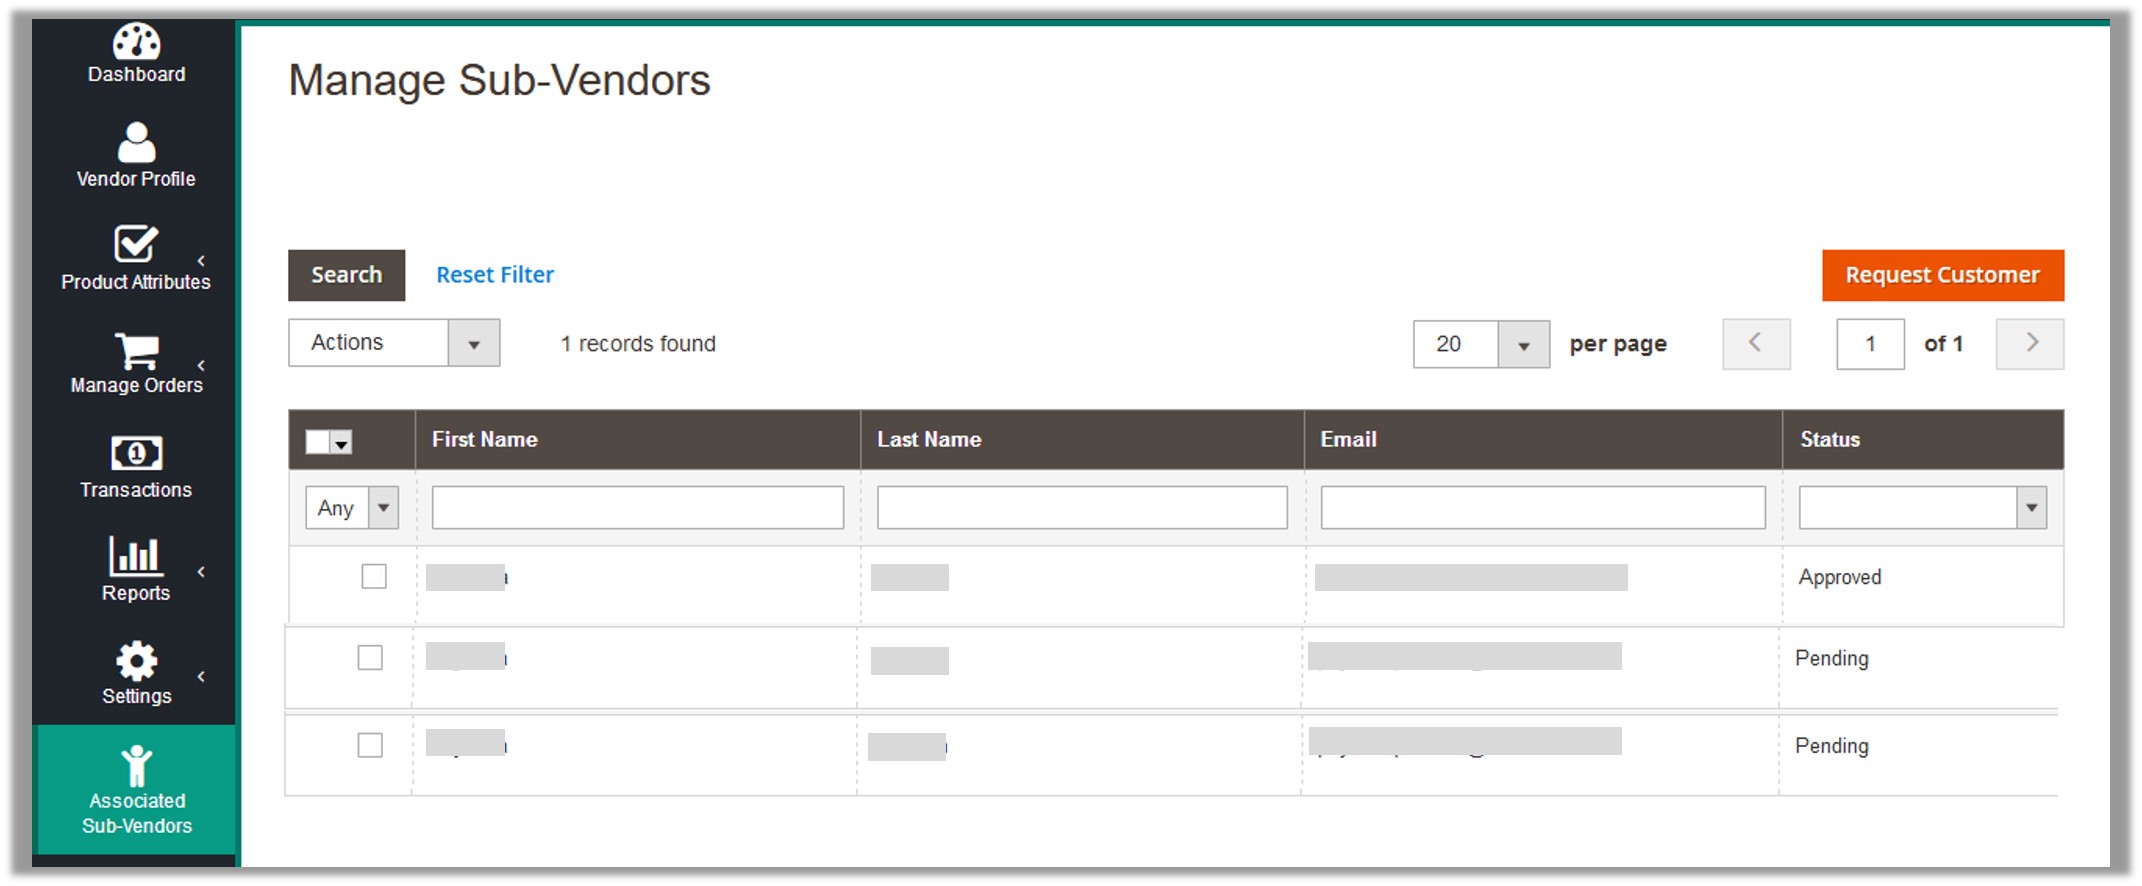
- Select the check boxes associated with the required sub-vendors.
- In the Actions list, select Approve.
The Submit button appears next to the Actions list. - Click the Submit button.
A confirmation dialog box appears.

- Click the OK button.
The sub-vendor accounts are approved and the Approved status appears in the Status column of the corresponding sub-vendors.
×


