
Configuration
To integrate the Magento 2 store with Newegg Canada, you need to complete the configuration process which works as the foundation of the integration process. Once the Newegg Canada Magento 2 Integration Extension has been installed, the configuration needs to be done.
To complete the configuration,
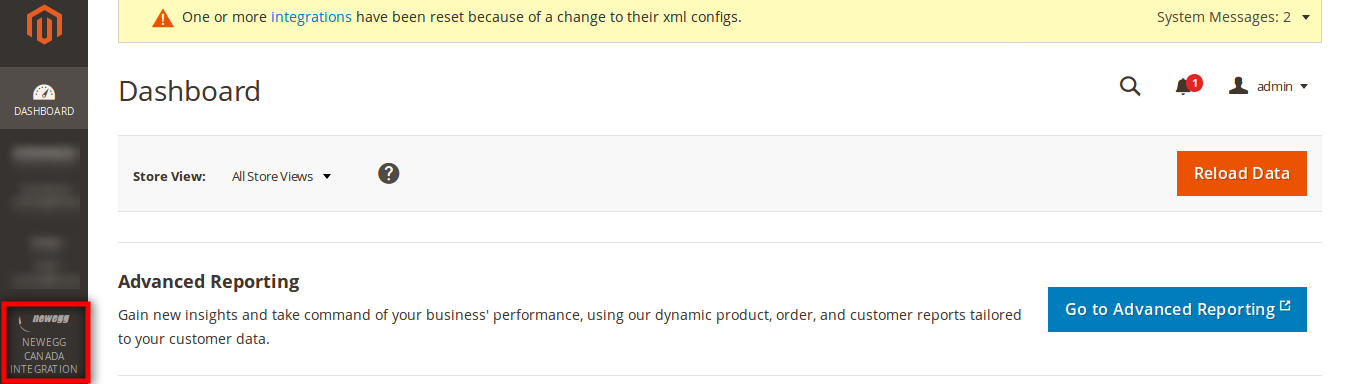
- Go to your Magento 2 admin panel.
- On the left navigation bar, click on Newegg Canada Integration.
- On clicking it, the menu appears as shown below.
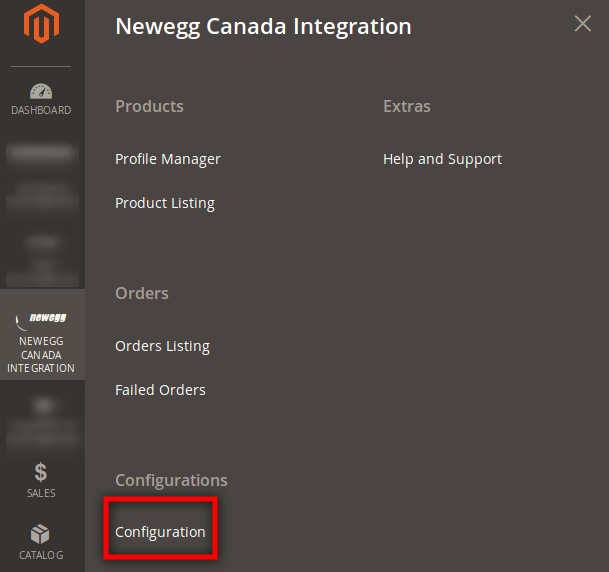
- Click on Configuration which is highlighted in the above image.
- On clicking it, you will be navigated to a page which will appears as shown below:
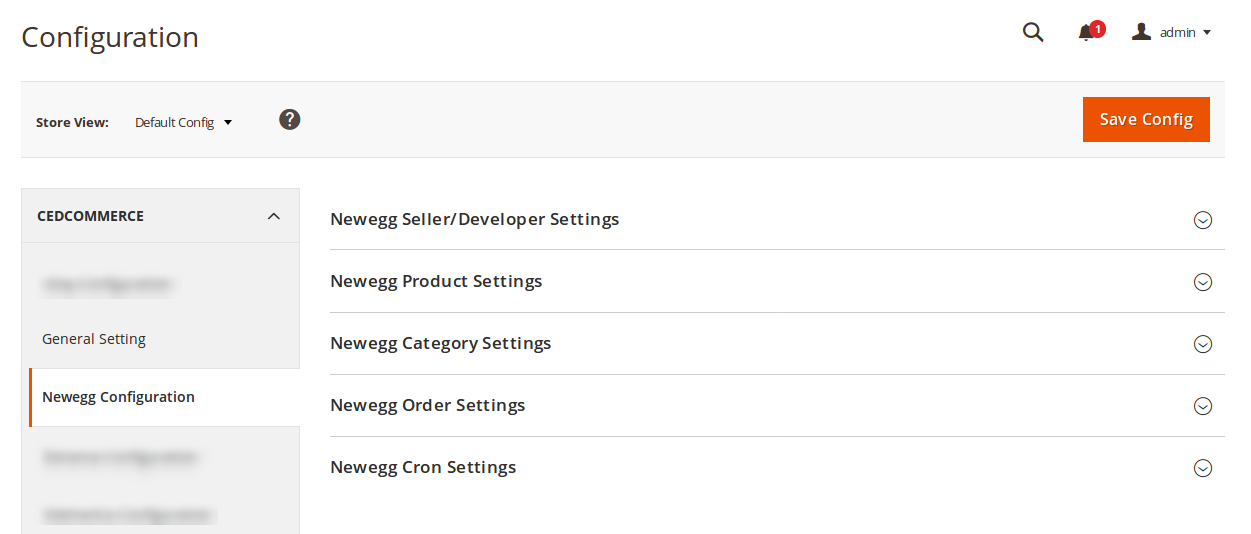
Newegg Seller/Developer Settings
- Click on Newegg Seller/Developer Settings and it will expand as:
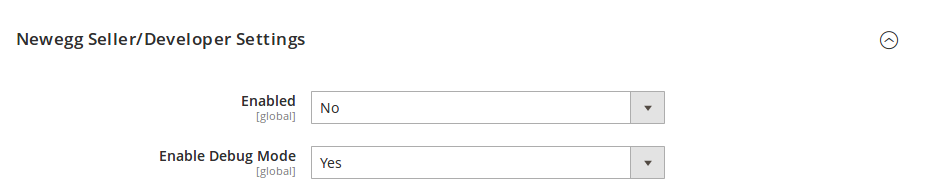
- In Enabled, select Yes to enable the Newegg Magento 2 Integration Extension.
- On selecting Yes, the section would expand as:
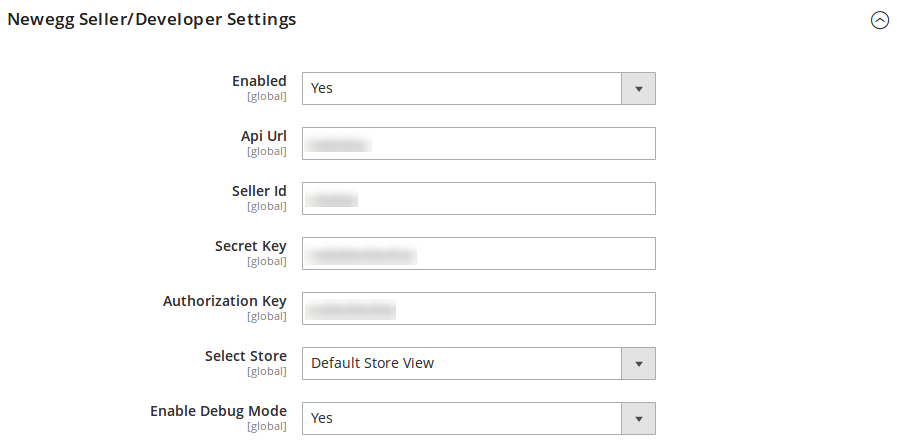
- In API URL field, enter the API URL which you can get from your Newegg Canada admin panel.
- Enter your seller ID in the Seller ID field.
- In the next two fields of Secret Key and Authorization Key, enter the keys that you may get from your Newegg Canada seller panel.
- Select your store in the next field.
- In Enable Debug Mode, select yes if you want the debug log to be created.
Newegg Product Settings
- Click the Newegg Product Settings and the section will expand as shown below:
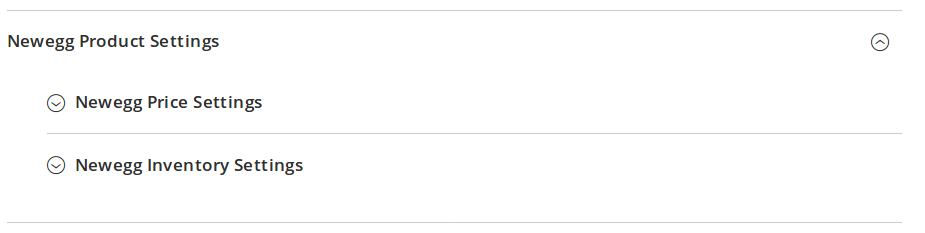
- Click on Newegg Price Settings and the section will expand further as:
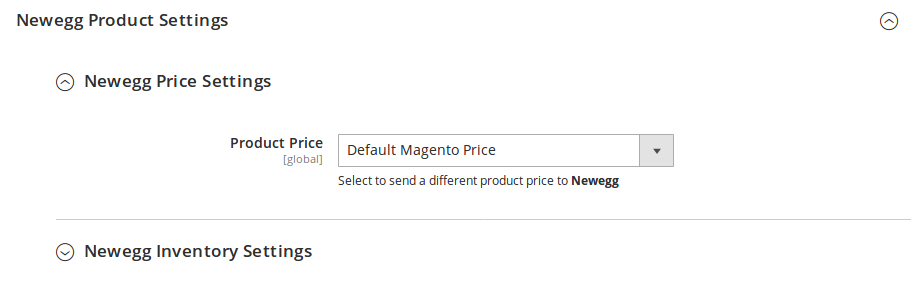
- Now you may select the price from the Product Price field that you want to be sent to Newegg Canada, for your Magento 2 store products. The options for price can be seen below:
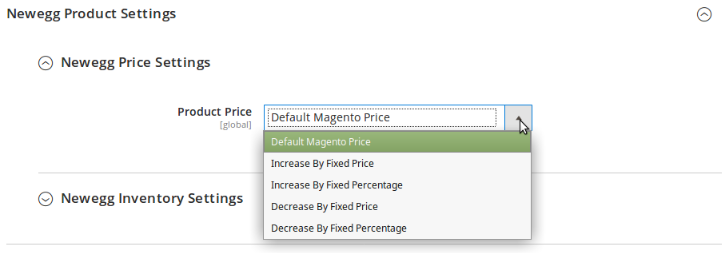
- Default Magento Price: By selecting this option, you can choose the same price for your product on Newegg Canada platfrom as it is on your Magento 2 store.
- Increase By Fixed Price: You may select this option if you want your product price to be increased on Newegg Canada as compared to you Magento 2 store. If you select this option, a box appears as shown below:

- By choosing this option, you may enter in the Modify by Fix Price box the amount by which you want your product price to be increased on Newegg Canada as compared to your Magento 2 store. Suppose if you enter 50 in this field and your product is for 100 on your Magento 2 store, then the amount that your product will be available for on Newegg Canada would be 150 (as the amount entered is 50 for Increase by fixed amount, so the price entered would be added to the price for which product is available on Magento 2 store).
- Increase By Fixed Percentage: You may use this option if you want the price of your Magento 2 product to be increased on Newegg Canada by a certain percentage. By choosing this option, you may enter in the Modify be Percentage Price box the percentage amount by which you want your product price to be increased on Newegg Canada as compared to your Magento 2 store. Suppose if you enter 20 in this field and your product is for 100 on your Magento 2 store, then the amount that your product will be available for on Newegg Canada would be 120 (as 20% of 100 is 20 which gets added to 100).

- Decrease By Fixed Price- You may use this option if you want the price of your Magento 2 product to be decreased on Newegg Canada. By choosing this option, you may enter in the Modify By Fixed Price box the amount by which you want your product price to be decreased on Newegg Canada as compared to your Magento 2 store. Suppose if you enter 50 in this field and your product is for 100 on your Magento 2 store, then the amount that your product will be available for on Newegg Canada would be 50 (as the amount entered is 50 for Decrease by fixed amount, so the price entered would be subtracted from the price for which the product is available on Magento 2 store).
- Decrease By Fixed Percentage- You may use this option if you want the price of your Magento 2 product to be decreased on Newegg Canada by a certain percent. By choosing this option, you may enter in the Modify By Percentage Price box the percentage amount by which you want your product price to be decreased on Newegg Canada as compared to your Magento 2 store. Suppose if you enter 20 in this field and your product is for 100 on your Magento 2 store, then the amount that your product will be available for on Newegg Canada would be 80 (as 20% of 100 is 20 which gets subtracted from 100).
- Now click on Newegg Inventory Settings and the section will expand as:
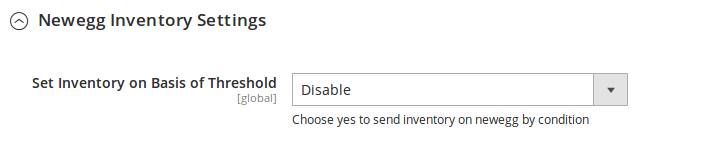
- In Set Inventory on Basis of Threshold, you may select Yes to send the product inventory on Newegg by condition. on selecting Yes, the section will expand as:
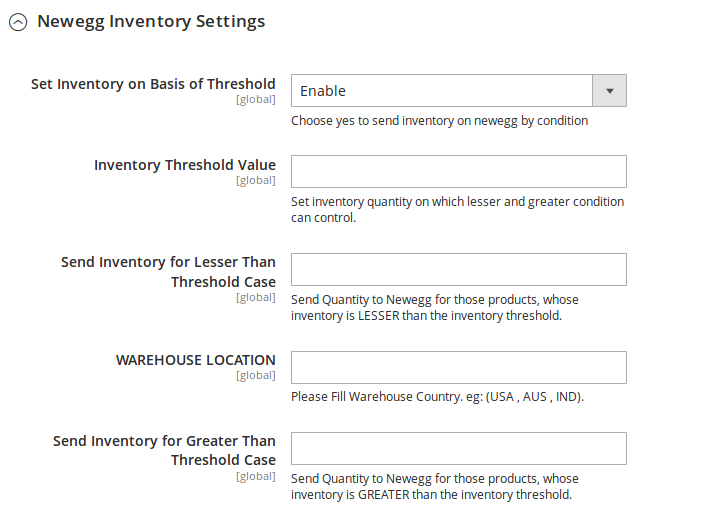
- Now, in Inventory Threshold Value, set the inventory quantity on the basis of which the product stock can be controlled.
Let us see how it works. - Suppose if in the Inventory Threshold Value we have entered 8.
- In Send Inventory for Lesser than Threshold Case, we enter 5.
- In Send Inventory for Greater Than Threshold Case, we enter 10.
Now, if the product inventory that we are sending to Newegg Canada is lesser than the threshold case – lets say 6 – then the inventory sent to Newegg Canada would be 5 and not 6 as that is the inventory we’ve entered. Similarly, if we’re sending product inventory of 9 to Newegg Canada, the inventory that would be sent would be 10 because that’s what we’ve entered in the corresponding field. - In WAREHOUSE LOCATION, you need to enter the location of your store warehouse.
Newegg Category Settings
- Click on Newegg Category Settings and the section will expand as:
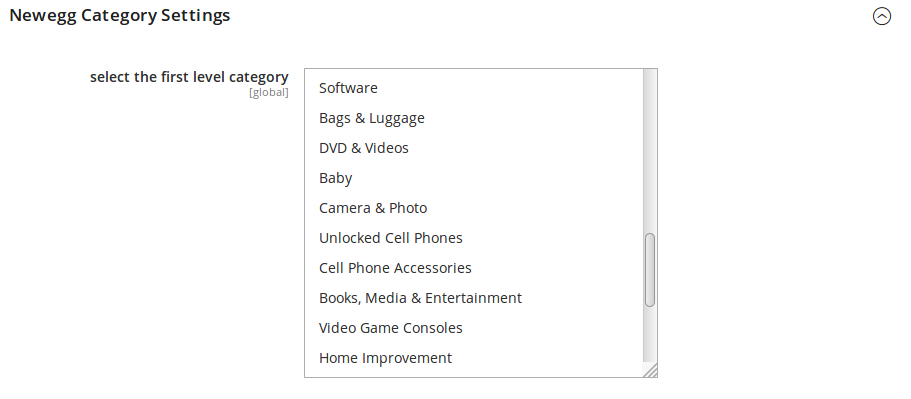
- Now select the first level category of your product from the categories given.
Newegg Order Settings
- Click the Newegg Order Settings section and it will expand as:
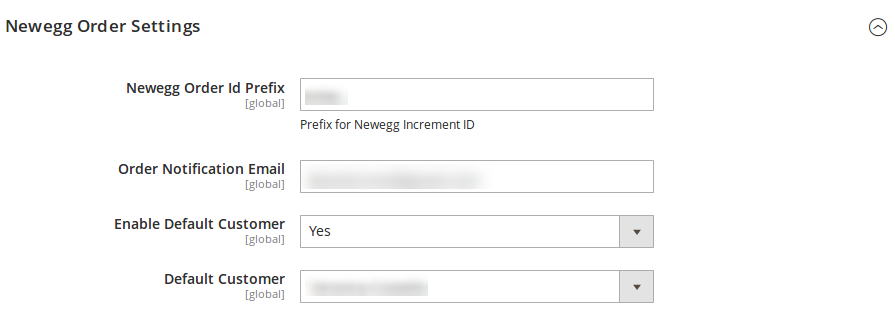
- In Newegg Order Id Prefix, enter the prefix that you want to be added to the orders placed for your products on Newegg Canada platform.
- In Order Notification Email, enter the email address on which you want the notification emails when a new order is fetched from Newegg Canada to Magento 2.
- In the Enable Default Customer, select Yes if you want the orders to be created under one email id for all the order placed on Newegg Canada and fetched from there to Magento 2.
- On selecting Yes, the Default Customer field appears as can be seen in the above image. In this field, you may select the default customer under whose id/profile you want all the orders to be created which are imported form Newegg Canada.
Newegg Cron Settings
- Click on the Newegg Cron Settings and the section will expand as:
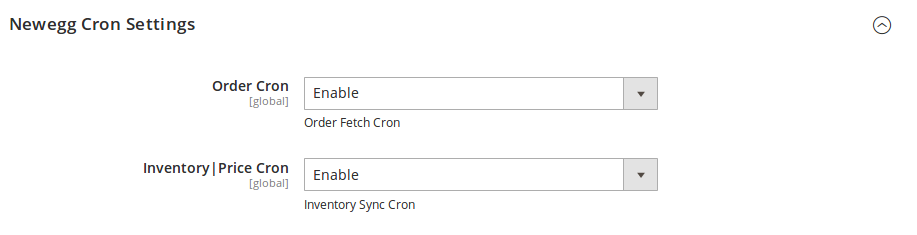
- In Order Cron, select Enable if you want the cron setting to run for orders. The order cron will enable the automatic synchronization of the orders between Newegg Canada and Magento 2 store, periodically.
- In Inventory | Price Cron, select Enable if you want the cron setting to run for your product price and inventory. The inventory and price cron will enable the automatic synchronization of your product price and inventory between Newegg Canada and Magento 2 store.
Once you have taken all the actions mentioned so far, click on the Save Config button on the top right side of the page. The configuration will be saved.
×


