
Add New Profile
To add a new profile
- Go to the Magento 2 Admin panel.
- On the left navigation bar, click the MyDeal Integration menu.
The menu appears as shown in the following figure:
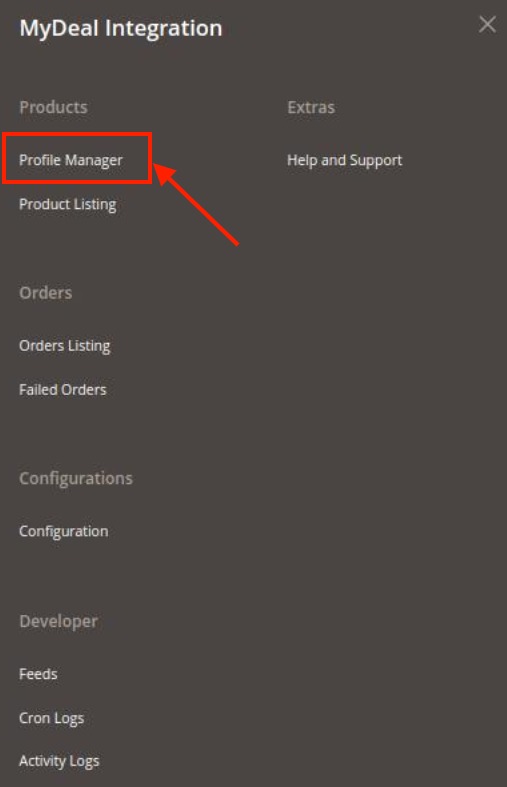
- Click on Profile Manager.
The Manage Profile page appears as shown in the following figure:

- Click the Add New Profile
The Add New Profile page appears as shown in the following figure:
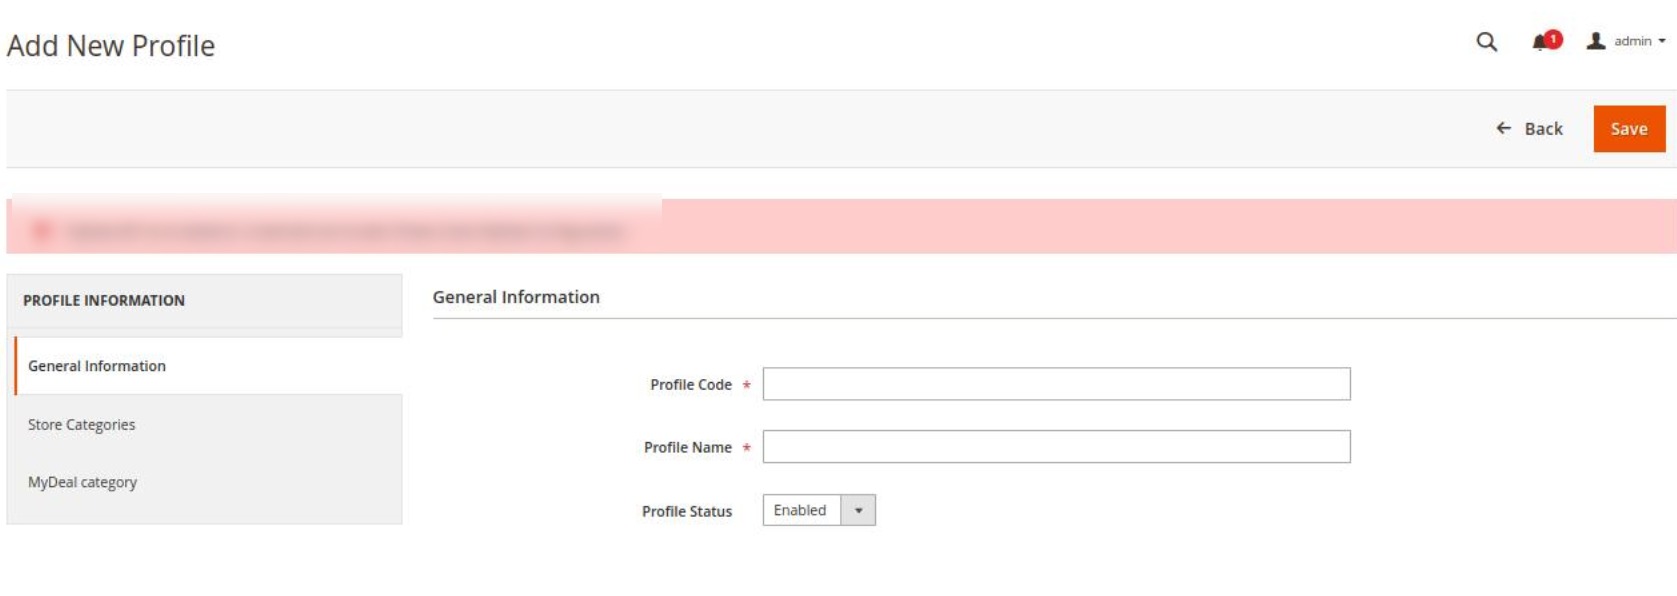
- In the right panel, under General Information, do the following steps:
- In the Profile Code box, enter a profile code.
Note: It is only for internal use. Use the unique profile code with no spaces. Start with small letters. - In the Profile Name box, enter the name of the profile.
Note: Use the unique name to identify the profile. - In the Profile Status list, select Enabled to enable the profile.
Note: The Disabled option disables the profile.
- In the Profile Code box, enter a profile code.
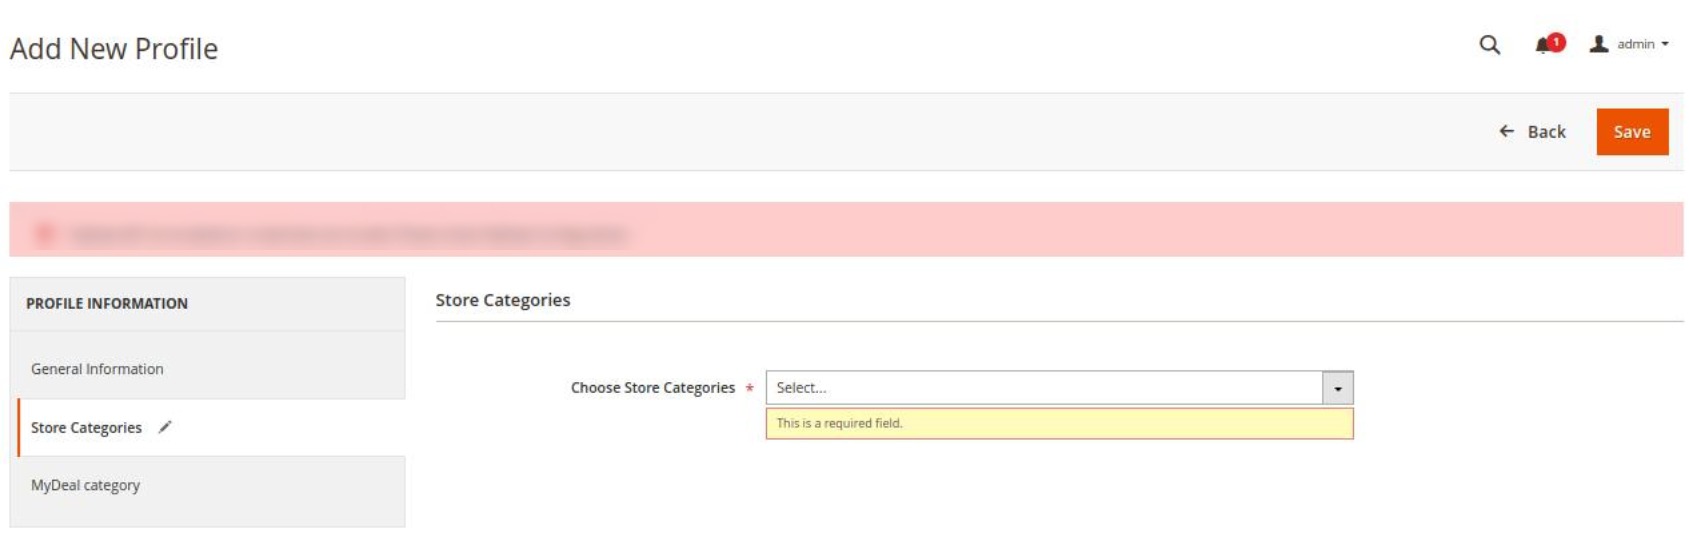
- In the left navigation panel, click the Store Categories menu. Here you need to select store categories.
- Click on MyDeal Category from the left menu and the section will appear as:
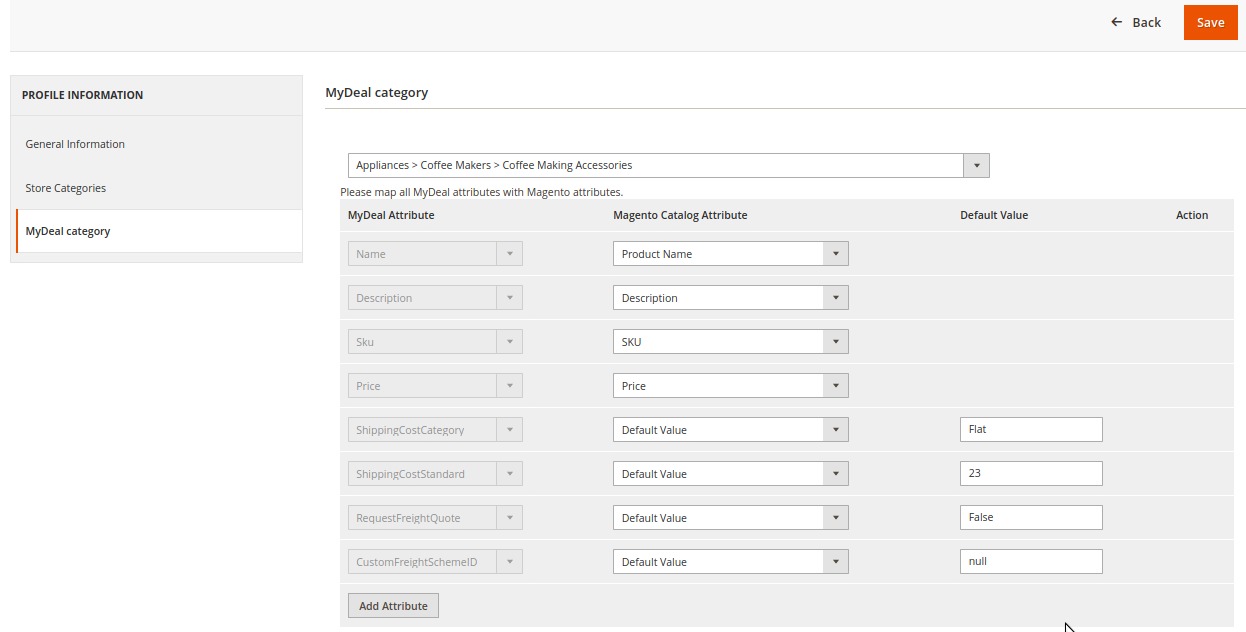
- Select the category and depending on it, child categories will appear further from where you may choose the needed ones.
For different mapping categories detail, refer to the image below:
- Click the Save button.
The profile gets created and listed on the Manage Profile page.
×


