
4.1.Create Profile ↑ Back to Top
- Go to Profile > Create a profile.
- Fill in all details, like set a unique profile name, so it’s easily identifiable.
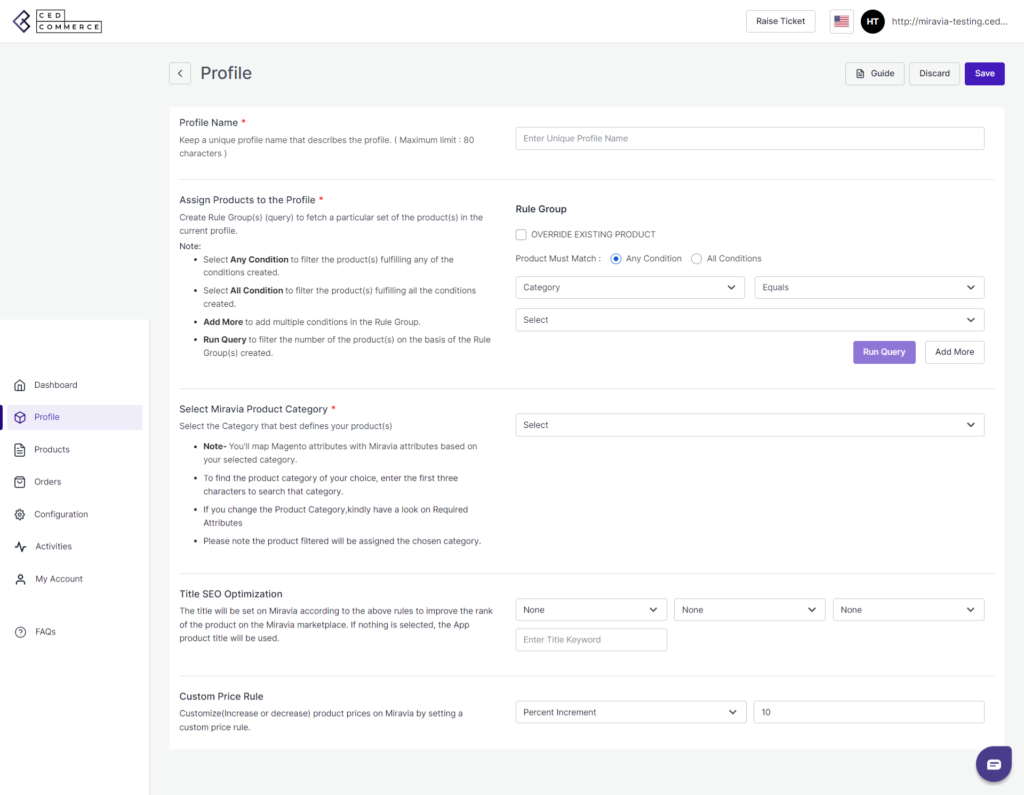
3. Further, you need to select & set “Rule Group” to fetch data from a similar set of products.
- Product Match: The rule is based on ANY and ALL conditions that define whether you want all the selected conditions to be fulfilled or any of them to be true.
- Filter & fetch products based on product type, attribute set, name, quantity or category.
- Now select the value from equals, contains, does not contain, greater than, Less than and not equal.

- Once you have entered all values, click on “Run Query”. A list of all products containing the mentioned value will be fetched & displayed.
4. Now select the Miravia product category for the products.

5. Map Magento Attribute with Miravia attribute.
- Firstly map mandatory/ required attributes, i.e., EAN code, brand, product weight, length, height & width.
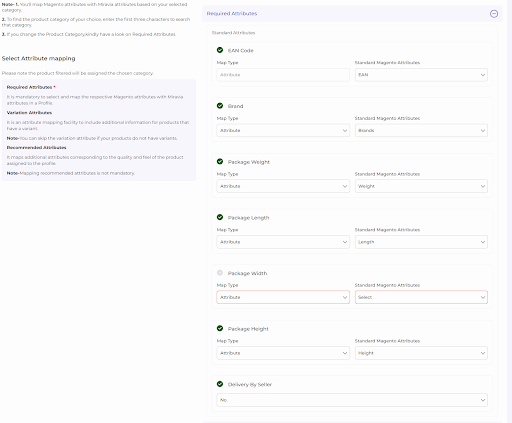
EAN Code: EAN code is a 13-digit bar code used to identify each product in an eCommerce store.
You must map the Magento attribute (that contains the value of the EAN code) with Miravia.
For example, if an attribute is named “GSTIN” in the Magento Store, you can map it with an EAN code attribute in the app.
- Brand Mapping: With brand mapping, merchants have the option to map the Magento store brands with Miravia Brand. For example, if the attribute named “XYZ” has the value ‘brands name” on Magento, you can map it with Miravia. Merchants can choose the attribute from the drop menu. Just remember to select attributes whose value should be that of Brand on Miravia.
(Note: The brand value entered in your Magento store must be supported by Miravia.)
- Now Map product variant attribute, i.e., size & color.
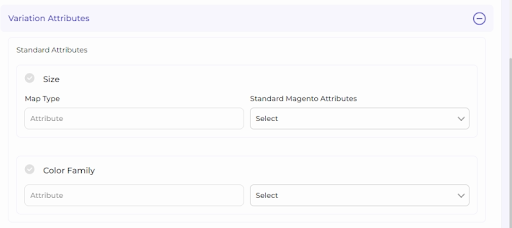
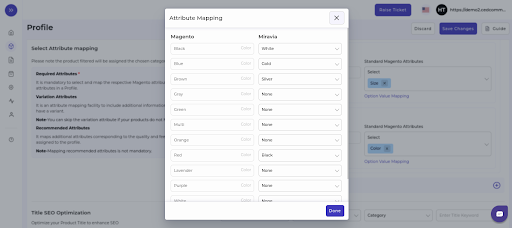
For size or color mapping, choose an attribute from the drop-down menu and click on “Option Mapping.”
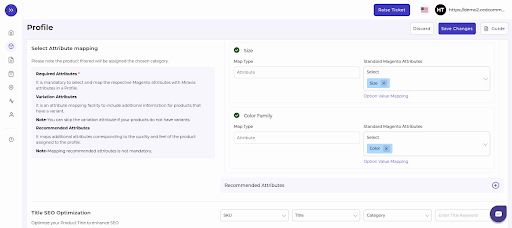
A pop-up will appear where you can choose a particular Miravia size with Magento Size.
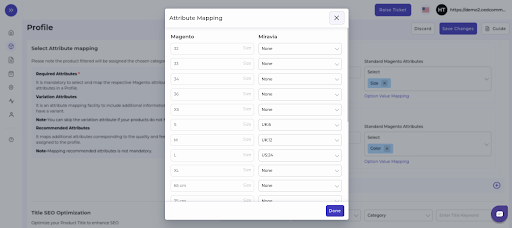
For example, you can map M of Magento with M or S of Miravia. And same follows for the color family too.
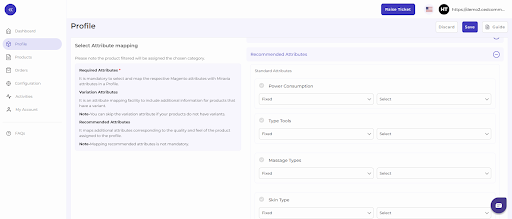
- Thirdly, set recommended attributes, which are not mandatory but will help your product rank better on Miravia and help buyers get a better understanding of the product.
6. Now, choose the product title for the listing.
![]()
7. Lastly, set the price rule for the products falling under this profile. For example, if you want an increase of 10% in all products of this profile, choose percentage increment & then write 10%.
![]()
8. Save the settings, and now a profile is created successfully. You can view or edit them from the profile section.


