
3.1.Add New Booking Products ↑ Back to Top
To add a new booking type of products
- Go to the Vendor
- On the left navigation bar, click the New Product menu.
The navigation menu appears as shown in the following figure:
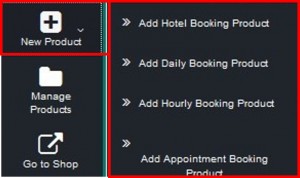
- Click the required type of product to add.
The New Product page appears as shown in thefollowing figure:
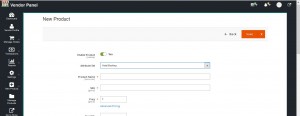
- In the Attribute Set list, select the required Booking Attribute.
Notes :- If the vendor selects the Add Hotel Booking Product option from New Product menu, then the Hotel Booking option appears in the Attribute Set list.
- The fields under the Booking General Information section, and the Booking Panel section appear only when the vendor selects any one of the following options:
- Daily Rent Booking
- Hotel Booking
- Hourly Rent Booking
- In the Product Name box, enter the name of the product.
- In the Price box, enter a value.
Note : Only in case of Hotel Booking, make the changes as per described in the step 7. - Click the Advanced Inventory link.
The Advanced Inventory page appears as shown in the following figure:
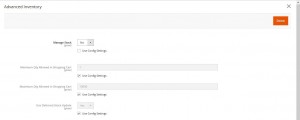
- In the Manage Stock list, select No.
- Click the Done button.
The Advanced Inventory page is closed and the view moves back to New Product page.
- In the Categories list, select the check box associated with the Booking option, and then click the Done button.
- Enter the values in other fields of the required sections.
- Click the Booking General Information tab, and enter the values in the required fields.
- Click the Booking Panel tab.
The Booking Panel tab consists of the following tables:- Assign Facilities: Vendor can assign the facilities to the product and also can remove the assigned facilities from the product.
- Add Rooms: Vendor can add rooms to the hotel, edit rooms, and remove rooms.
Note
 : If the vendor has selected the Hotel Booking attribute, only then the vendor can view the Add Rooms table in the Booking Panel section.
 - Click the Assign Facilities button, to assign facilities to the product.
The Assign Facilities page appears as shown in the following figure:
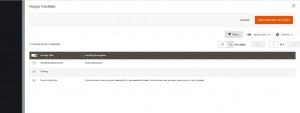
- Select the check box associated with the required facility, and then click the Add Selected Facilities button.
The selected facilities are added to the product. - Click the Add Rooms button, to add the rooms to the hotel.
The Create Rooms page appears as shown in the following figure:
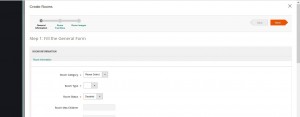
- Under Fill the General Form, do the following steps:
- In the Room Category list, select the relevant category.
- In the Room Type list, select the required option.
- In the Room status list, select Enabled.
- Enter the values in the other required fields.
- Click the Next button.
The page appears as shown in the following figure:
- Under Select Room Facilities, select the check box associated with the required room facilities, and then click the Next button.
- Under Select Images, select the relevant images, and then click the Next button.
The page appears as shown in the following figure:
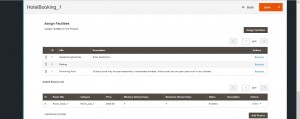
- Under Fill the General Form, do the following steps:
- Click the Save button.
×


