
Houzz Configuration Settings
After obtaining the API credentials from the Houzz Seller account, the Magento 2 store owner has to paste them in the respective fields displayed on the Houzz Configuration page of the admin panel.
To set up the configuration settings in the Magento 2 Admin panel
- Go to the Magento 2 Admin panel.
- On the left navigation bar, click the HOUZZ INTEGRATION menu.
The menu appears as shown in the following figure:
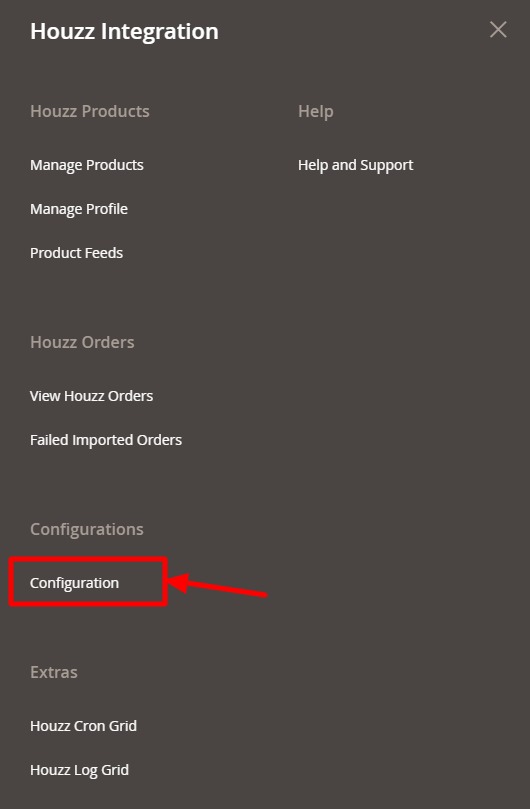
- Click Configuration.
The page appears as shown in the following figure:

- In the right panel, under Houzz Api Settings, do the following steps:
- In Select Environment, select the mode for your store.
It is to be noted that the integration consists of 2 mods:
-The sandbox mode – Limited access like attribute and category
-The Production mode – Full Access - In the Enabled list, select Yes to enable the extension features.
The other relevant fields appear as shown in the following figure:
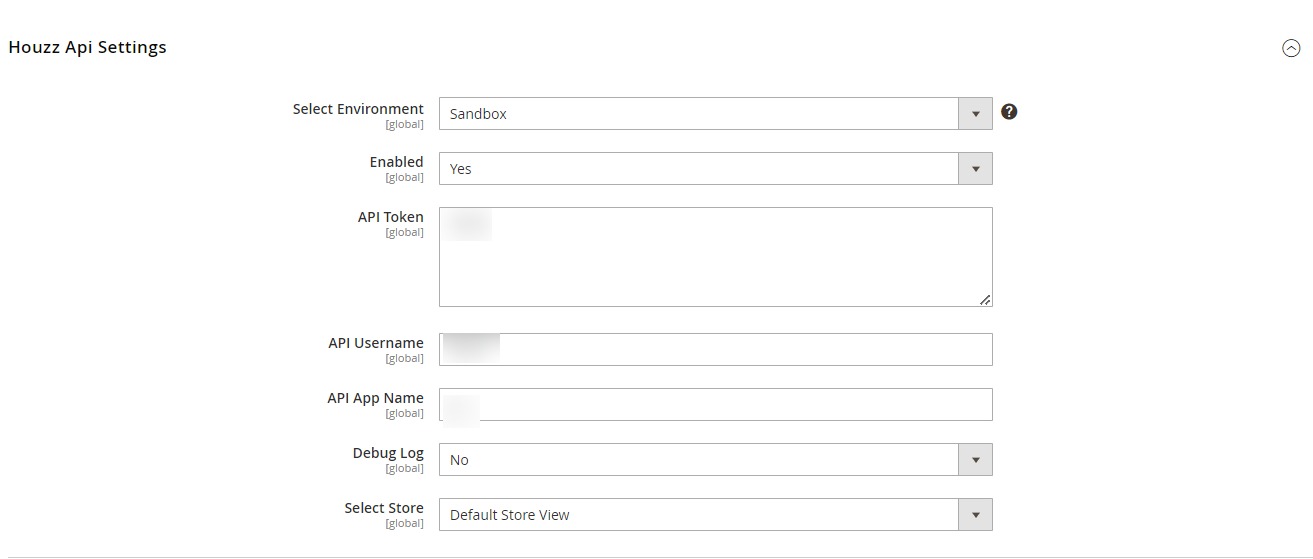
- In the API Token box, paste the SSL Token provided by Houzz.
- In the API Username box, paste the username provided by Houzz.
- In the API App Name box, paste the App name provided by Houzz.
- In the Debug Log list, select Yes to start Houzz Integration in the debug mode.
It captures the log for the debug process. - In Select Store, select the store view for your store.
- In Select Environment, select the mode for your store.
- Click the Save Config button to save the entered values.
- Scroll down to the Houzz Global Settings tab, and then click the tab.
The section appears as shown in the following figure:
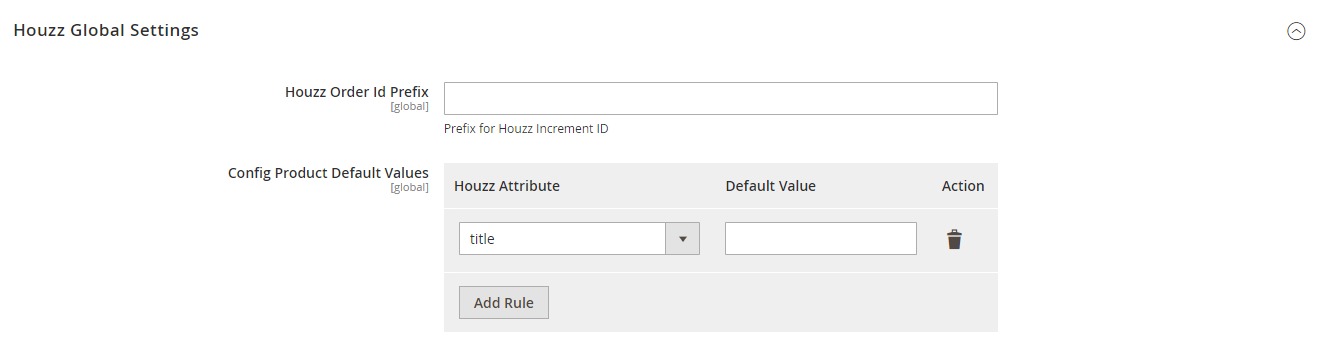
- Under Houzz Global Settings, do the following steps:
- In the Houzz Order ID Prefix box, enter the required prefix value.
For instance, enter HZ- for HZ-10001. - In Config Product Default Values, map the Houzz attributes with Default values.
- In the Houzz Order ID Prefix box, enter the required prefix value.
- Click the Save Config button to save the entered values.
- Scroll down to the Houzz Cron Settings tab, and then click the tab.
The tab is expanded and the relevant field appears as shown in the following figure:
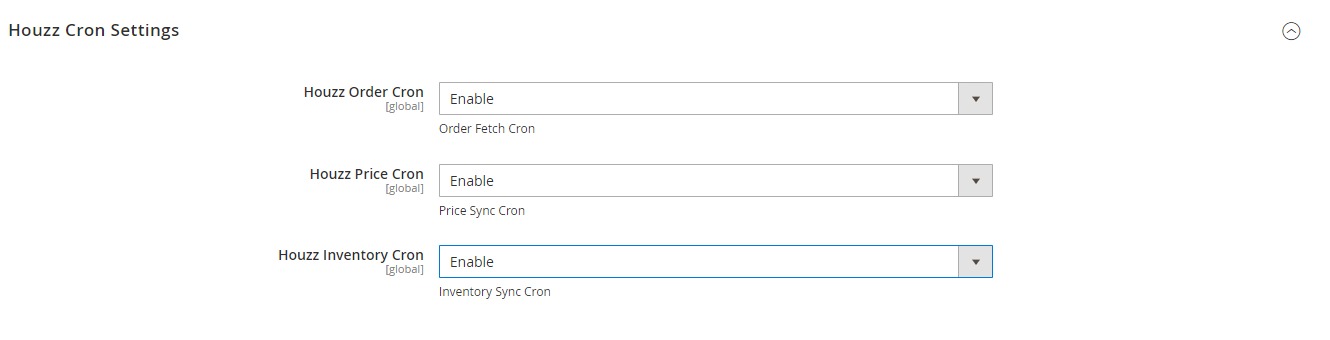
- Under Houzz Cron Settings, do the following steps:
- In the Houzz Order Cron list, select Enable to enable the fetch order cron.
- In Houzz Price Cron, select Enable to synchronise the price through cron.
- In Houzz Inventory Cron, select Enable to synchronise the inventory through cron.
- Click the Save Config button.
×


