
Bonanza Configuration Settings

To set up the configuration settings in the Magento Store Admin panel
- Go to the Magento 2 Store Admin panel.
- On the left navigation bar, click the BONANZA INTEGRATION menu.
The menu appears as shown in the following figure:
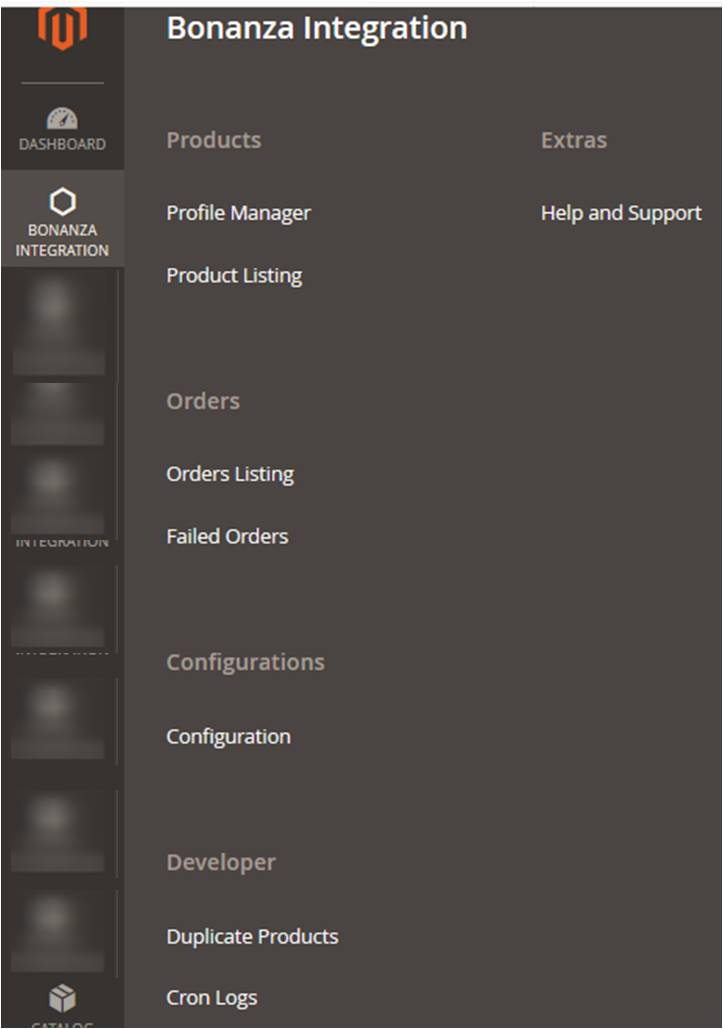
- Click on Configuration.
The Configuration page appears as shown in the following figure:
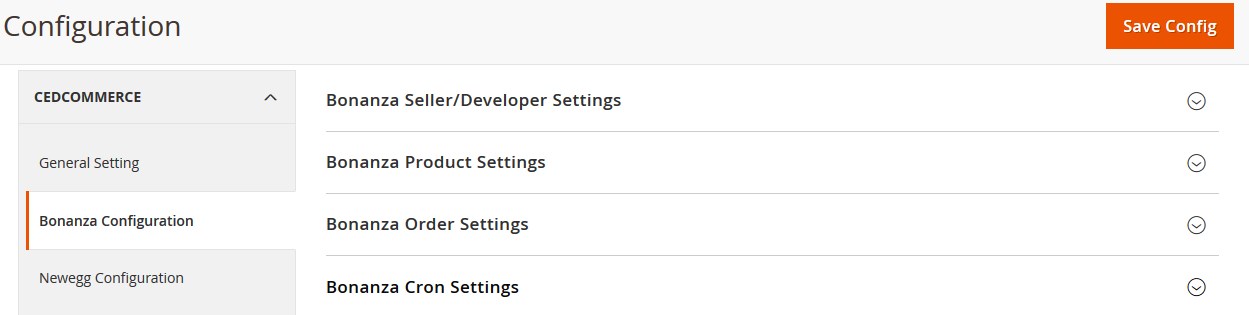
- In the right panel, click the Bonanza Seller/Developer Settings tab.
The Bonanza Seller/Developer Settings tab is expanded and the relevant fields appear as shown in the following figure:

- Under Bonanza Seller/Developer Settings, do the following steps:
- In the Enabled list, select the Yes option.
The relevant fields are expanded, and the section appears as shown in the following figure:
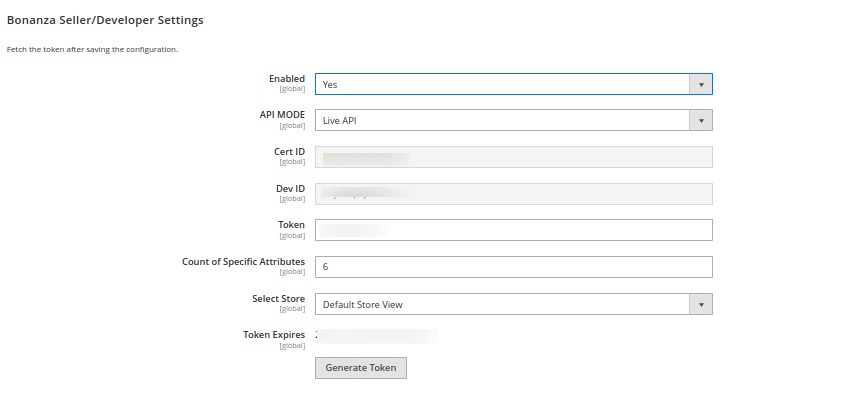
- In the API MODE list, select the Live API option.
- In the Cert Id box, enter the corresponding value copied from the Bonanza Seller account.
- In the Dev Id box, enter the corresponding value copied from the Bonanza Seller account.
- In the Count of Specific Attributes box, enter the count number for the attributes.
- In the Select Store list, select the required store view.
- Click the Generate Token button to create the token and complete the synchronization process.

- In the Enabled list, select the Yes option.
- Click the Save Config button to save the entered values.
- Scroll down to the Bonanza Product Settings tab, and then click the tab.
The Bonanza Product Settings tab is expanded and the expanded section appears as shown in the following figure:
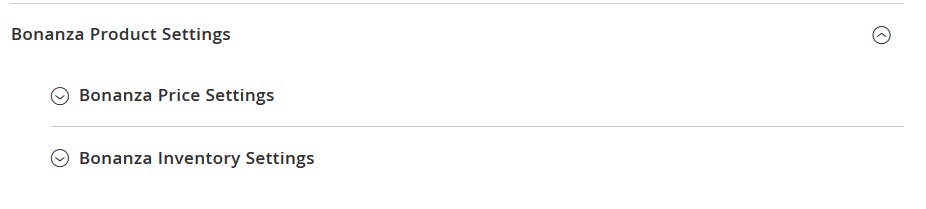
Under Bonanza Product Settings, do the following steps:
- Click the Bonanza Price Settings tab.
The Bonanza Price Settings tab is expanded and the section appears as shown in the following figure:
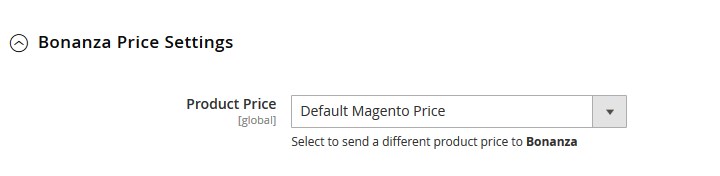
- Under Bonanza Price Settings, do the following step:
- In the Product Price list, select one of the following options:
- Increase by Fixed Price: If selected, then the Modify by Fix Price field appears.
- Increase by Fixed Percentage: If selected, then the Modify by Percentage Price field appears.
Enter the numeric value to increase the price of the Bonanza, product price by the entered value % of Magento 2 store price.
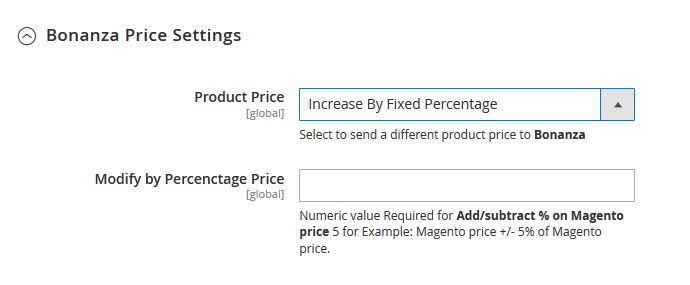
For Example,
Magento 2 price + 5% of Magento 2 price.
Magento 2 Price = 100
Select Increase By Fixed Percentage option
Modify by Percentage Price = 5
100 + 5% of 100 = 100 + 5 = 105
Thus, Bonanza Product Price = 105 - Decrease by Fixed Price: If selected, then the Modify by Fix Price field appears.
- Decrease by Fixed Percentage: If selected, then the Modify by Percentage Price field appears.
Enter the numeric value to decrease the price of the Bonanza product price by the entered value % of Magento 2 store price
For Example,
Magento 2 price – 5% of Magento 2 price.
Magento 2 Price = 100
Select Decrease By Fixed Percentage option
Modify by Fix Price = 5
100 – 5% of 100 = 100 – 5 = 95
Thus, Bonanza Product Price = 95
- In the Product Price list, select one of the following options:
- Click the Bonanza Inventory Settings tab.
The Bonanza Inventory Settings tab is expanded and the section appears as shown in the following figure:
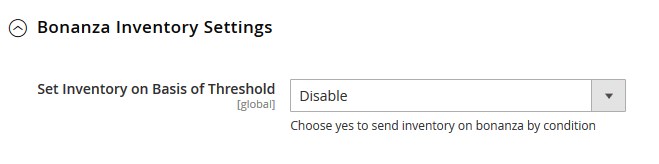
- Under the Bonanza Inventory Settings tab, do the following steps:
- In the Set Inventory on Basis of Threshold list, select the Enable option if required to set the inventory based on a threshold.

The section appears as shown in the following figure:
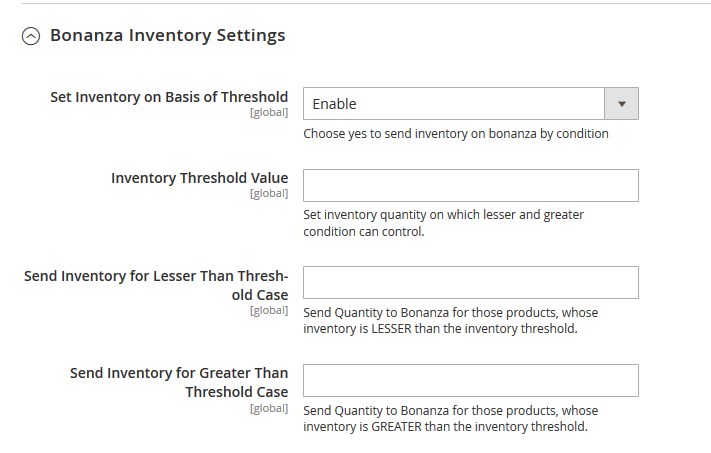
- In the Inventory Threshold Value box, enter the value which you consider to be the minimum for your inventory.
- In the Send Inventory for Lesser Than Threshold Case box, enter the value that needs to be visible on Bonanza in case your inventory is lesser than the threshold value that you have set in the earlier parameter.
- In the Send Inventory for Greater Than Threshold Case box, enter the value that needs to be visible on Bonanza in case your inventory is more than the threshold value that you have set.
For Example:
Suppose you have set the threshold value of a product to be 500. You have set the greater than the threshold value to say 600 and the lesser than the threshold value to be 300.
Now you have 530 of that product in the inventory, then the number visible on Bonanza would be 600. Suppose you sold 33 products and now the value is decreased to be 497 which is below the threshold. The value that will now appear on Bonanza will be 300.
- In the Set Inventory on Basis of Threshold list, select the Enable option if required to set the inventory based on a threshold.
- Click the Save Config button to save the entered values.
- Scroll down to the Bonanza Order Settings tab, and then click the tab.
The tab is expanded and the section appears as shown in the following figure:
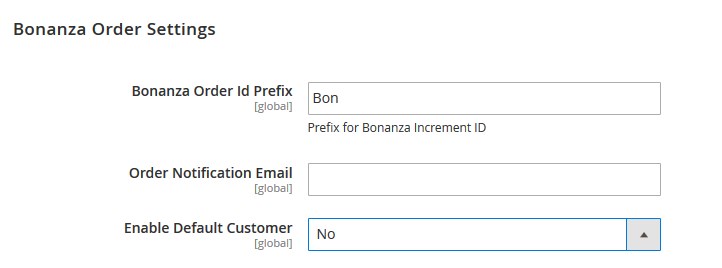
- Under Bonanza Order Settings, do the following steps:
- In the Bonanza Order Id Prefix box, enter the required order Id prefix.
Bonanza Id Prefix can be a combination of numbers, alphabets, or special characters. This is for your own recognition since the orders from the Bonanza marketplace will have the same prefix & will be easy to analyze. So make sure to mark them as per your ease.
- In the Order Notification Email box, enter the required email Id to receive the notifications of the orders.
- In the Enable Default Customer list, select the Yes option to enable the default customer.
The field appears as shown in the following figure:

- In the Default Customer list, select the required customer name.
- In the Bonanza Order Id Prefix box, enter the required order Id prefix.
- Click the Save Config button to save the entered values.
- Scroll down to the Bonanza Cron Settings tab, and then click the tab.
The tab is expanded and the section appears as shown in the following figure:
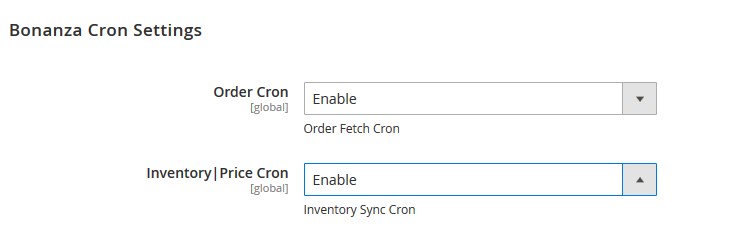
- Under Bonanza Cron Settings, do the following steps:
- In the Order Cron list, select Enable if you want to fetch the orders. Order Crons are used to fetch waiting for shipment orders at approx 10 minutes.
- In the Inventory|Price Cron list, select Enable to enable the Inventory and Price Sync cron.

- Click the Save Config button to save the entered values.
×


