
4.Push Notifications ↑ Back to Top
From the Push Notifications section, you can create unlimited notifications and link them with any Product, Category, or Web Page URL.
3.1. Add a Push Notification
Click on the Add New button from the Notifications table to configure push notifications.
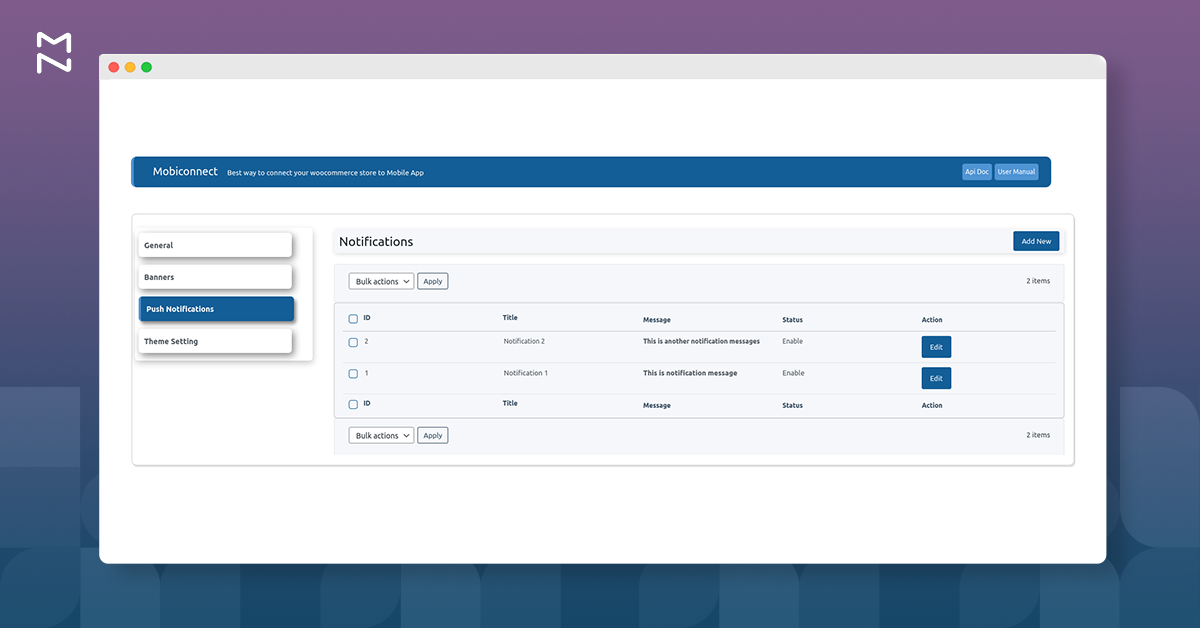
- Title: Enter the name of the new notification in the textbox.
- Message: Enter the custom message for the push notification.
- Enable: Check the checkbox to enable the notification.
- Choose Image: Click the Upload Image to choose the banner image from WordPress Gallery or device.
- Link To: In the Link to the option, select one of the following options:
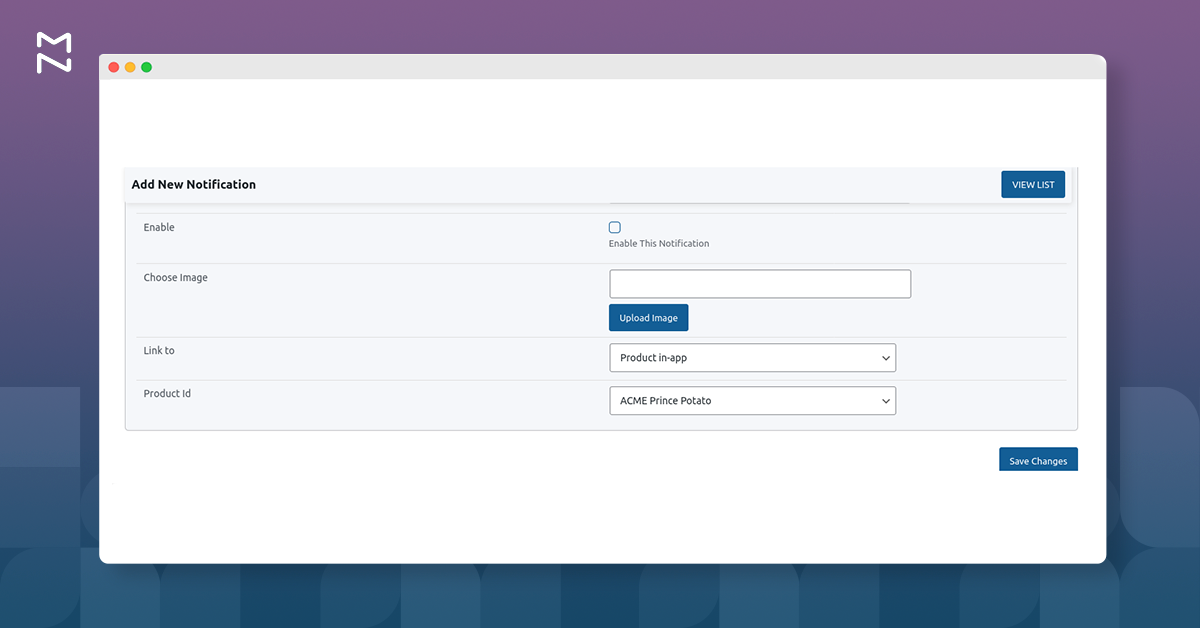
- Product in-app: Opens a particular product when the Push Notification is clicked.
Note: After selecting the Product In-app option, you can select the product ID to redirect the user to the product page. - Category In-App: Opens a particular Category when the Push Notification is clicked.
Note: After selecting the Category In-App option, you can select the category and redirect the user to that selected category page. - Website Page: Select this option to redirect the user to the specific link provided. In the URL box, enter the link required to redirect the users.
Lastly, click the Save Changes button.
3.2. Edit Notification
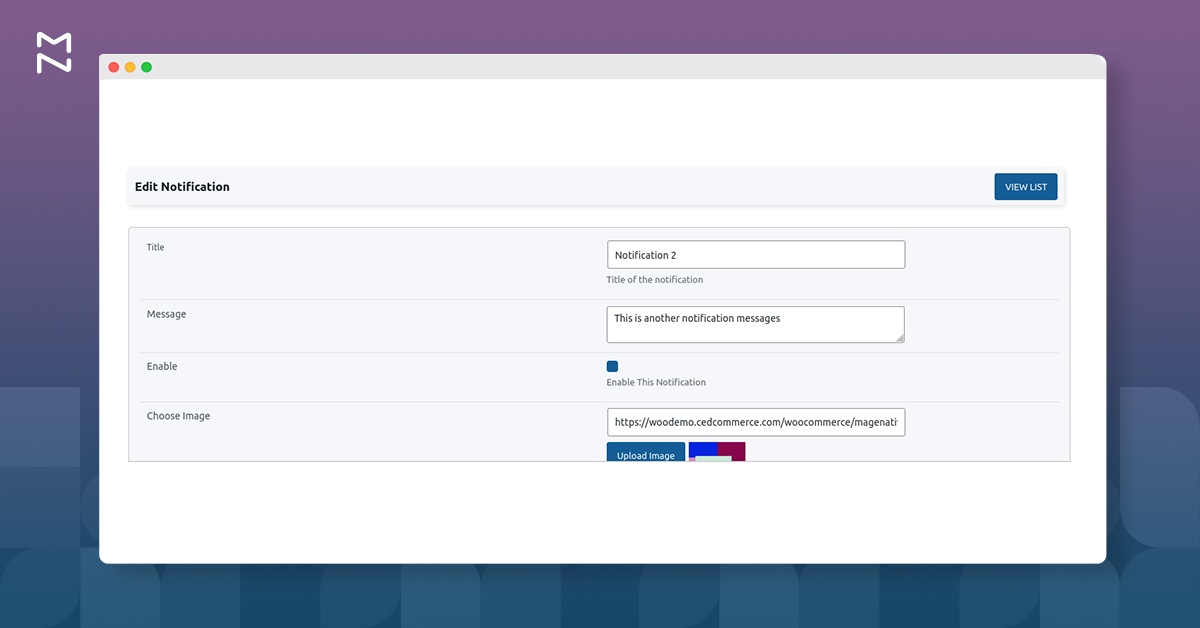
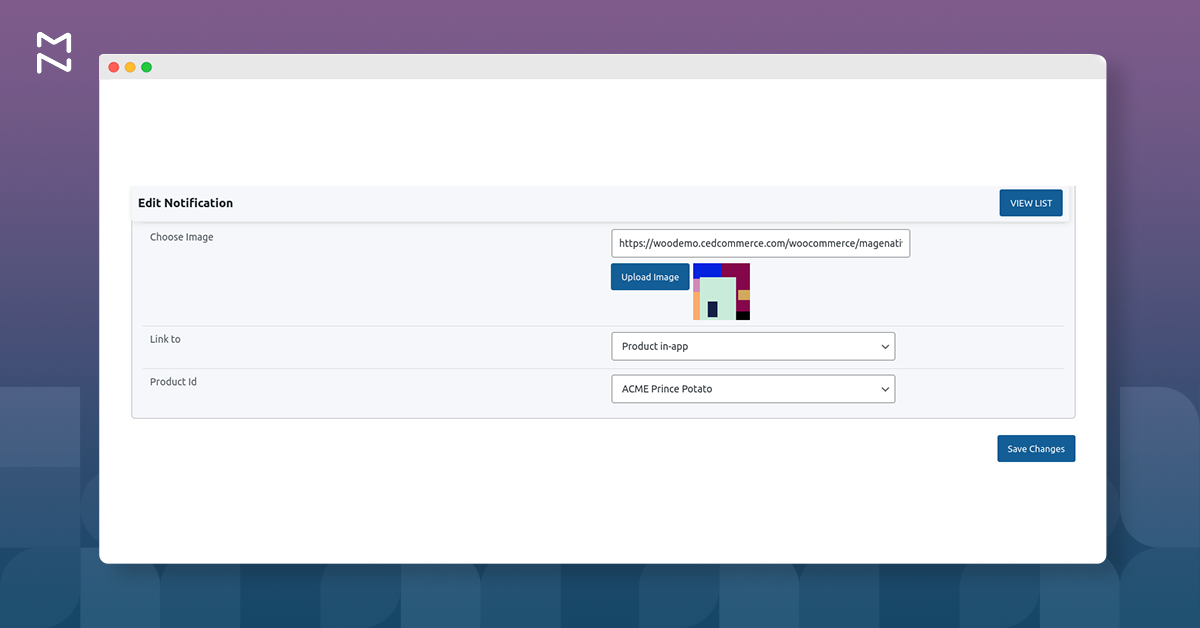
In the existing notification list, click on the Edit button from the Actions column to modify the existing notifications.
3.3. Bulk Actions
You can Delete, Enable, and Disable the Notifications in bulk from the notifications list. To do this, follow the steps:
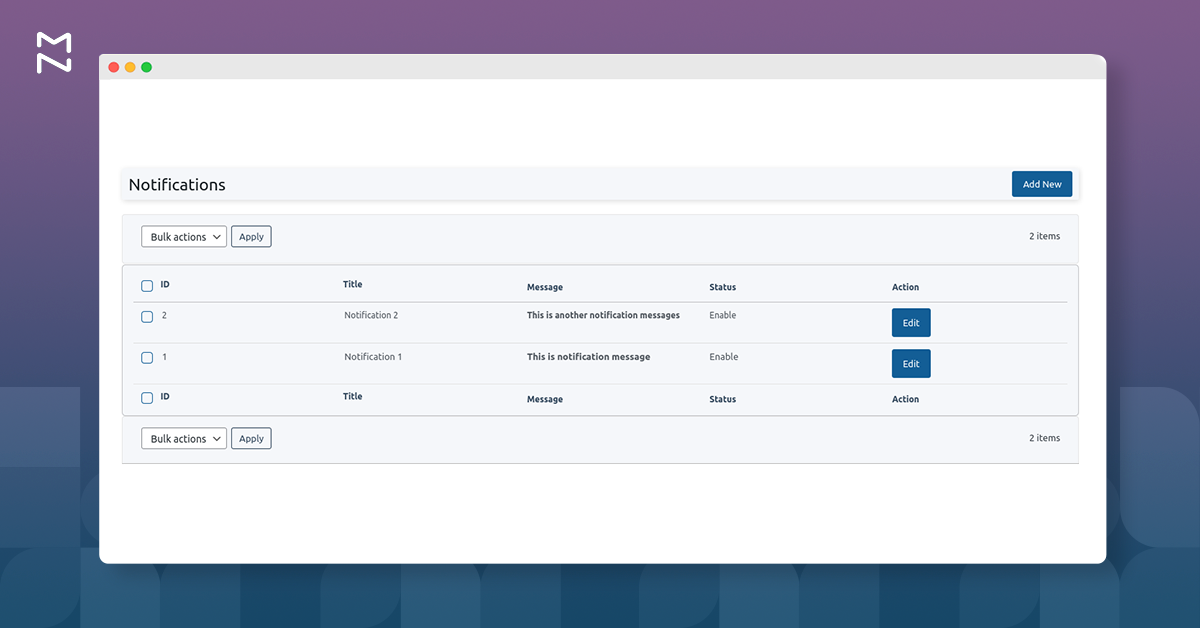
- Select the Push Notification(s).
- Choose the action from the Bulk Action drop-down.
- Click on the Apply button.
×


