
Header
To set up the Header of WP Advanced PDF PRO
- Go the Admin panel.
- On the left navigation bar, click the WP Advanced PDF PRO menu, and then click WP Advanced PDF PRO.
- In the left navigation panel, click the HEADER menu.
The HEADER page appears as shown in the following figure:
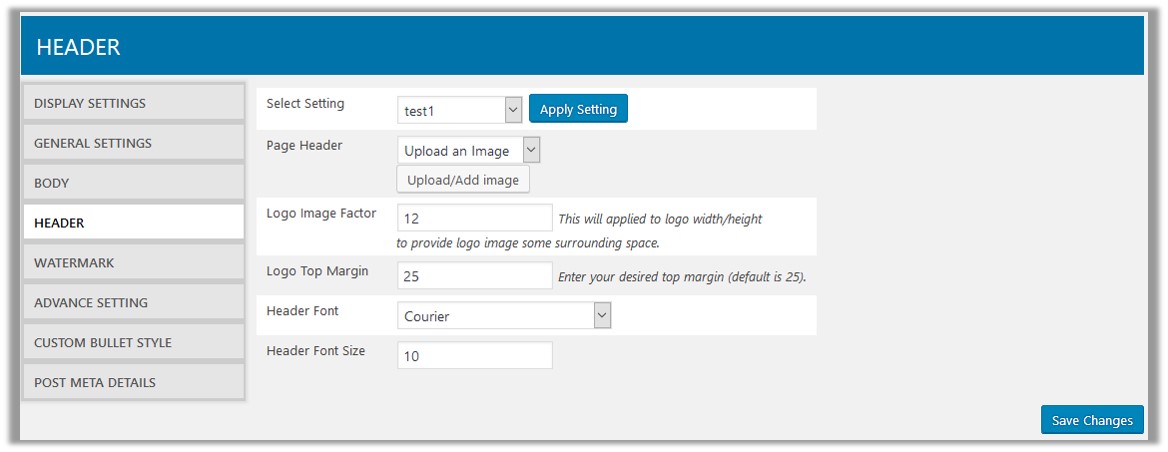
- In the right panel, do the following steps:
- In the Select Setting list, select the required setting, and then click the Apply Setting
A dialog box appears as shown in the following figure:
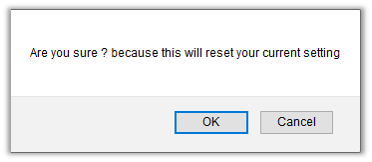
- Click the OK button to reset the setting according to the selected setting. Or click the Cancel button to retain the current settings.
- In the Page Header list, select one of the following options:
- None: No Header logo is required.
- Upload an Image: Select this option to upload the header logo for the PDF. When the admin selects this option, then the Upload/Add image button appears.
- Click the Upload/Add image button to select the required logo.
- In the Logo Image Factor box, enter the value, which is applied to the Width and height of the logo.
This provides the defined space surrounding the logo. - In the Logo Top Margin box, enter the required top margin for the logo.
- In the Header Font list, select the required font of the header.
- In the Header Font Size box, enter the font size of the header.
- In the Select Setting list, select the required setting, and then click the Apply Setting
- In the lower-right corner of the page, click the Save Changes button to save the settings.
×


