
1.Overview
After purchasing the extension or add-on, the user receives an email that includes the product details and mentions the link or information from where and how the user can proceed further to download the purchased product.
The user can also go to the My Account page directly and view the details of the purchased products.
2.Generate License
The user has to generate the license for downloading the purchased product.
To generate the license
- Go to the Vendor login.
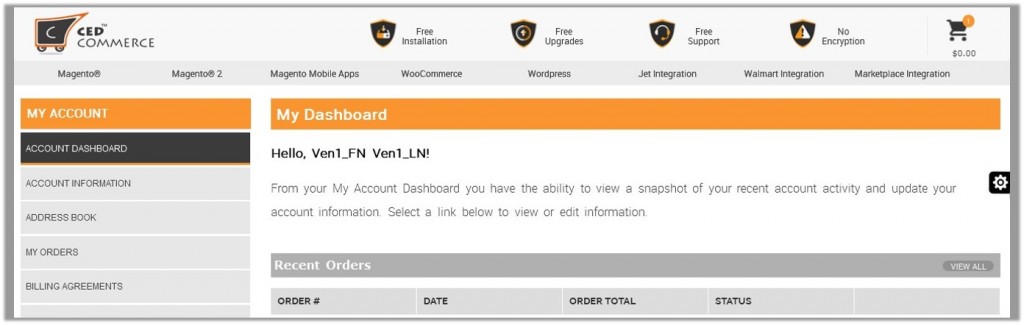
- Click My Account.
The My Dashboard page appears.
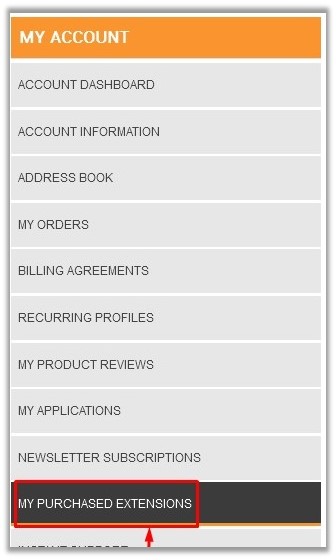
- In the My Account panel, click MY PURCHASED EXTENSIONS.
Refer to following figure.
- In the right panel, the My Purchased Extensions section appears as shown in the following figure.
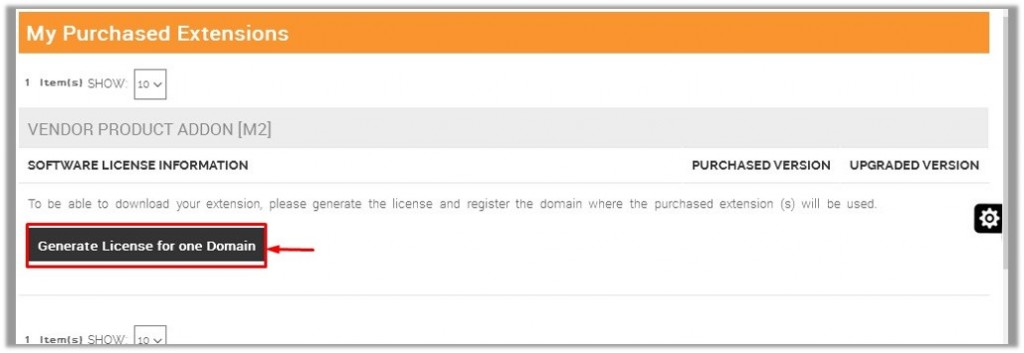
- Click the Generate License for one Domain button.
The License Form dialog box appears as shown in the follwoing figure:
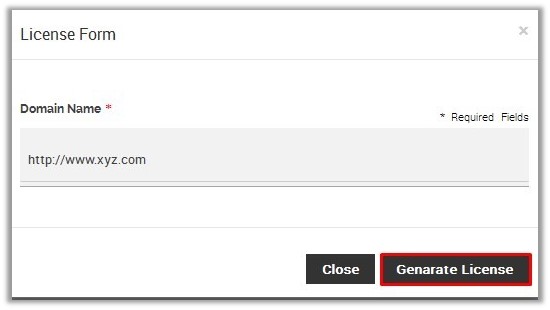
- In the Domain Name box, enter a value.
- Click the Generate License button.
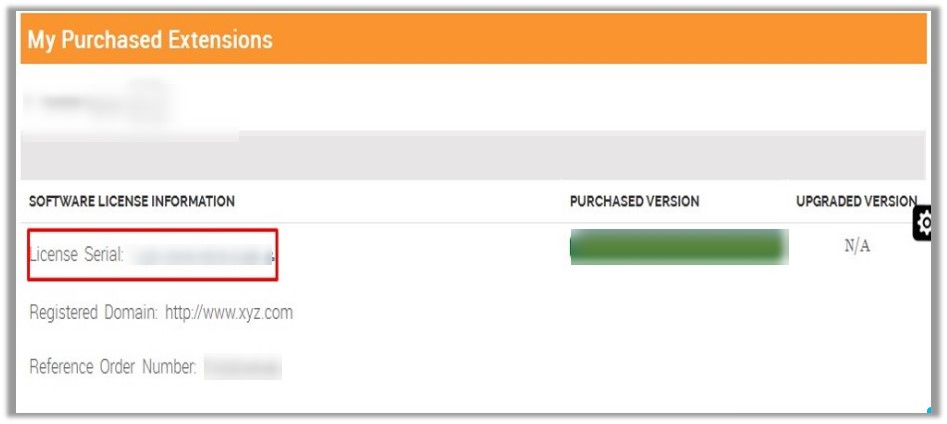
The License Serial appears under the My Purchased Extensions section as shown in the following figure:
3.Download the Purchased Product
After generating the license, the user can view all the information related the purchased product including the license number on the My Purchased Extensions page as shown in the following figure:
To download the purchased product
- In the PURCHASED VERSION column, click the Module button.
A verification code dialog box appears as shown in thefollowing figure:
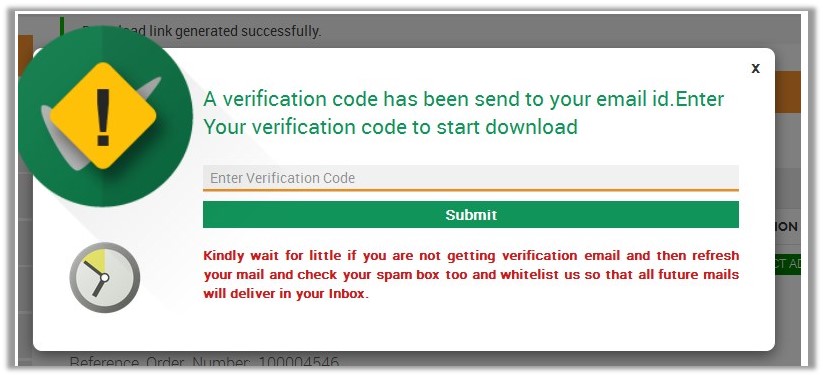
- Enter the Verification Code.
Once the user enters the verification code, the extension starts downloading and a dialog box appears to save the extension.
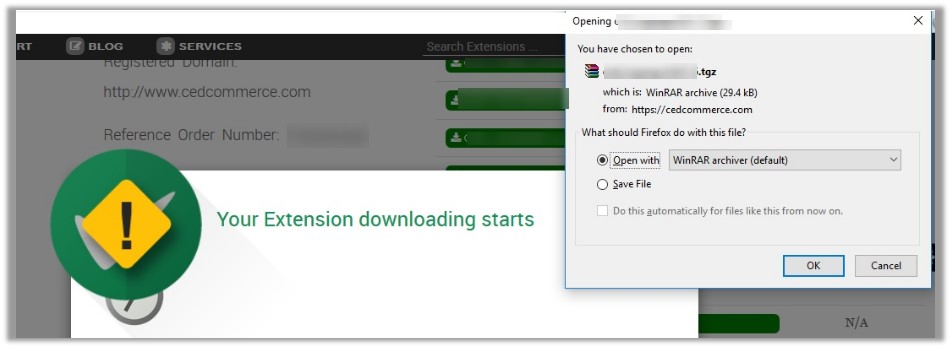
- Click Save File, and then click OK.
The downloaded extension is saved on the local computer of the user.
4.Install the Downloaded Product
The naming convention of the downloaded package is as <namespace_modulename-version.zip>. For example, ced_csggroup-0.0.1_5.zip.
Prerequisites
Here are some prerequisites that the user has to verify before installation:
- Magento Version Community Edition 2.0 is already installed.
- In case of any dependency on any extension, the relevant extension should be already installed.
To add the module to the Magento 2 directory
- Extract the downloaded package <namespace_modulename-version.zip>.
Note : After extracting the compressed file, check whether the available folder is /app or <ModuleName>.
If the available folder is /app, then go to step 1- a. If the available folder is <ModuleName>, then go to step 1- b.- Copy the /app folder from the provided package and paste it to the <Magento 2 Folder>.
OR - Copy the folder <ModuleName> from the provided package and paste it to the <Magento 2 Folder>/app/code/Ced.
Note:Create the required folder structure in the system if it does not exist.
- Copy the /app folder from the provided package and paste it to the <Magento 2 Folder>.
- Open the terminal (cmd) and do the following steps:
- Change the directory to Magento 2 root directory using the cd command.
- Run the command: php bin\magento setup:upgrade
Note:Only after completion of the Step 2- b, follow the step 2-c: - Run the command: php bin\magento setup:static-content:deploy
Note: Only after completion of the Step 2- c, follow the step 2-d: - Run the command: php bin/magento setup:di:compile
Note:If php is not accessible globally then replace php with complete path of php.
- Go to the Admin panel of the store, and first clear the Magento 2 cache.


