
Add New Profile
To add a new profile:
- Go to the WooCommerce Admin panel.
- On the left navigation bar, click the Cdon menu.
A Submenu appears below the cdon menu as shown in the following figure: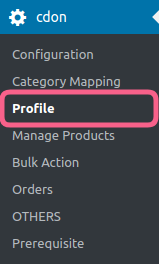
- Click Profile.
OR
In the right panel, click the PROFILE tab.
The PROFILES page appears as shown in the following figure: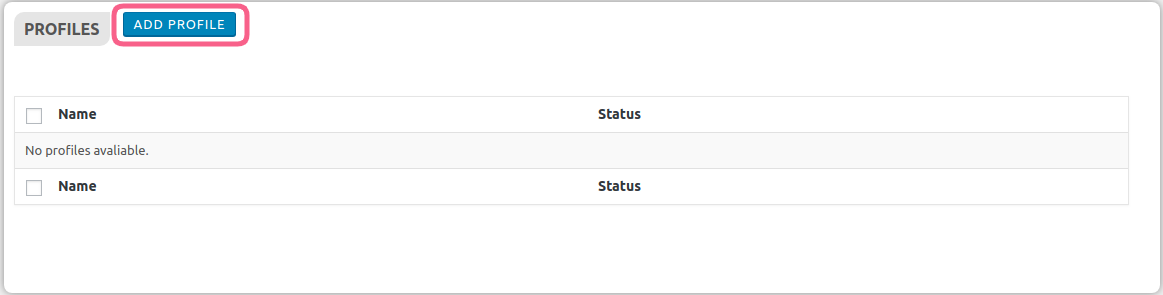
- Click the ADD PROFILE button.
The page appears as shown in the following figure: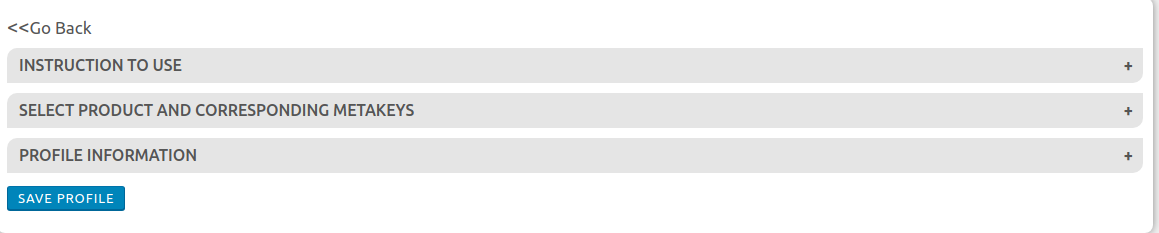 Note: Click the INSTRUCTION TO USE tab, to view the instruction.Click the SELECT PRODUCT AND CORRESPONDING METAKEYS tab.
The section appears as shown in the following figure: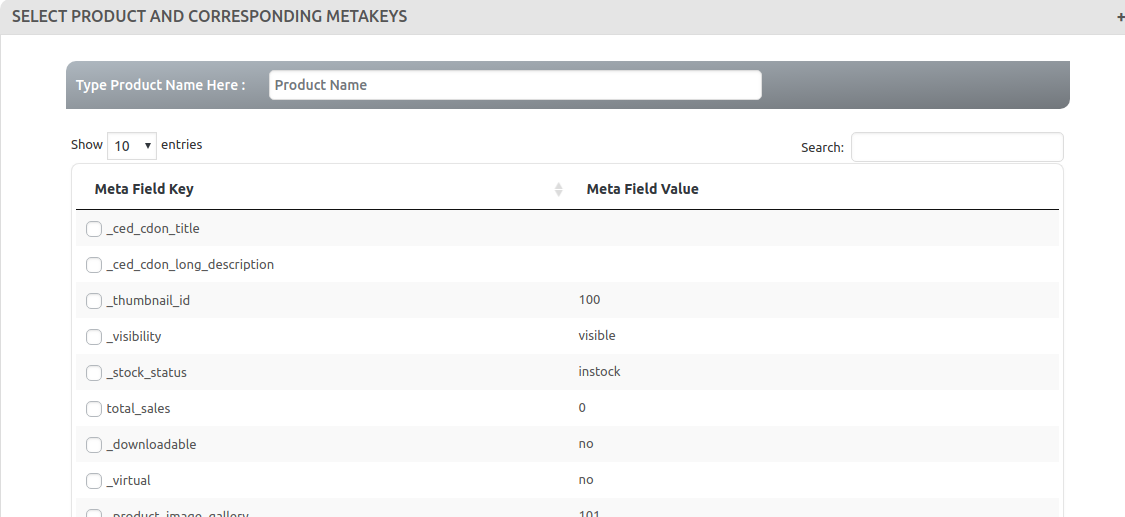
- In the Type Product Name Here box, enter the required product name to get the attributes of the entered product name.
Note: Enter the initial of the product and a list appears. Select the required one from the list. - In the Meta Field Key column, select the check boxes associated with the required meta-keys.
- Scroll down to the PROFILE INFORMATION tab, and then click the tab.
The section appears as shown in the following figure: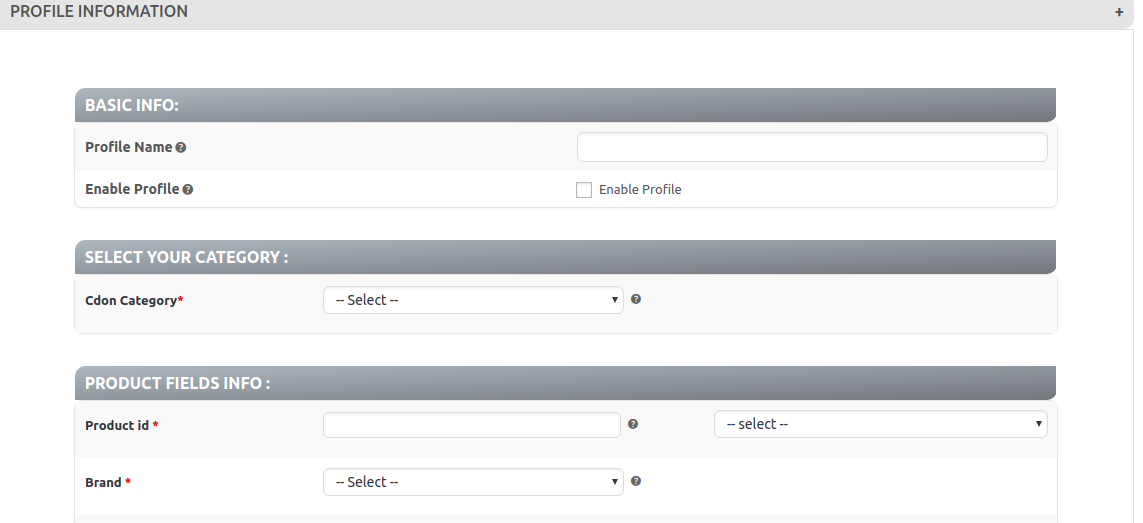
- Here, you have to provide your BASIC INFO, in which you have to provide a profile name.
- In the SELECT YOUR CATEGORY, you have to select the cdon category.
- In the PRODUCT FIELD INFO, you have to provide the information regarding your products.
The product field info page appears as shown in the figure: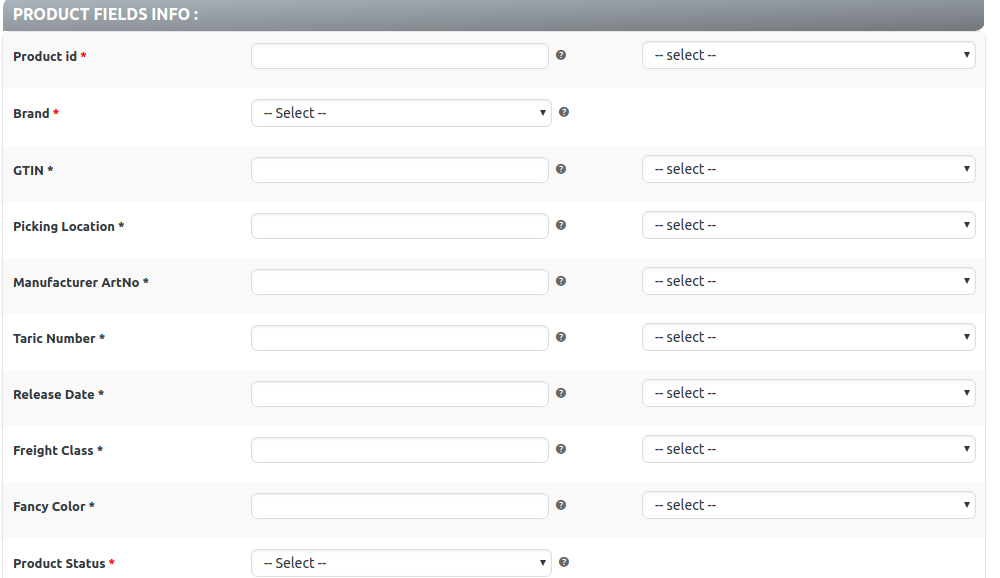
×


