3.Activate Your WooCommerce Account: ↑ Back to Top
-
- After receiving all the details for your Tokopedia Store, now you need to activate your WooCommerce store.
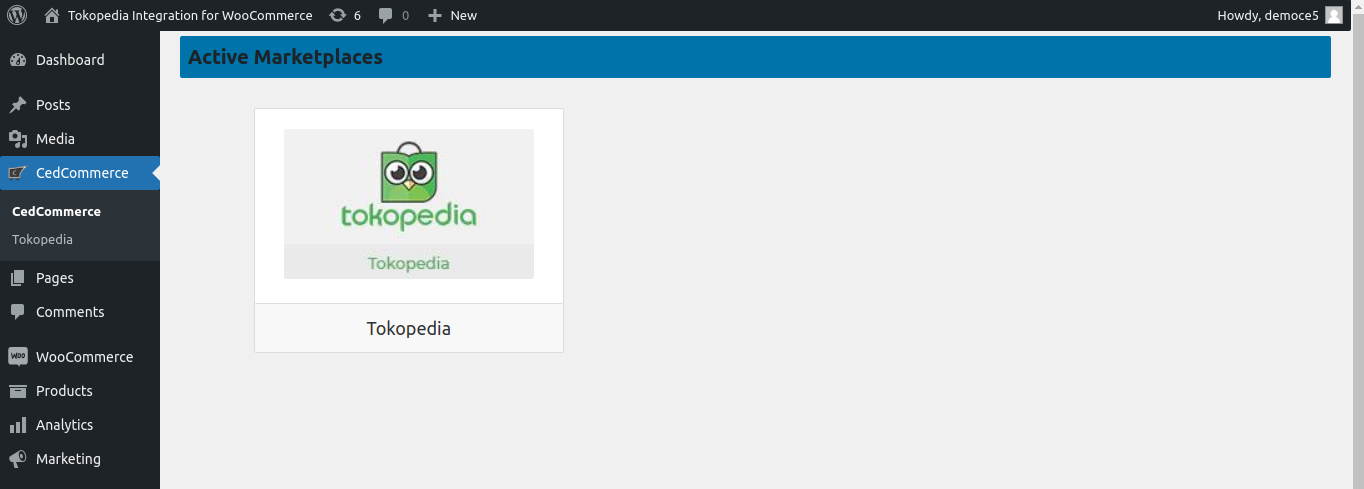
- Follow the panel and click on CedCommerce. Here you will be able to see the active marketplaces as shown in the image below:

-
- Now click on the Tokopedia marketplace option or Tokopedia menu and you will be redirected to a new window.
Add Account:
-
- Click on Add Account as shown in the image below:

-
- The ‘Account Details’ option shows the following two specifications:
-
- Store ID.
- Store Name.
-
- The ‘Account Details’ option shows the following two specifications:
-
- The seller can select the account status from the ‘Account Status’ as
-
- Active or
-
- Inactive, from the dropdown menu.
-
- The seller can select the account status from the ‘Account Status’ as
Account verification
After creating a seller account, it’s easy to configure the WooCommerce store with the Tokopedia store.
-
- On the WooCommerce admin panel, select CedCommerce from the left sidebar.
- To gain access to the Tokopedia store, click on Tokopedia as shown in the image below:

-
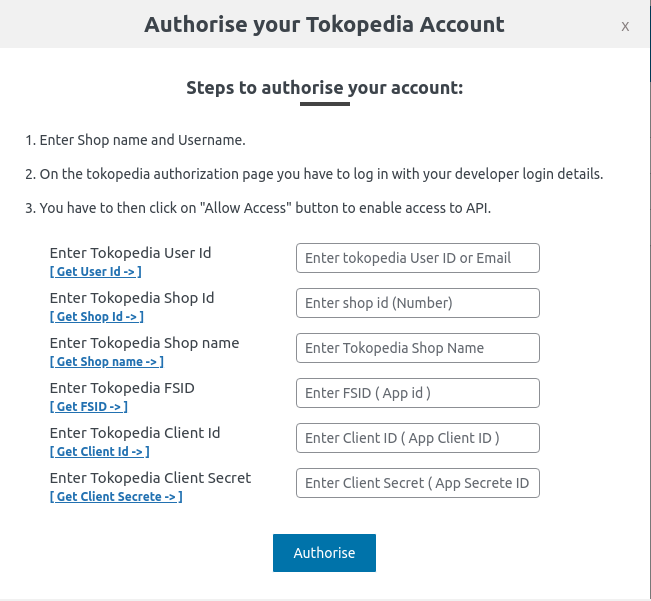
- A window will appear, which will require the following details for authorization.
-
- Tokopedia Client Secret.
- Tokopedia Client ID.
- Tokopedia FSID.
- Tokopedia Shop Name.
- Tokopedia Shop ID.
- Tokopedia User ID.
- Fill in all the details and hit the ‘Authorise’ button.

-
- If you want to delete your shop account from the Tokopedia plugin you can do it with the same place.

-
- A window will appear, which will require the following details for authorization.
×


