
Add A New Profile
To add a new profile
- Go to the WooCommerce Admin panel.
- On the left navigation bar, click the SEARS menu.
- In the right panel, click the PROFILE tab.
The PROFILES page appears as shown in the following figure:
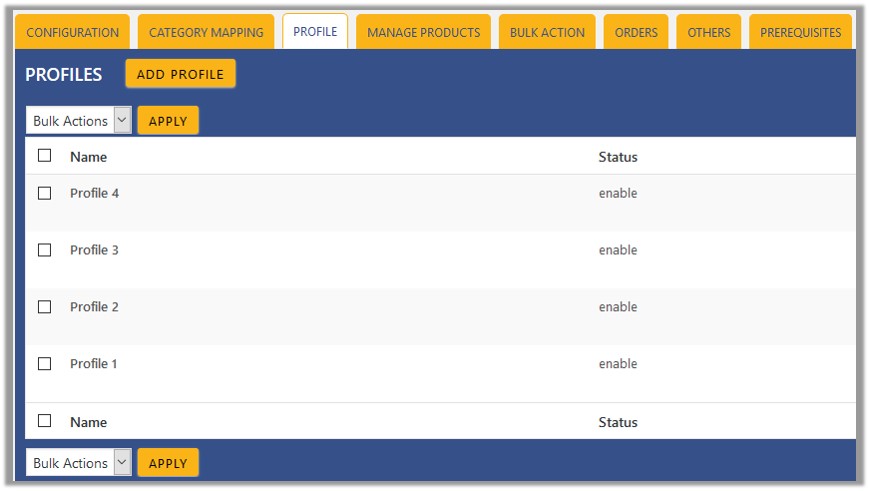
- Click the ADD PROFILE button.
The page appears as shown in the following figure:
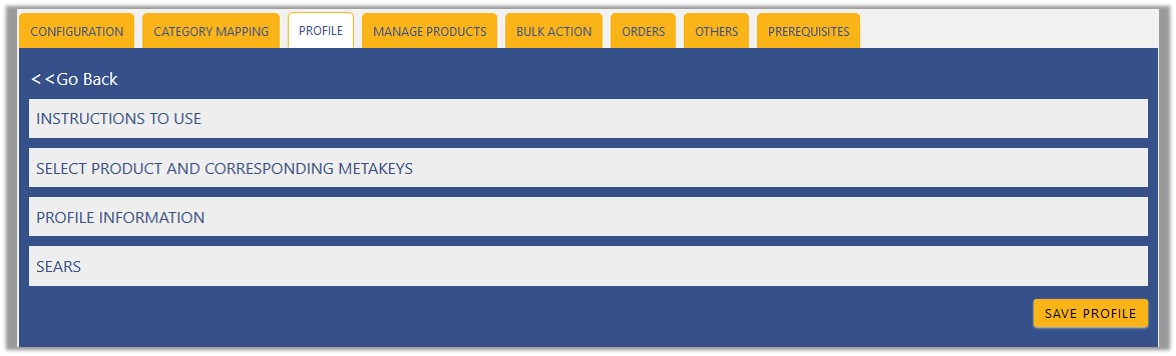 Note: Click the INSTRUCTION TO USE tab, to view the instruction.
 - Click the SELECT PRODUCT AND CORRESPONDING METAKEYS tab.
The section appears as shown in the following figure:
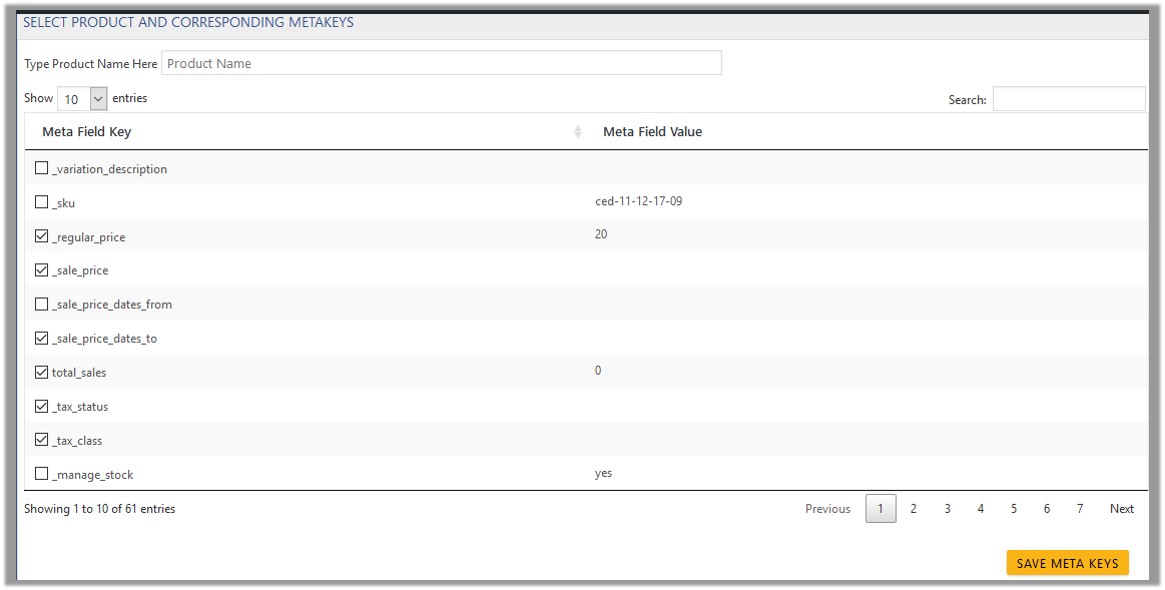
- In the Type Product Name Here box, enter the required product name to get the attributes of the entered product name.
Note: Enter the initial of the product and a list appears. Select the required one from the list. - In the Meta Field Key column, select the check boxes associated with the required meta-keys.
- Click the SAVE META KEYS button.
Saves the selected meta keys. - Scroll down to the PROFILE INFORMATION tab, and then click the tab.
The section appears as shown in the following figure:
 Following two tabs appear:
- BASIC
- ADVANCE
- Click the BASIC tab.
- Under BASIC, do the following steps:
- In the Profile Name box, enter the name of the profile.
- Select the check-box associated with the Enable Profile field.
- Click the ADVANCE tab.
The page appears as shown in the following figure:
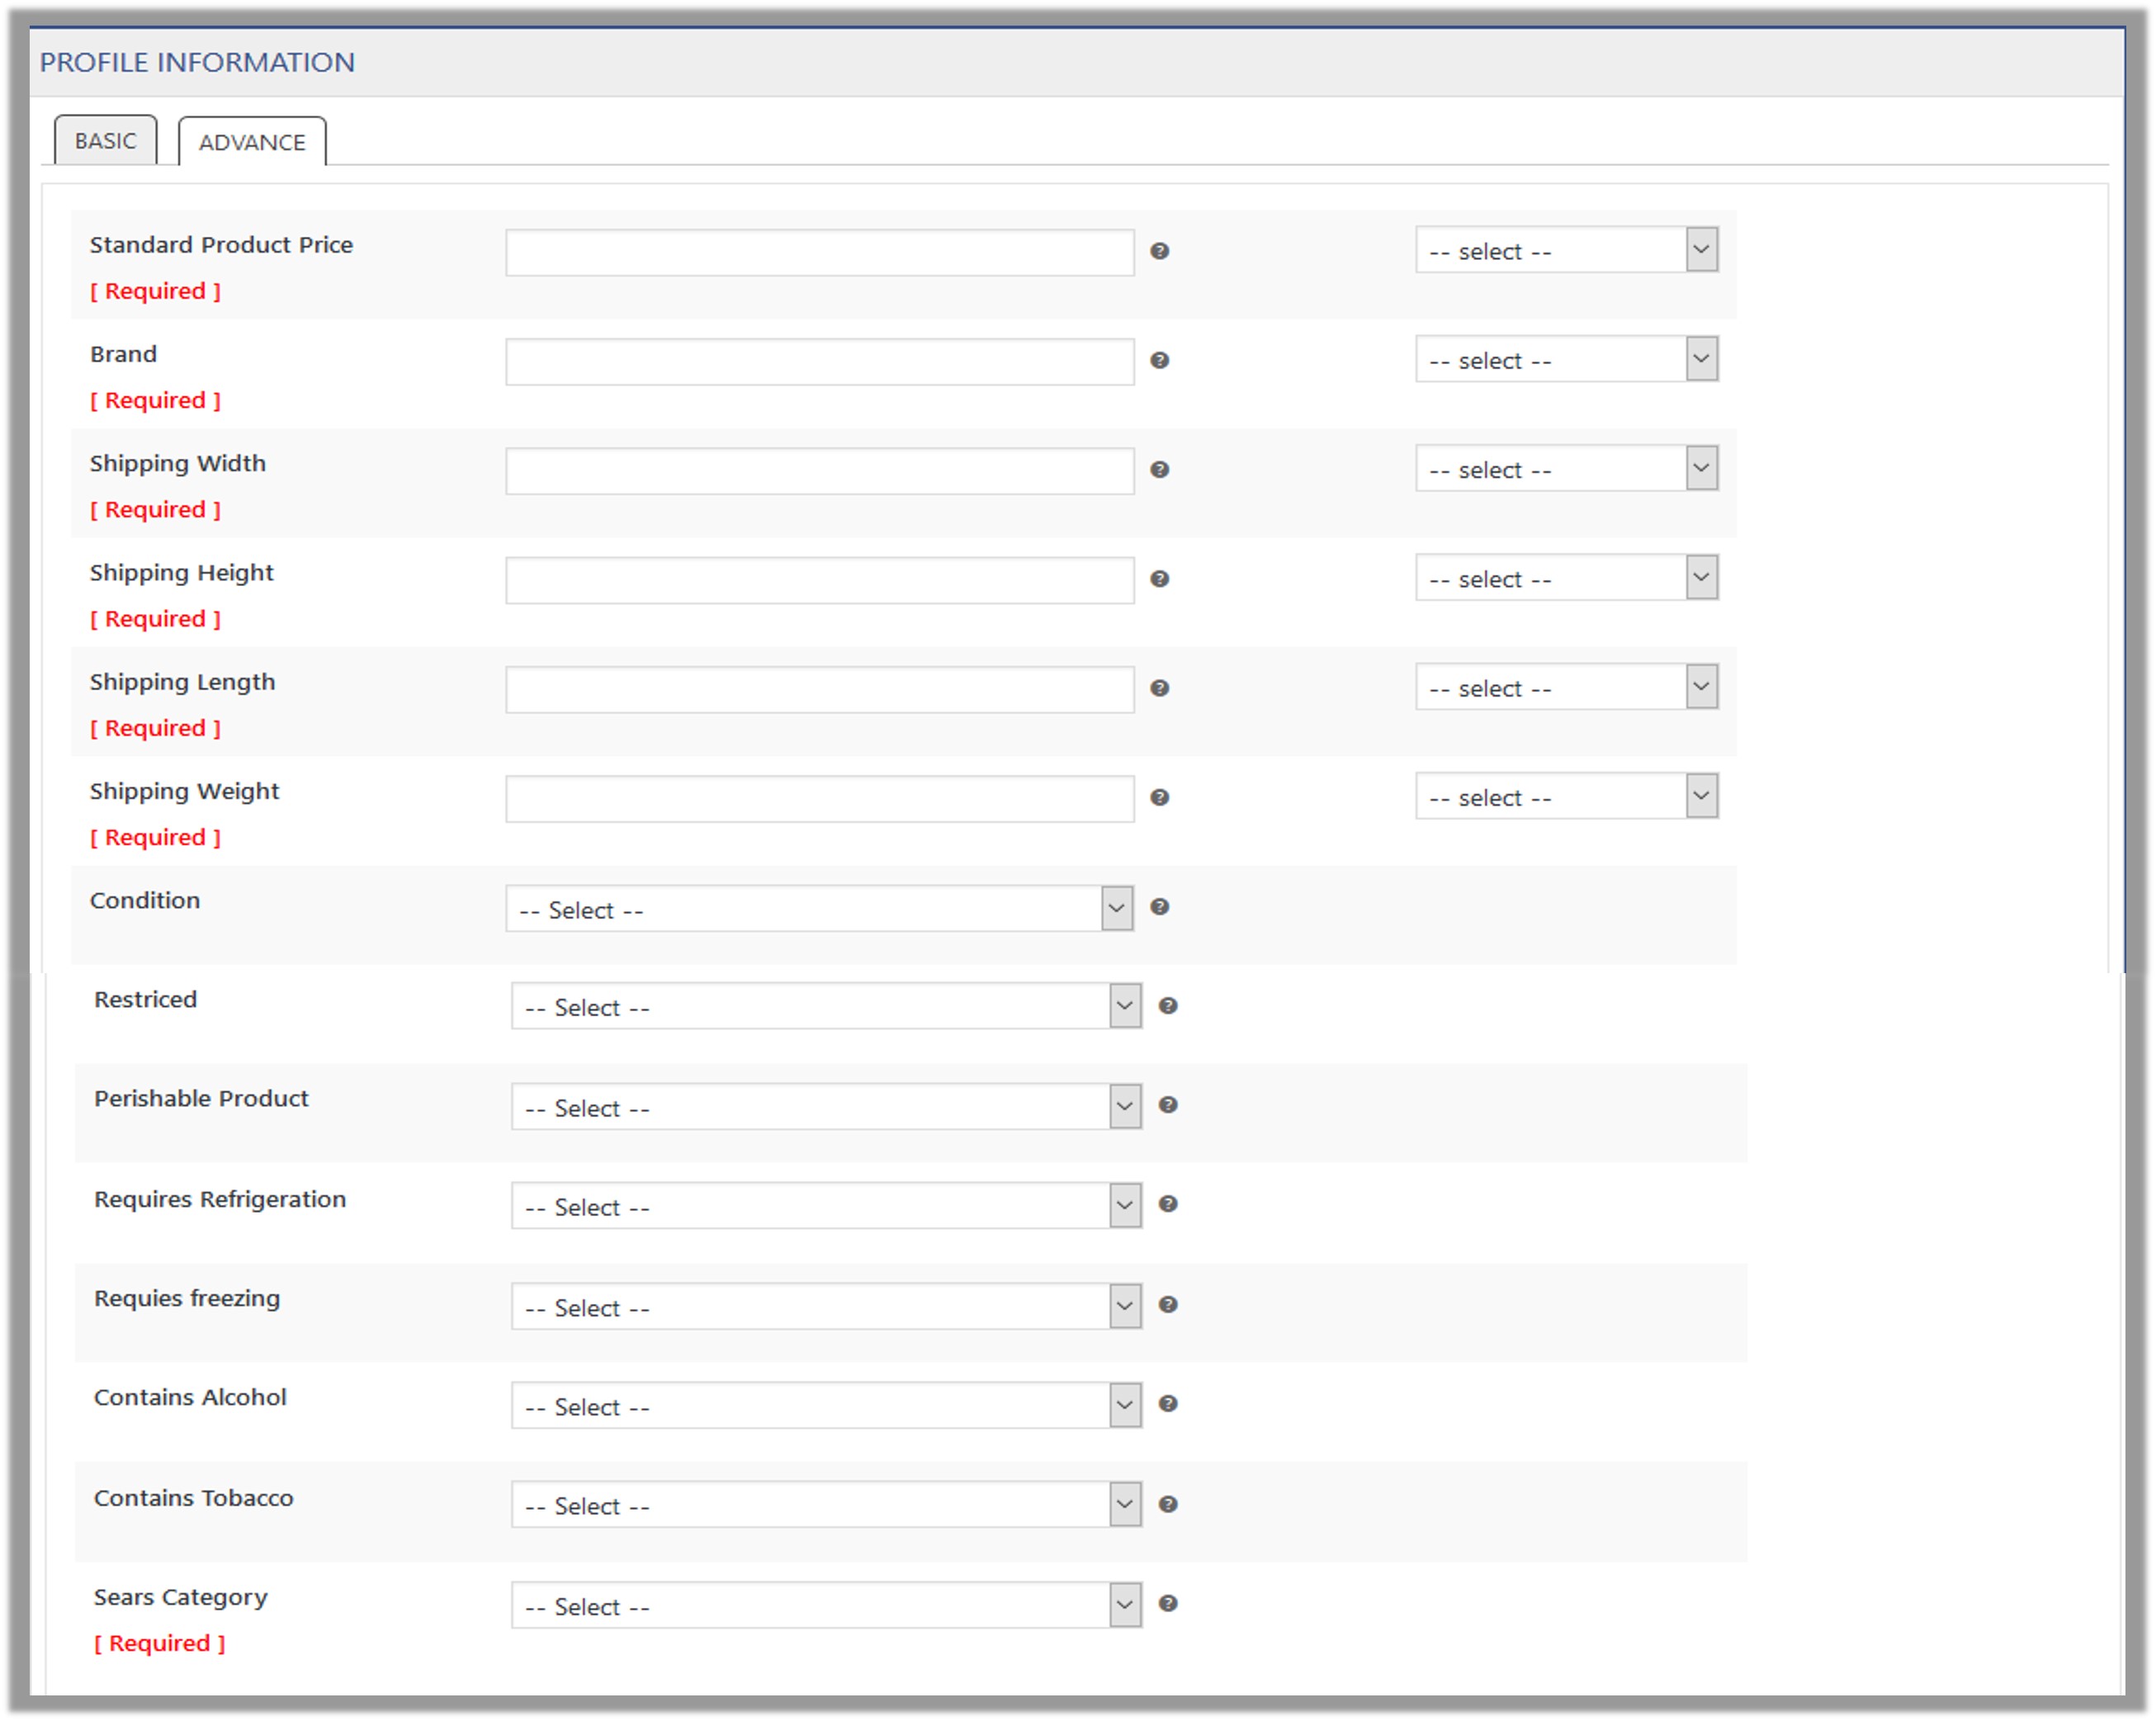
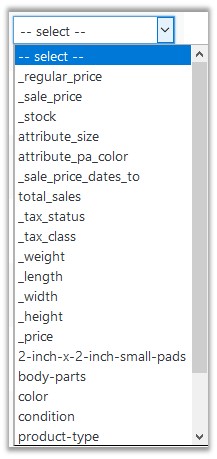
The meta-keys selected under the Select Product And Corresponding MetaKeys section are listed in the select list field that appears next to the text boxes as shown in the following figure:
- In the select list associated with the Standard Product Price box, select the required meta key.
OR
In the Standard Product Price box, enter the required value.
Note: The value entered in the box is applicable to all the products assigned to the profile. Whereas, selecting the meta key from the list selects the individual value of the individual product. - Similarly, enter the values in other fields if required.
- Scroll down to the Sears Category field.
It enables the admin to map only one category to one profile.
Note: These meta-keys are applicable to all the products, the profile is assigned to. Leave the field empty if the specific value is required based on a specific product.
- In the select list associated with the Standard Product Price box, select the required meta key.
- Click the SAVE PROFILE button.
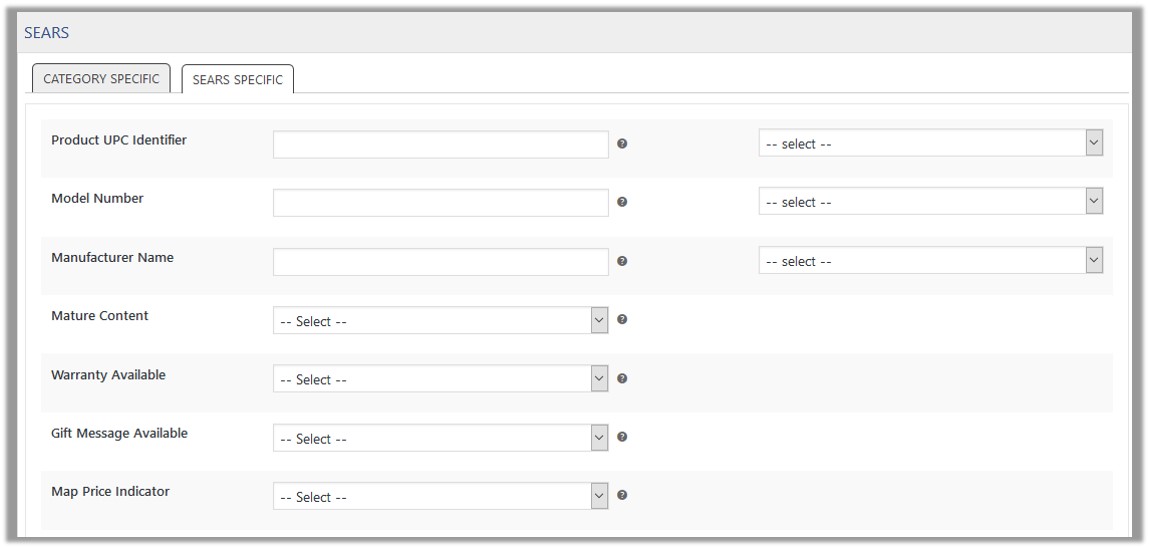
- Scroll down to the SEARS tab, and then click the tab.
- Under SEARS, click the SEARS SPECIFIC tab.
Based on the selected Sears Category, the various attributes fields appear under the section as shown in the following figure:
- Enter the values in required fields.
- Click the SAVE PROFILE button.
×


