
Facebook StoreFront Accounts
To accomplish the Integration, the first mandatory step that needs to be taken by the admin is to complete the Configuration.
To do the Configuration,
- Go to your Woocommerce admin panel, below the CedCommerce Menu which is on the left navigation bar.
- Click on the Facebook section of the panel.
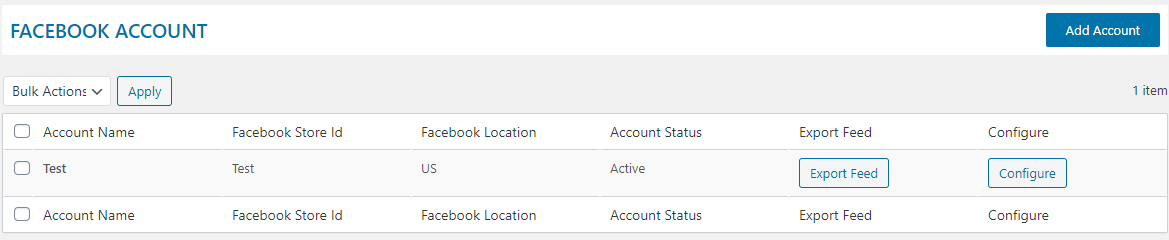
- The Appearing page will provide the Account Name, Facebook Store Id, Facebook Location, Account Status, Export Feed, Configure.
- If you want to add an account, there is just a ” ONE CLICK AUTHORIZATION” step.

- As mentioned in the above appearing screenshot, click on the ADD ACCOUNTS button.
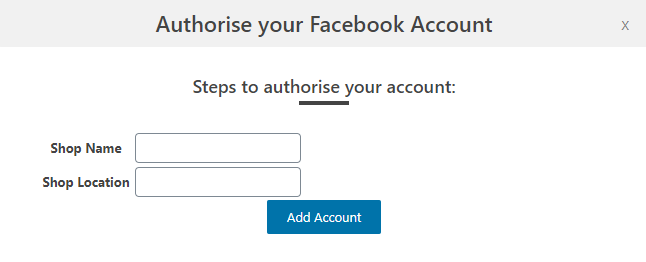
- Here you have to enter, the Shop Name and Shop Location.
- Once done hit the “ADD ACCOUNT” tab to your account.
- Adding the account it will reflect your Account with its Account Name, Facebook Store Id, Facebook Location, Account Status, Export Feed, Configure as mentioned in the screenshot:
Export Feed
- In the Export Feed, the store owners can export the prepared feeds for all woo products that are rendered.
- After rendering, the store owners will select the products and prepare the feeds in the “BULK ACTIONS”.
- Once you have done the above step, the feeds of your products are ready which the store owners can export normally from the account section.
×


