
How to Create a Profile?
Step 1:
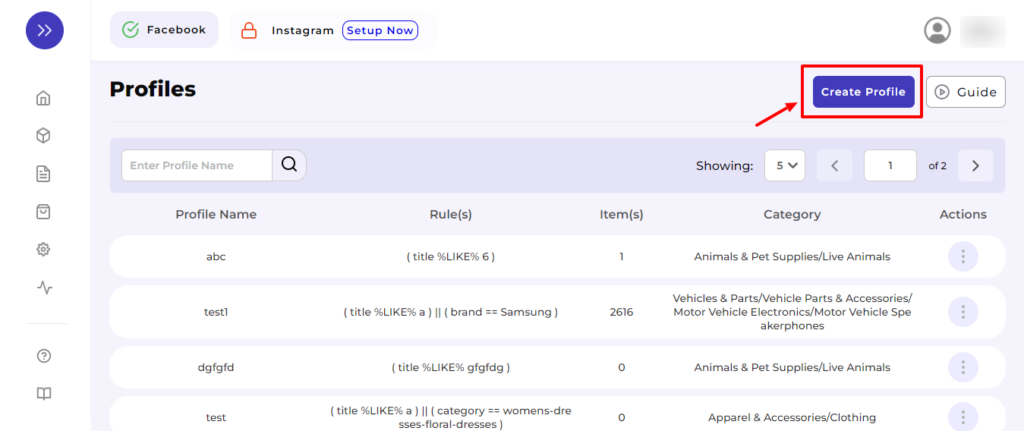
Click on “Create Profile” as shown below:
Step 2:
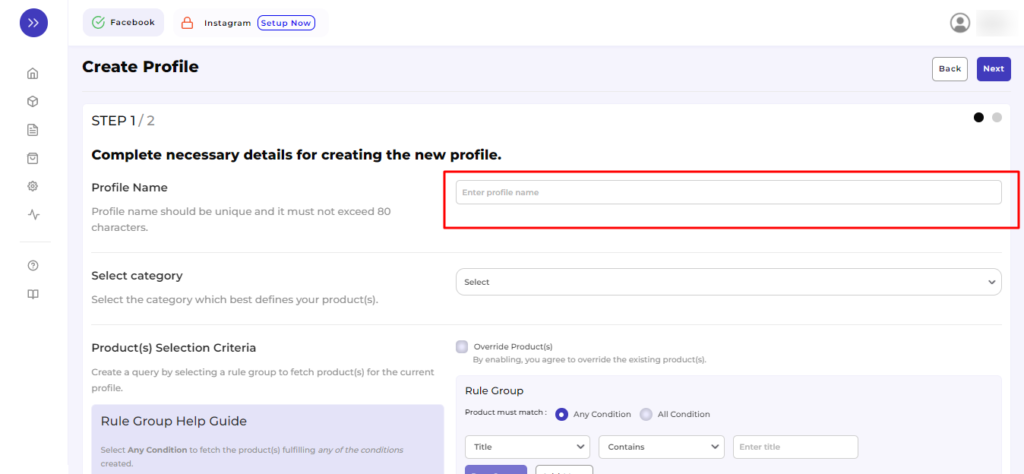
You will be redirected to the creation page where you will need first to Enter “Profile Name” (remember every profile name has to be a unique name) and perform Category Mapping as shown below.
Step 3:
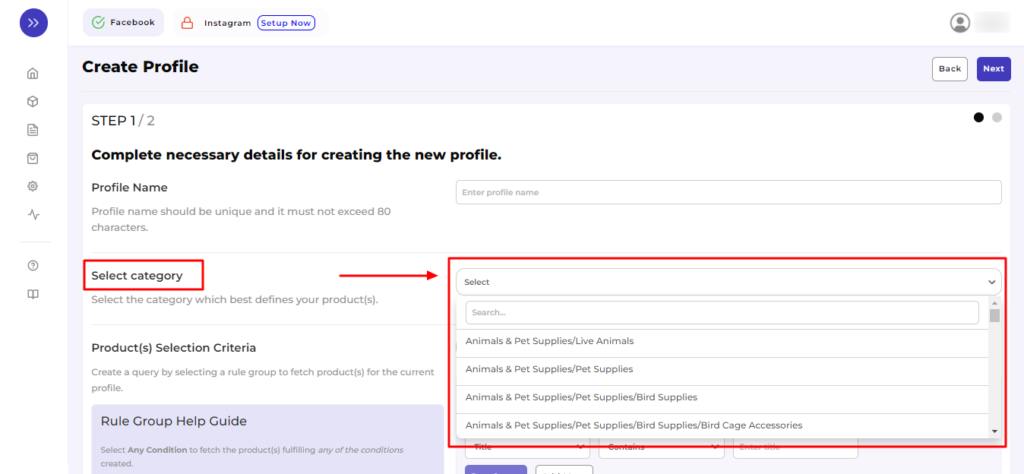
Select category from the drop-down as shown below with sample:
Step 4:
For your convenience, we are attaching a sample of the same:

Step 5:
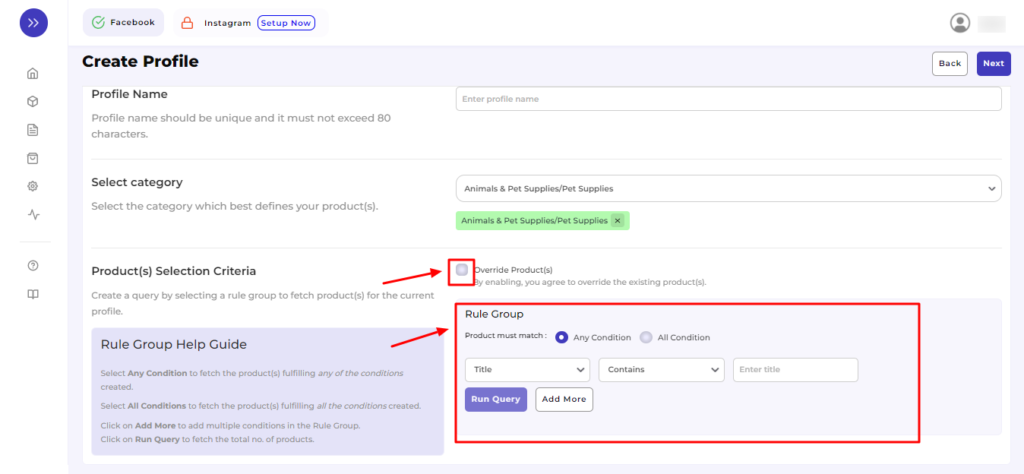
Further, you need to select “Rule” containing conditions to select a particular product type in the Profile you are selecting.
The Rule is based on ANY and ALL conditions that define whether you want all the selected conditions or any of them to be true.
How does “Override” work?
Suppose, earlier; you have created a profile XYZ of a particular product set. Some of the products of profile XYZ are mutual (common/same) in the Profile you are creating currently, let’s say ABC.
Now, if you enable the override option, the mutual products will get removed from the XYZ profile and be linked to your “new current” profile ABC.
Consequently, whenever you upload the Profile ABC to the Meta Catalogue, those mutual products will automatically get updated with the details furnished under Profile ABC (not XYZ). Therefore, be cautious while executing the changes.
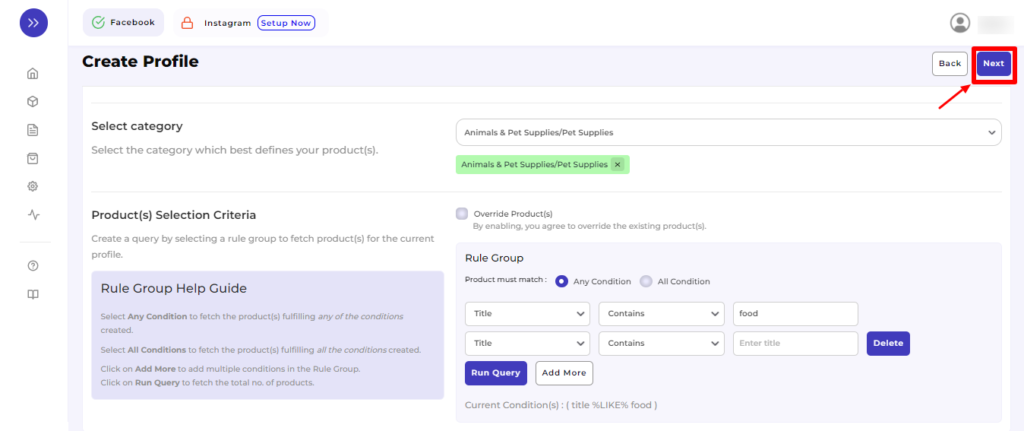
Once you are done with aligning the ruling group, click on “Run Query” to fetch the product details.
Step 6:
For your convenience, we have explained it through a sample below:
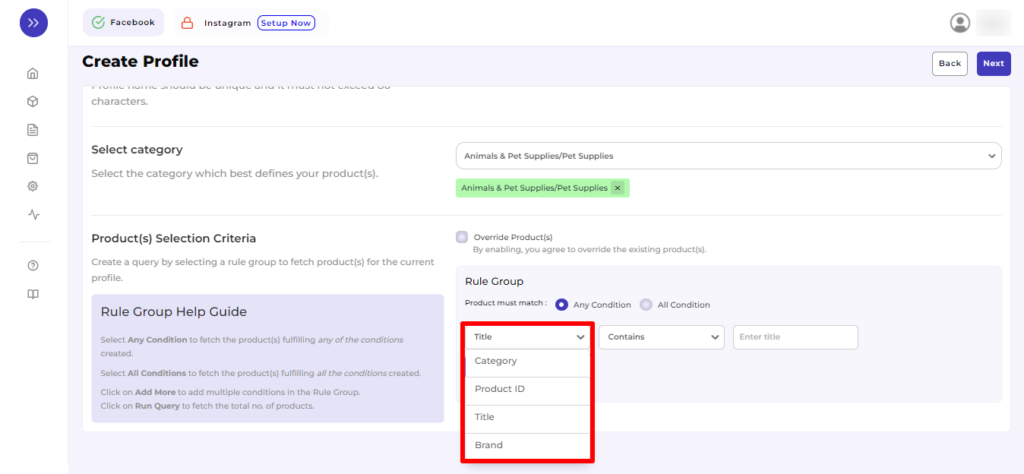
In the “Rule Group,” choose from Category, Product ID, Title, and Brand.
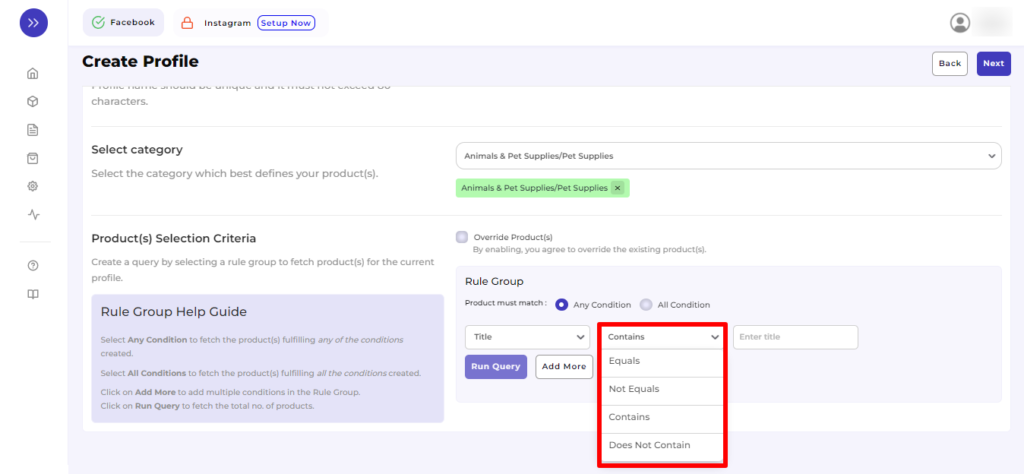
Further in the Rule Group itself, choose the Value from the following options:
- Equals
- Not Equal
- Contain
- Does Not Contain
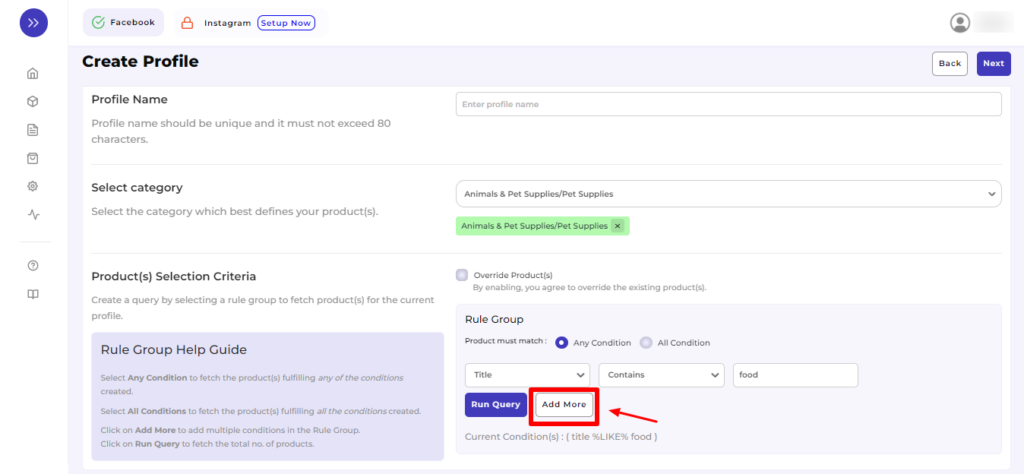
Concerning it, enter the Filter Value and click on “Run Query.” Products details will be fetched as shown below. After it, you need to click on “Next.”

In case you want to add more rule groups, click on logics “Any” or “ALL” and then “Run Query” Let the app fetch the product details, and after that, click on “Next.”
A glimpse of the same has been displayed below for better understanding:
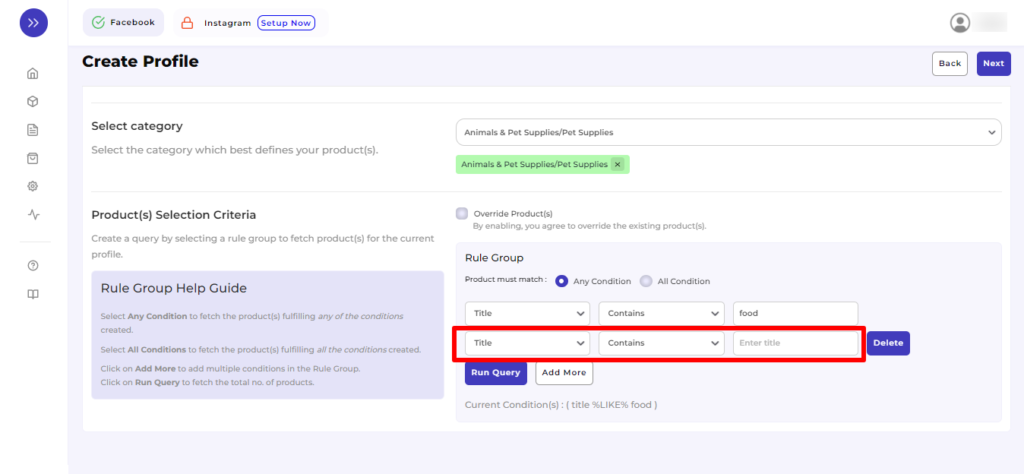
Repeat selecting “Rule group” again, as done previously. Refer to the image below for a better understanding:
Once you complete the basic profile creation part, you will be redirected to the next step, “Attribute Mapping,” as guided in Step 7.
Step 7
It is mandatory to map at least one attribute per Profile in the attribute mapping. The same can be edited any time after profile creation.
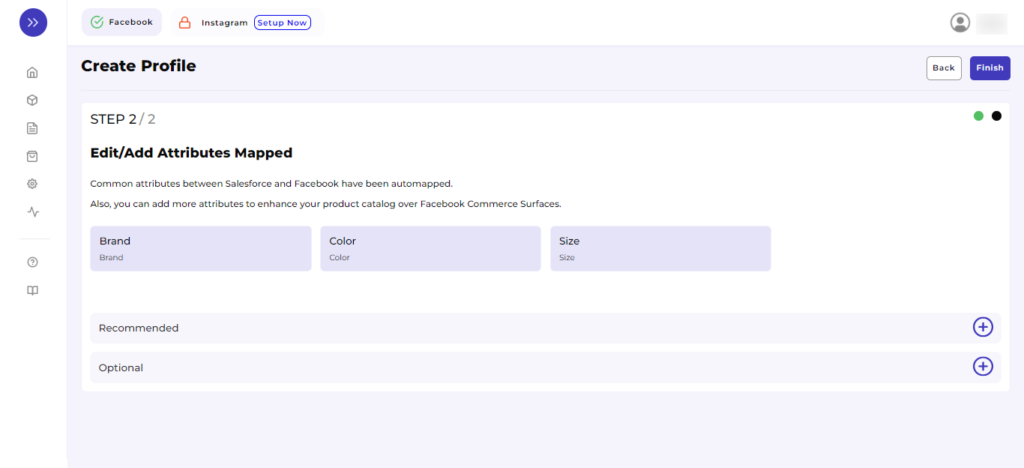
You will get “Recommended” and “Optional” options to map attributes. You are free to choose only Recommended or both of them.
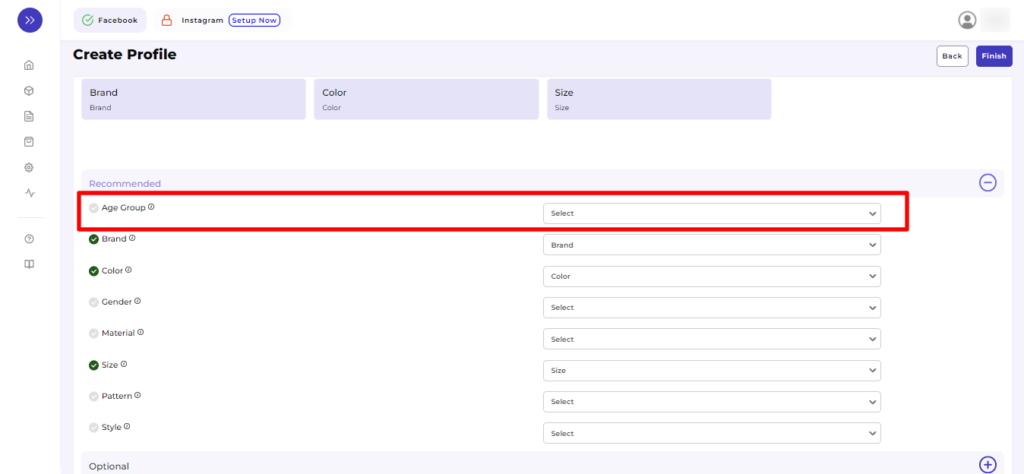
In Recommended, the attribute mapping is done based on Age Group, Brand, Color, Gender, Material, Size, and Pattern Style to the category that you have selected in the previous step.
To map attributes, you just need to click + icon as shown in the snapshot.
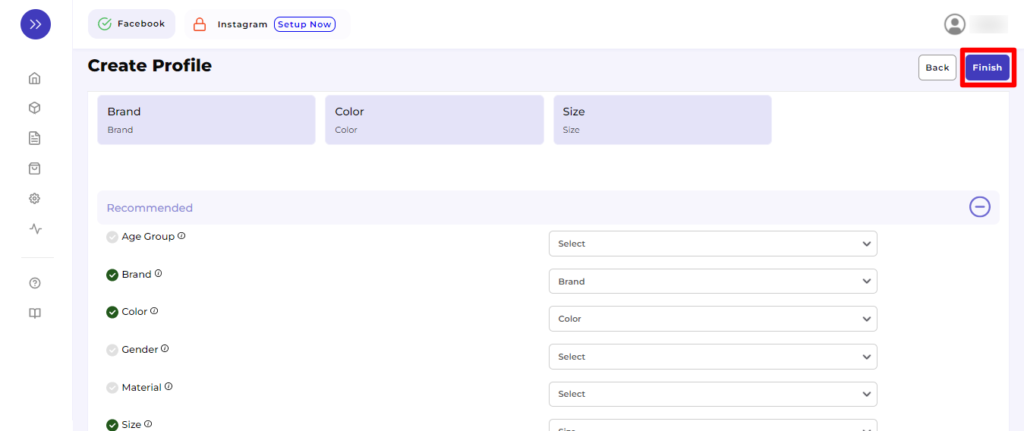
Now, click on the “Finish” button to complete the process of creating a Profile.
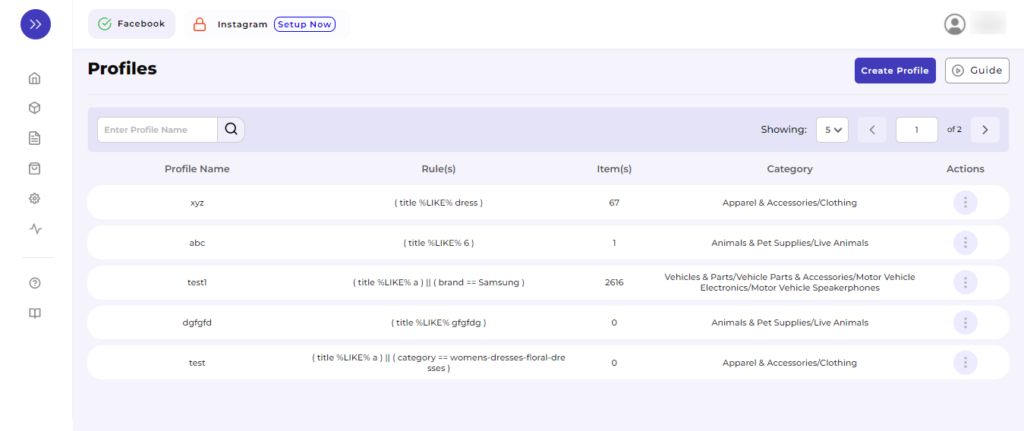
After completing Attribute Mapping, you will be prompted with the message “Profile Created Successfully,” and further, you will be redirected to the “Profiling” Page having the details of the Profile (s) created (please refer below the screenshot).
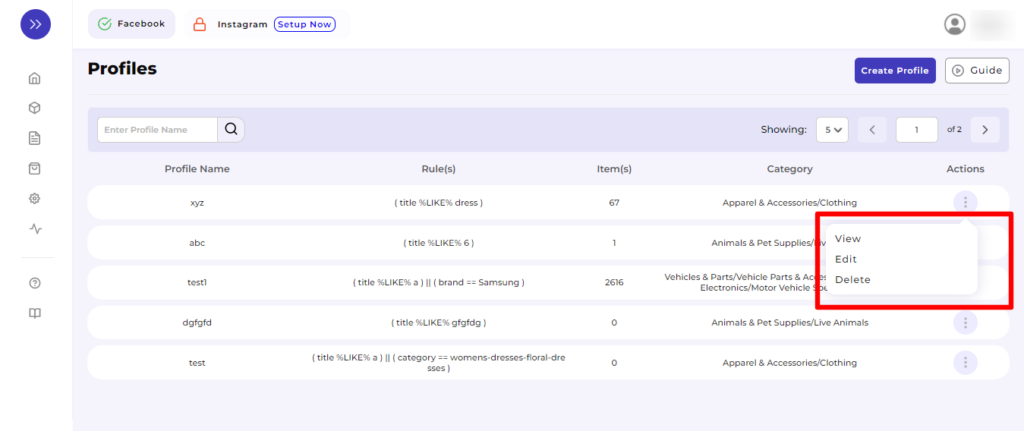
To “View,” “Edit,” or “Delete” the Profile, click on three dots corresponding to that particular Profile.
You will be instructed further to make the updates or deletions accordingly.
With this, we are done with the creation of a profile successfully!


