Configure API Client
This step is for those who haven’t created any API Client ID. Here we will go through the complete process on How to Add API Client.
Let’s proceed!
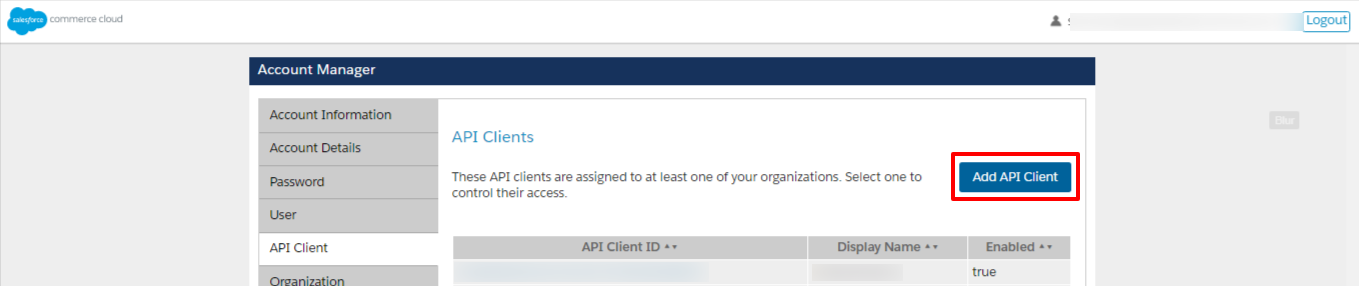
- Click on “Add API Client” as displayed below:
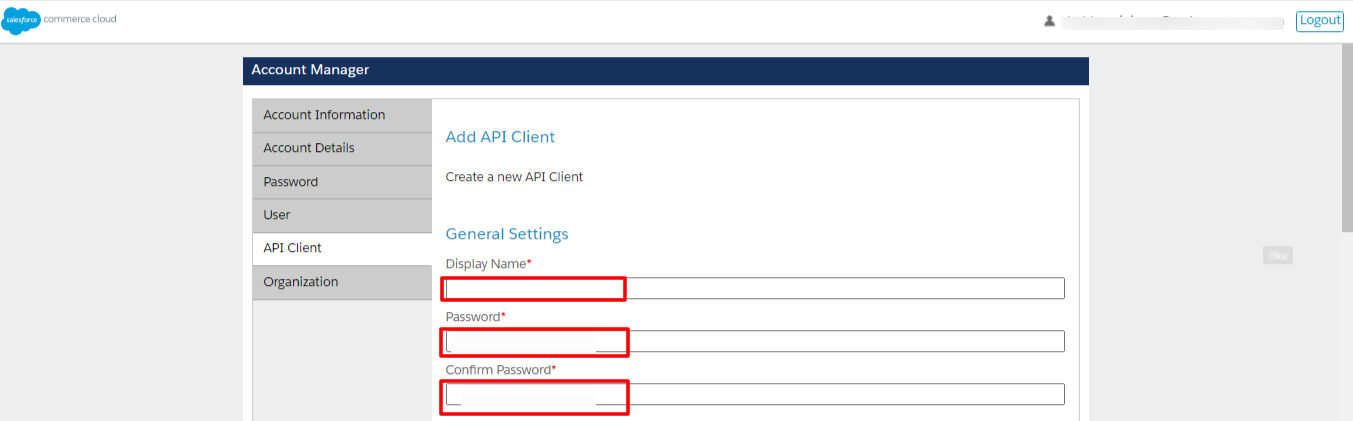
- First, you need to fill over here is General Settings.
- Add “Display Name” as your Organization Name.
- Create at least 12 characters “Password” (should contain numbers & letters — e.g. 123456789abc).
- “Confirm Password” created.
We recommend you save both these important details separately on a notepad.
Note: This password is your Account Manager Secret Key that you need to fill at the second field in Verify your credentials Page on CedCommerce API.
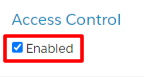
- Scroll down and checkmark “Enabled” in “Access Control”.
- In the next step, Click on “Add” in “Organizations”.

- Further, under “Assign Organizations”, tick mark on the checkbox of your Organization Name and click on “Add”.
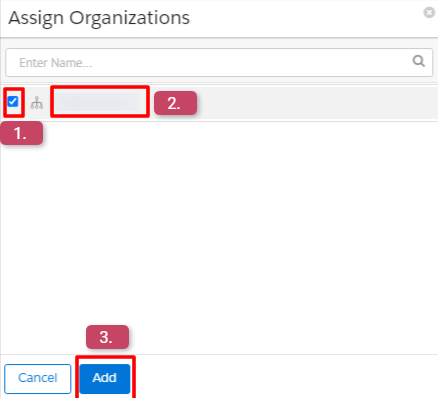
If you don’t get your Organization Name over here, don’t panic.
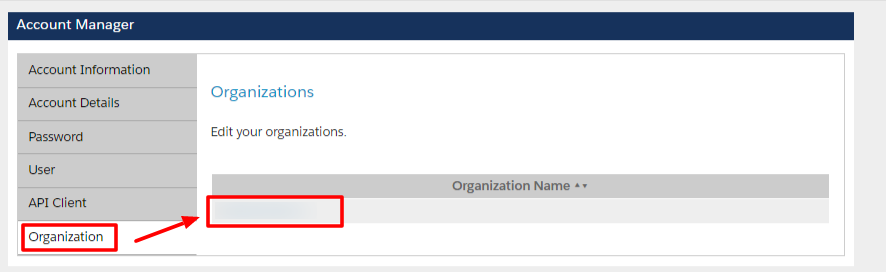
Move back to the “Account Manager” —> Go to “Organization” available on the Left Hand Side and click on your “Organization Name” as displayed below.
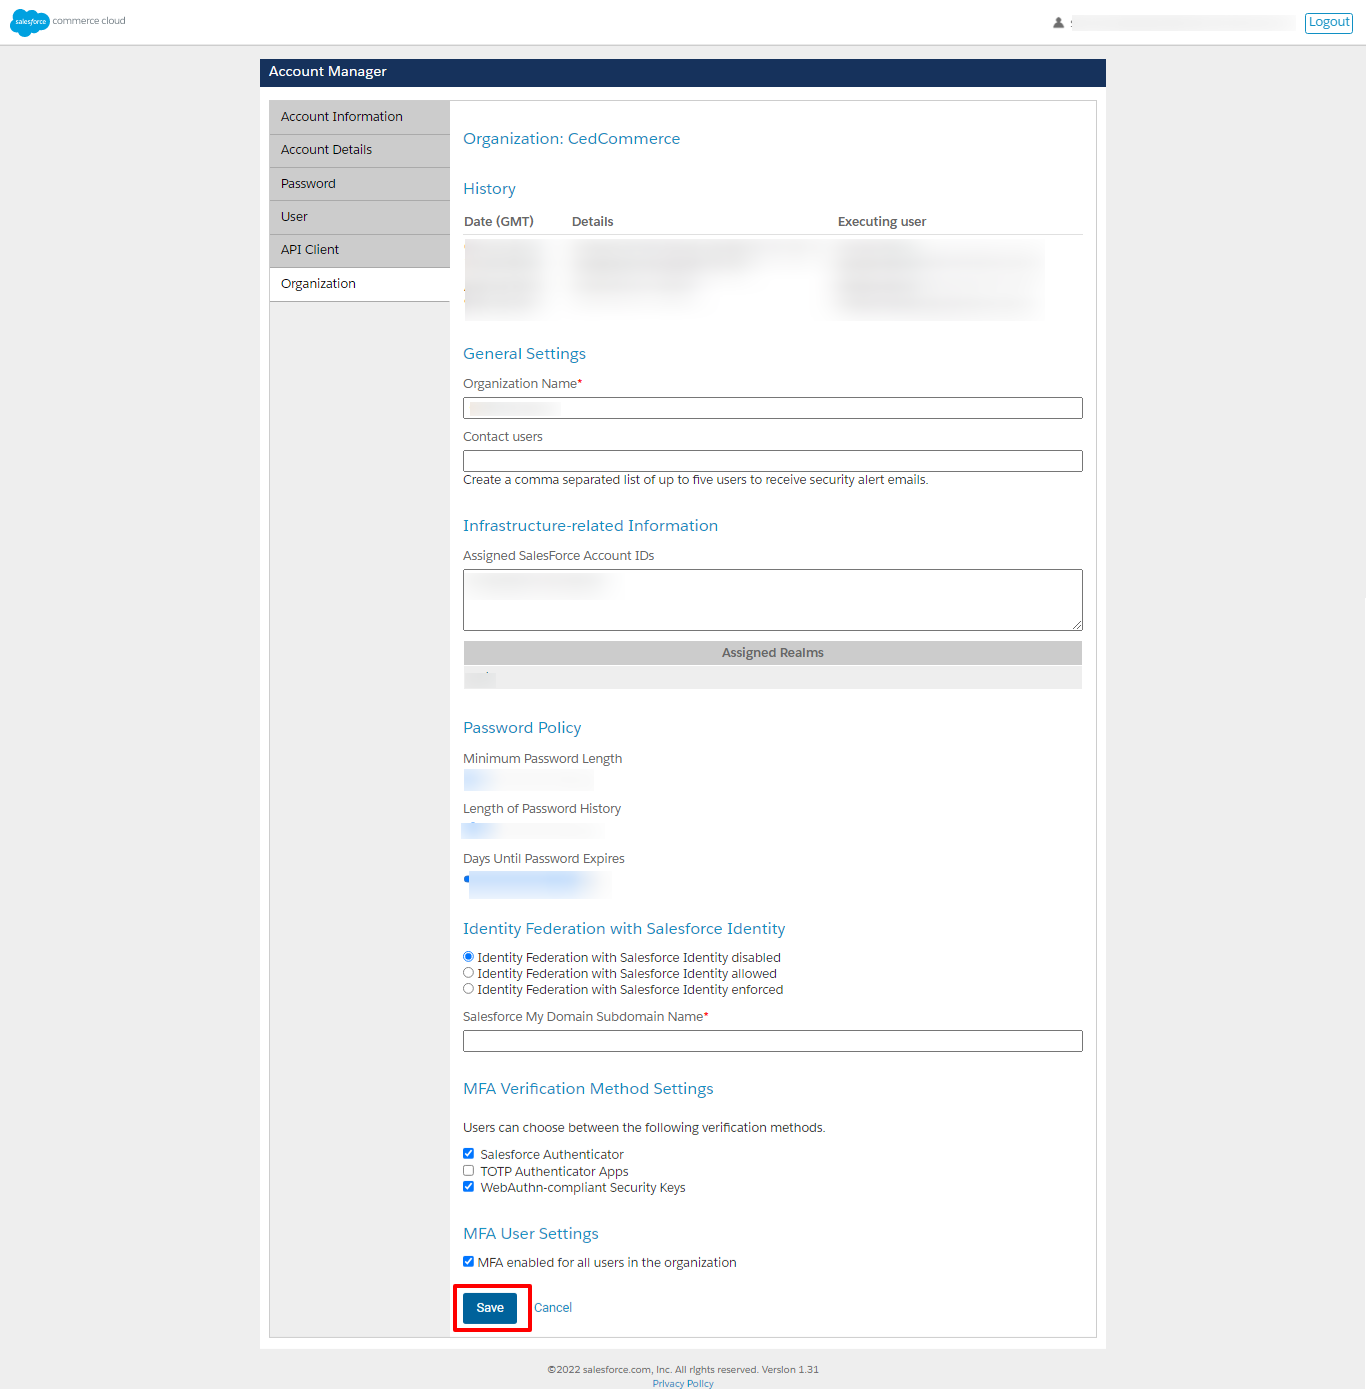
Next, verify that Salesforce has assigned a domain to your organization —> Furnish the basic details and click on “Save”.
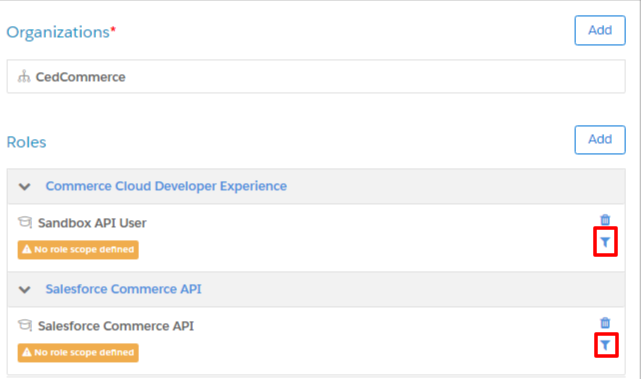
- Further, click on “Add” under “Roles”.
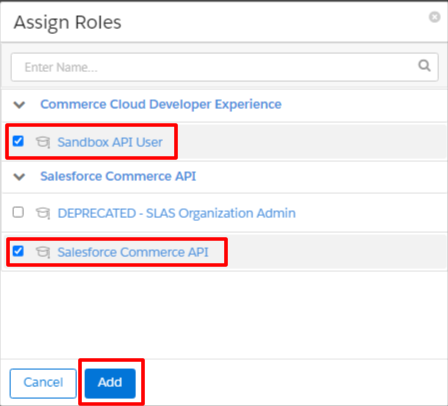
Now “Assign Roles” by check-marking “Sandbox API User” and “Salesforce Commerce API” and at last click on “Add.”
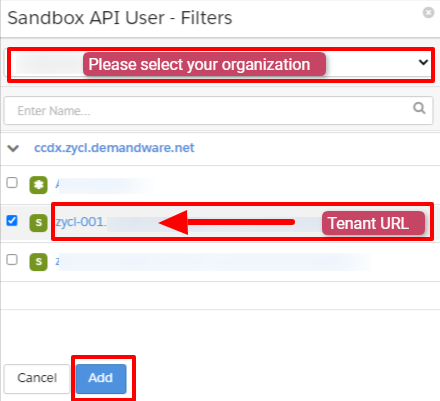
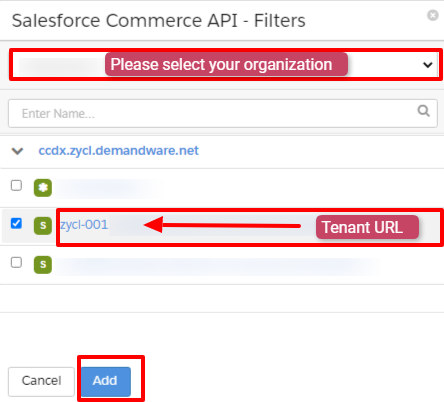
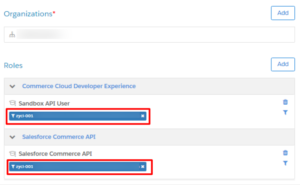
- Once you are done with assigning organization (4) and roles (5), click on the Filter icons of Sandbox API User and Salesforce Commerce API roles as displayed below:
In both roles, select the Tenant URL of your commerce store and click on “Add” as displayed below:
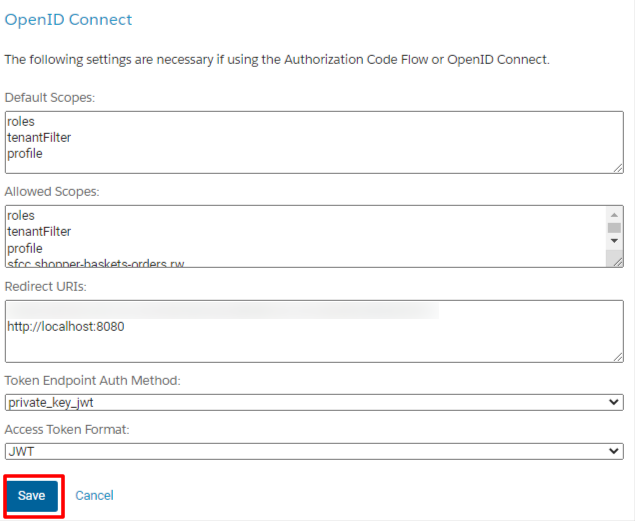
- In the final step —> scroll down, add the following under “OpenID Connect” and click on “Save” as displayed below:
Default Scopes:
roles
tenantFilter
profile
Allowed Scopes:
roles
tenantFilter
profile
sfcc.shopper-baskets-orders.rw
sfcc.catalogs
sfcc.catalogs.rw
sfcc.shopper-categories
sfcc.shopper-product-search
sfcc.products
sfcc.shopper-products
Sfcc.products.rw
Redirected URLs: http://localhost:8080
Token Endpoint Auth Method: private_key_jwt
Access Token Format: JWT