
Configuration Settings
To set up the configuration settings in the Prestashop Admin panel
-
- Go to the Prestashop Admin panel.
- In the left navigation panel, place cursor on the Vidaxl Dropshipping menu.
The menu appears as shown in the following figure:
- Click on Configuration.
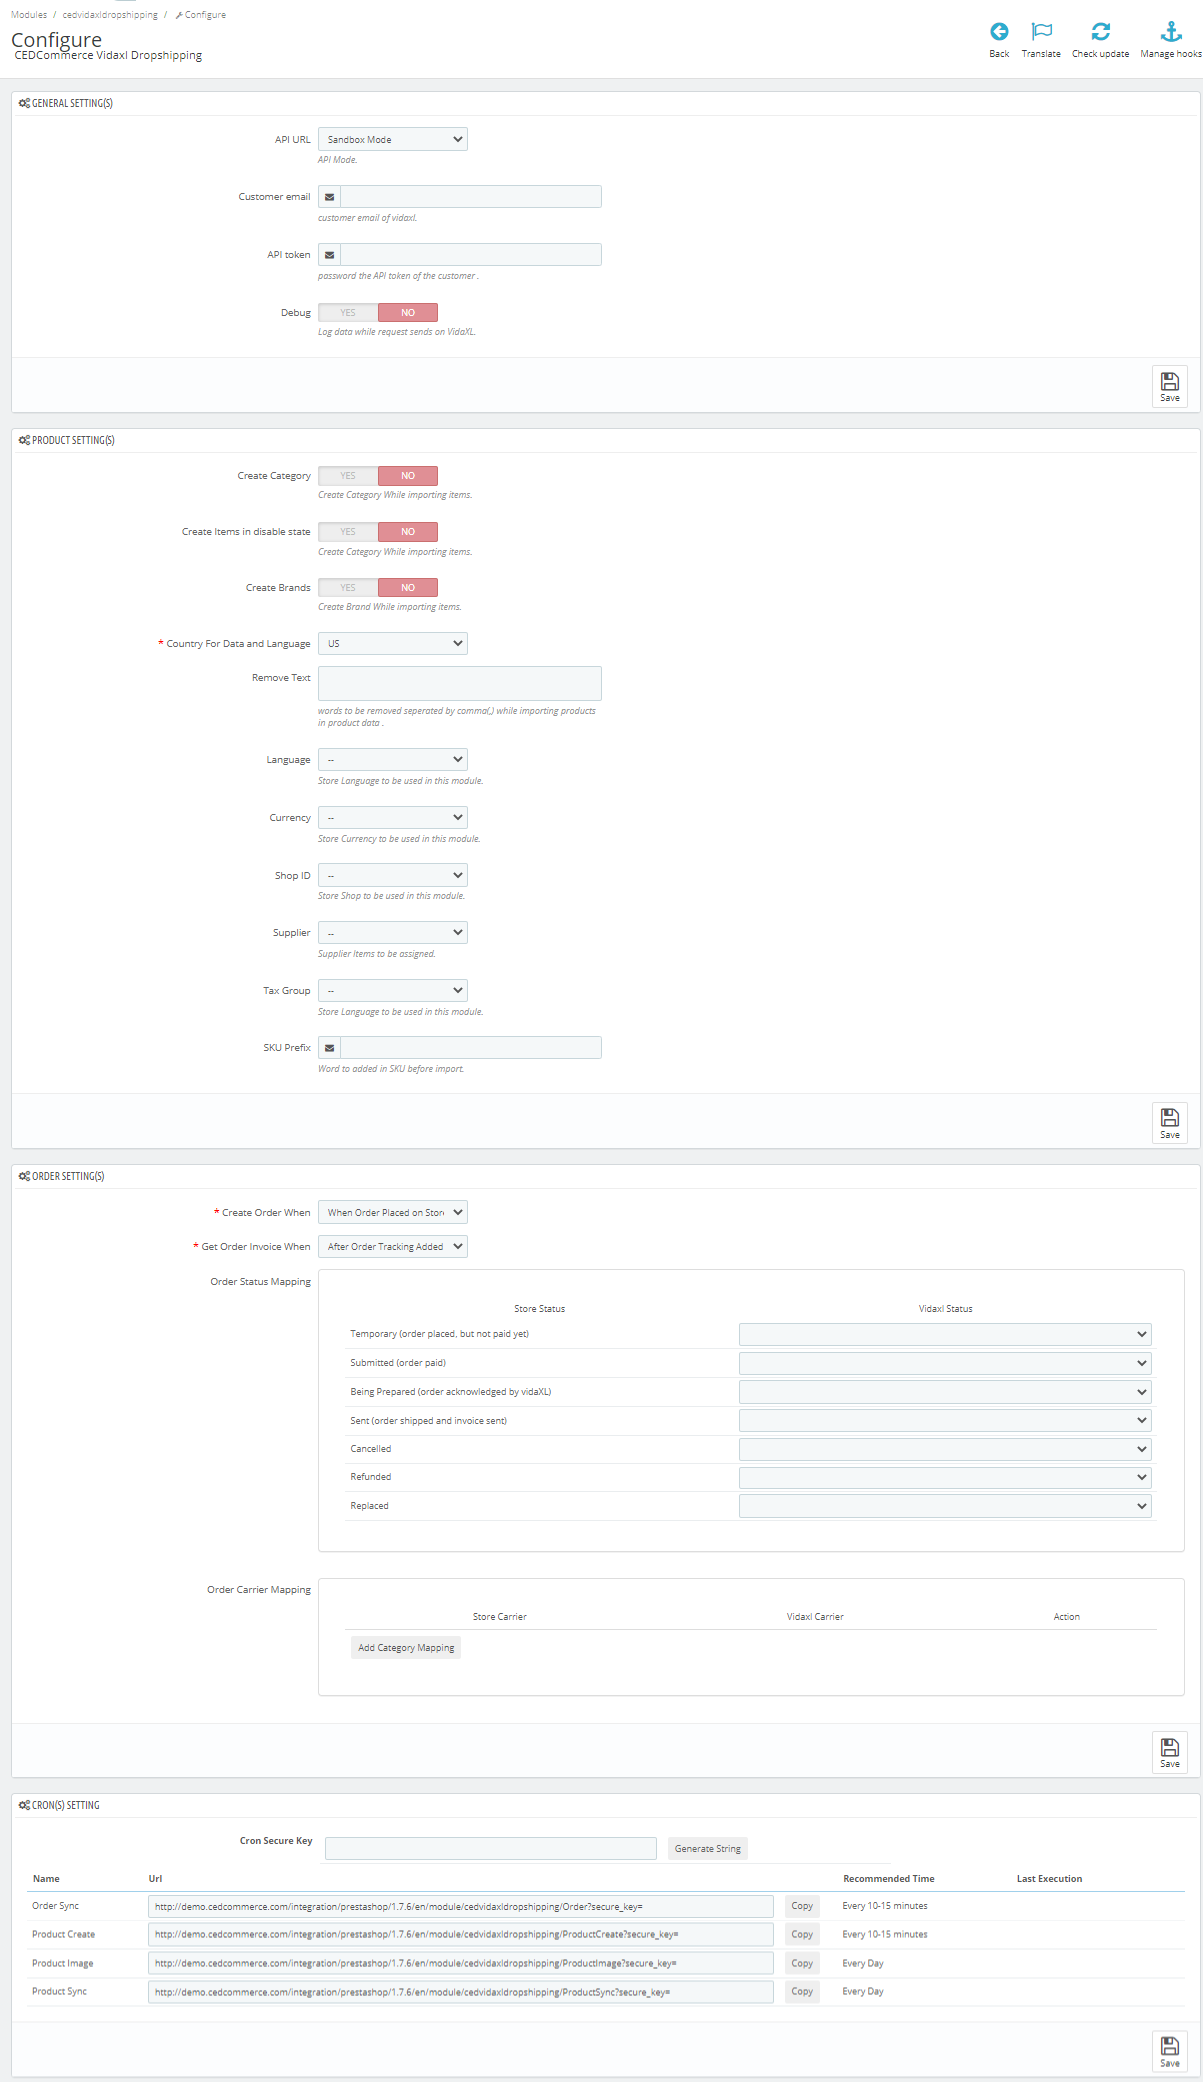
The Configuration page appears as shown in the following figure:
- Go to General Settings.
The tab appears as shown below:
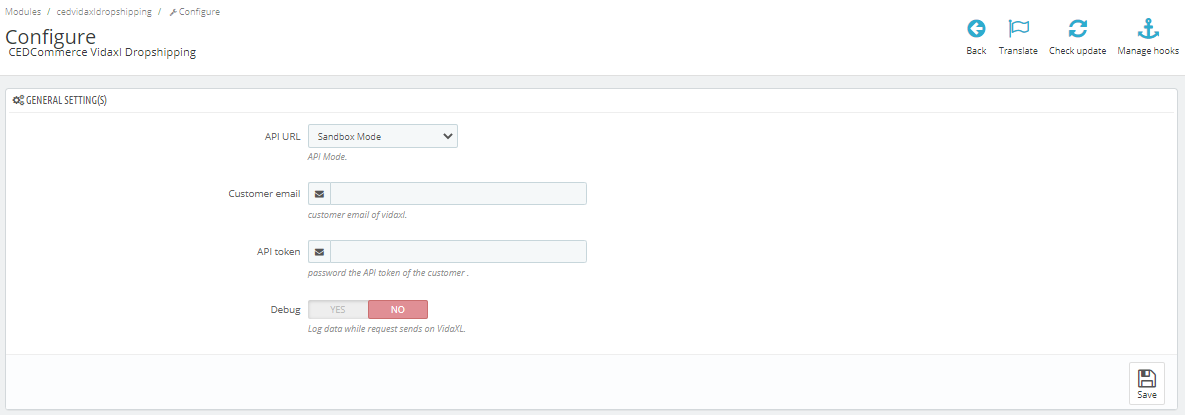
- In the General Settings, do the following information.
- In API URL, choose API mode Sandbox or Live.
- In Customer email, enter customer email of Vidaxl.
- In API Token, enter the API token of the customer.
- In Debug mode, click on “Yes’ or ‘No’ to enable the debug mode.
- Now Go to Product Settings, do the following information.
- The tab appears as shown below:
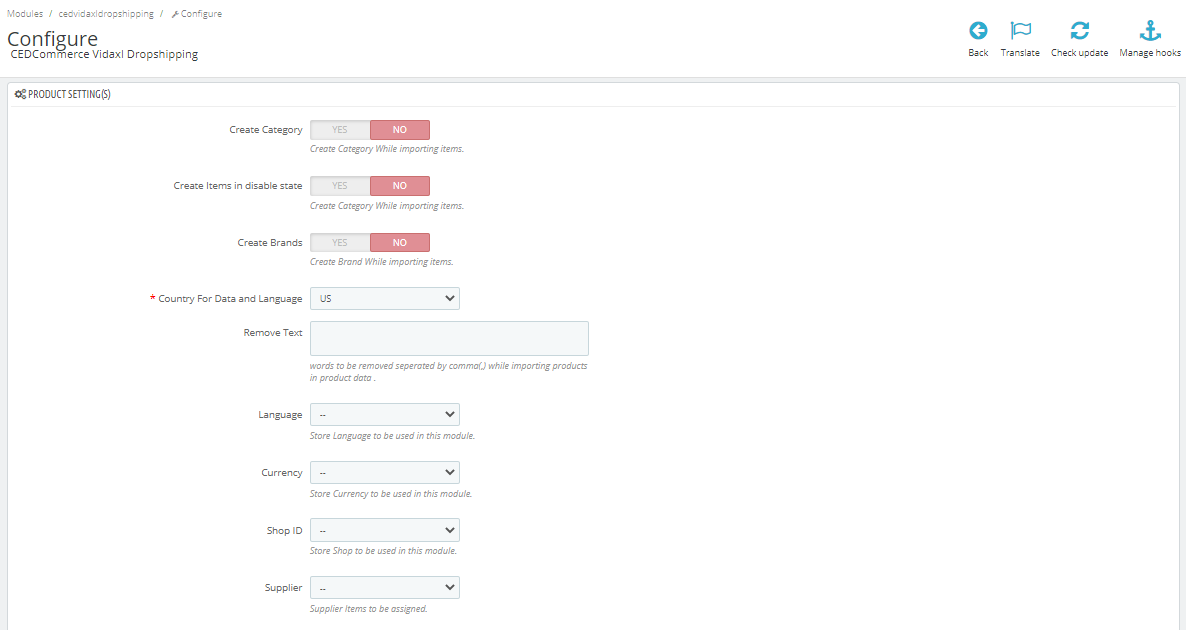
- In Product Setting, do the following steps:
- In Create Category, select ‘Yes’ to create category while product import from Vidaxl
- In Create Item In disable state, select ‘Yes’ to create items in disable state.
- In Create Brands, select ‘Yes’ to create brands while product import.
- In Country for data and Language, choose your store currency.
- In Remove text, enter word you need to remove while product import.
- In Language, choose the language you need to use for this module,
- In Currency, choose the currency you need to use for this module,
- In Shop ID, choose Shop id to be used for this module.
- In Supplier, choose supplier to which you want to assigned items.
- In Tax group, choose tax group to be used for this module.
- In Sku prefix, add word to be used in SKU while product import,
- Now Go to Order Setting,
The tab appears as shown in figure:
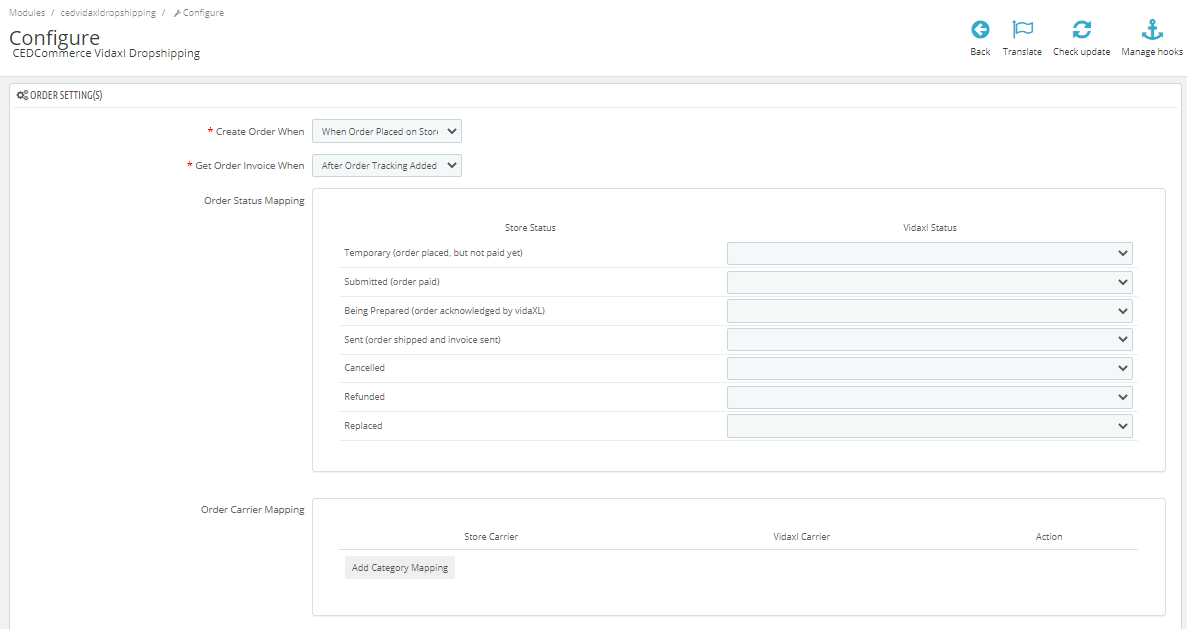
- In the Orders setting, do the following steps:
- In the Create Order When, choose status when order create in store.
- In the Get Order Invoice when, choose the status when you get order invoice.
- In the Order Status Mapping, map Prestashop order status on the left side to the Vidaxl status on the right side.
- In the Order carrier Mapping, map and Add your store carrier with Vidaxl carrier on the right side.
- Now at last go to Cron settings.
The tab appears as shown in figure:
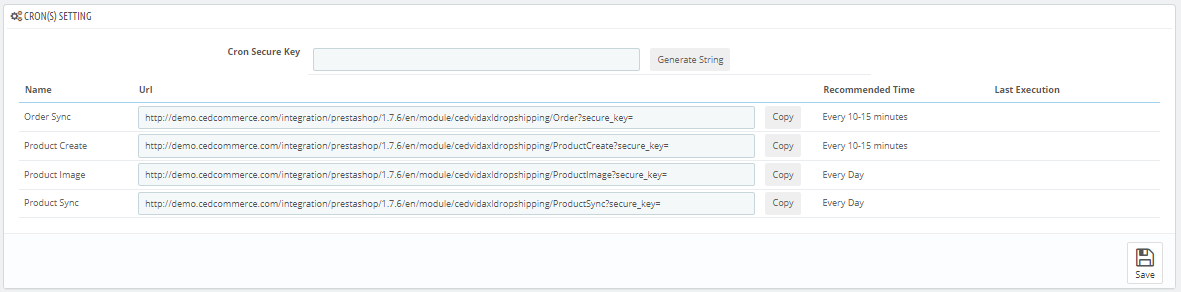
- In the Cron Settings, do the following steps:
- In Cron Secure Key, you can make a combination of secure key consisting of the alphabet, number, and special characters.
- You may see cron URL, name, and recommended time.
- Click the Save button and the configuration will be saved.
×


