
Claroshop Profile Settings
To manage Profiles
- Go to the Prestashop Admin panel.
- In the left navigation panel, place cursor on Claroshop Integration and the section expands as:
- Click on Profiles
The page appears as shown in the figure:
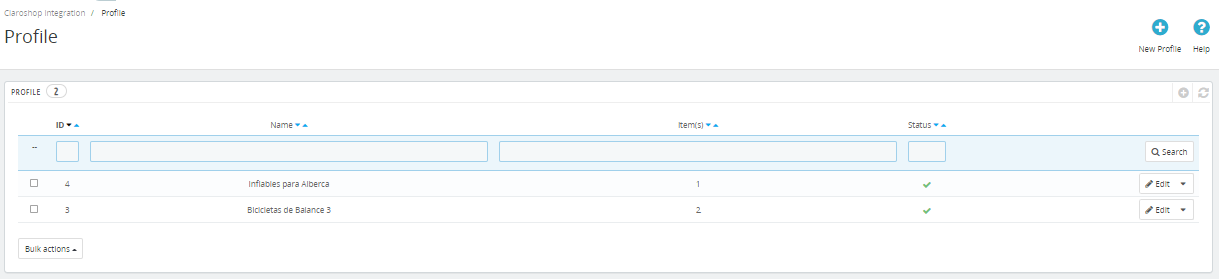
- Now click on Add New Profile. You will be taken to the page as shown below:
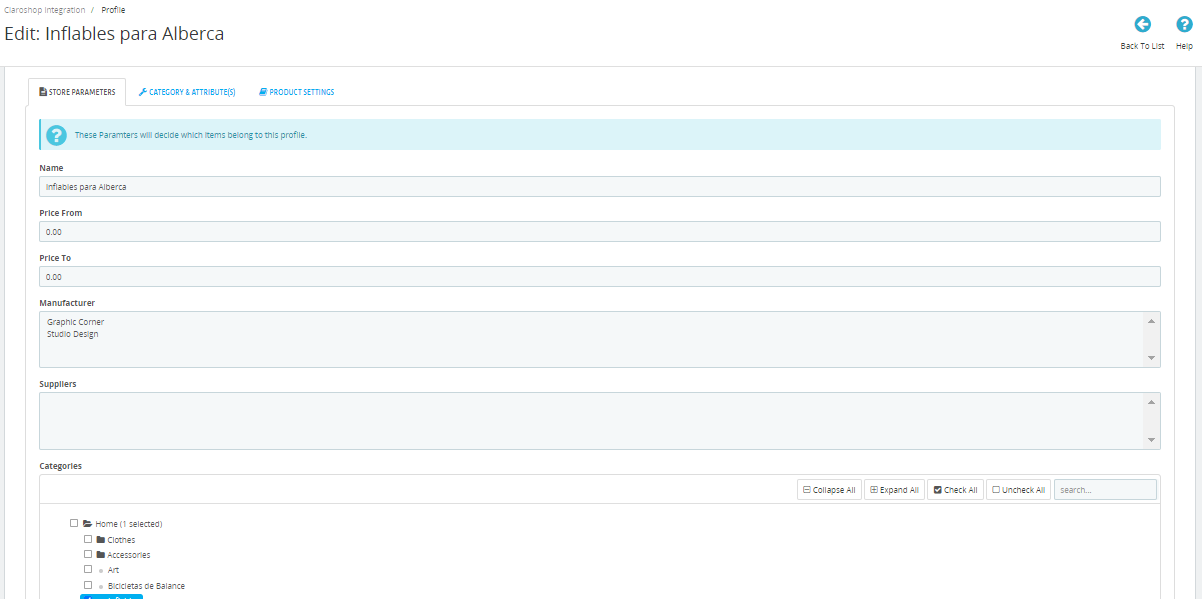
- In the profile settings, do the following steps:
- In the Name, you can enter the name of your profile.
- In the Price from, enter the price range from where (max price)
- In the Price To, enter the price range to where (min price) you need in the profile.
- In the Manufacturer, choose your manufacturer.
- In the Suppliers, choose your suppliers.
- In the Categories, choose the store categories that you need in your profile.
- In the Status, select the status ‘Active‘ or ‘Inactive‘ of the profile.
- Now move to Category & Attributes adjacent to Store Parameters.
The tab appears as shown in the figure:
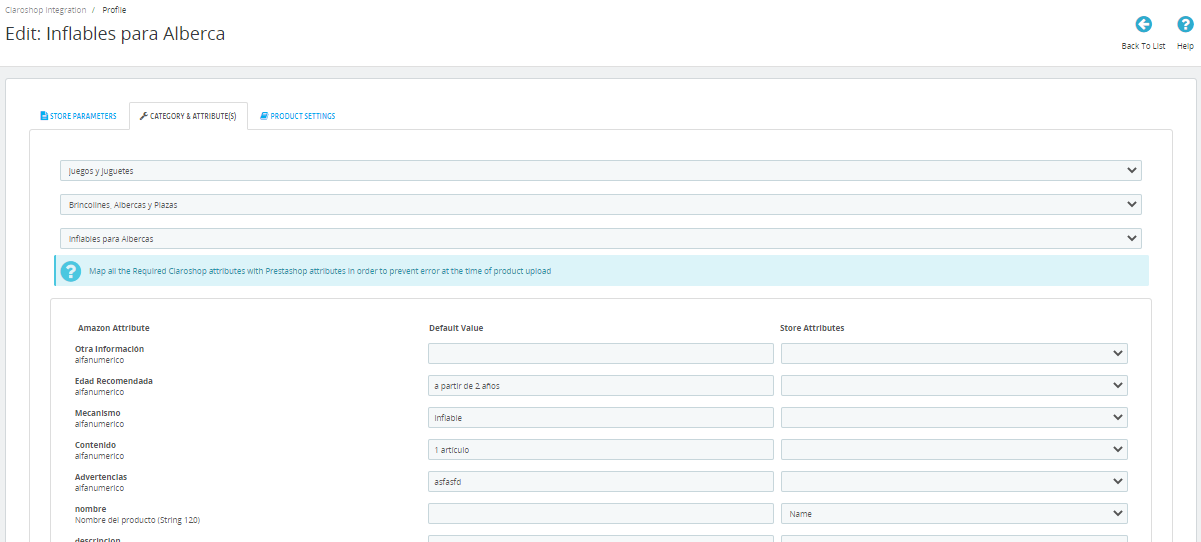
- In the Category & Attributes, do the following steps:
- You can see the Category mapping section on the top, map the category on which you are looking to list your products.
- According to a category, respective attributes will come below simply need to map the attributes.
- Now move to the final tab, Product Settings.
The tab appears as shown in figure:
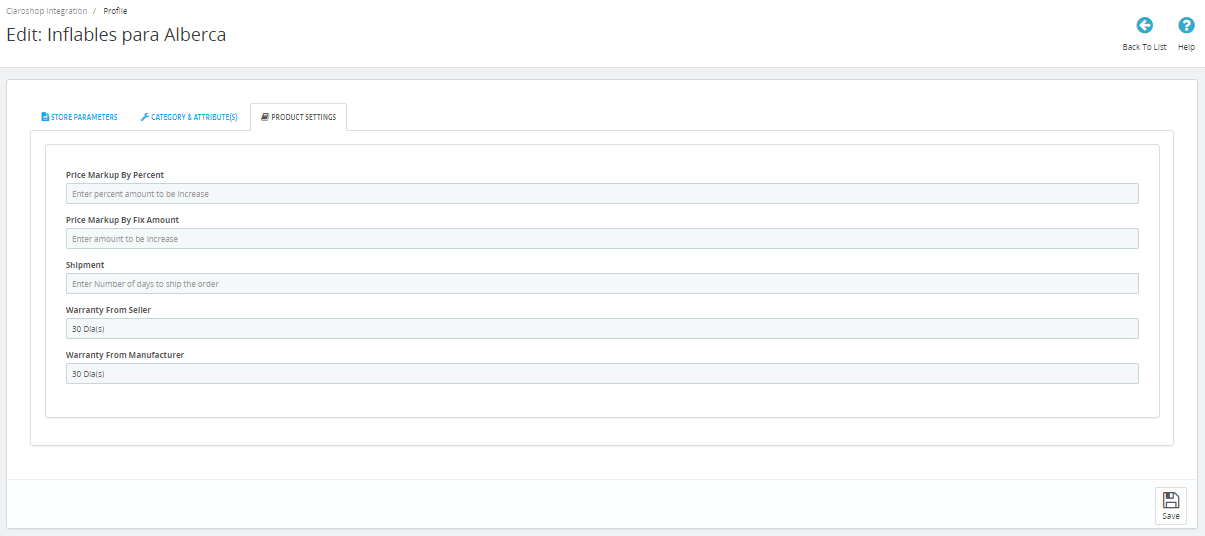
- In the Product Settings, do the following steps:
- In the
- In the
- In the Shipment, enter the number of days you can ship the order.
- In the Warranty from seller, you can set the warranty days.
- In the Warranty from manufacturer, you can set the warranty from manufacturer.
- Once done, click on save button to save the profile information.
×


