
ClaroShop Configuration Settings
Once the module gets installed, you get navigated to the Configuration page.
- Go to the Prestashop Admin panel.
- In the left navigation panel, place cursor on Claroshop Integration and the section expands as:
- Click on Configuration
The page appears as shown in figure:
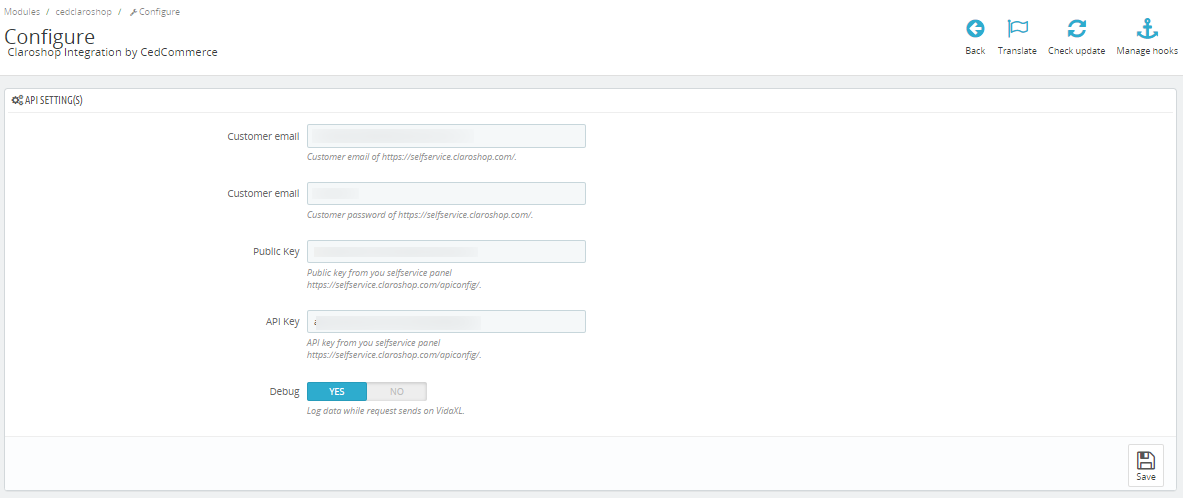
- In the API settings, do the following steps:
- In the Customer email, you can enter the customer email.
- In the Customer Password, you can enter the customer password of Claroshop.
- In the Public Key, you can get this public key from Claroshop.
- In the API key, you can get this API Key from Claroshop.
- In the Debug Mode, select ‘Yes’ to enable the debug mode.
- Now move to another tab, Product Settings
The Tab appears as shown in the figure:
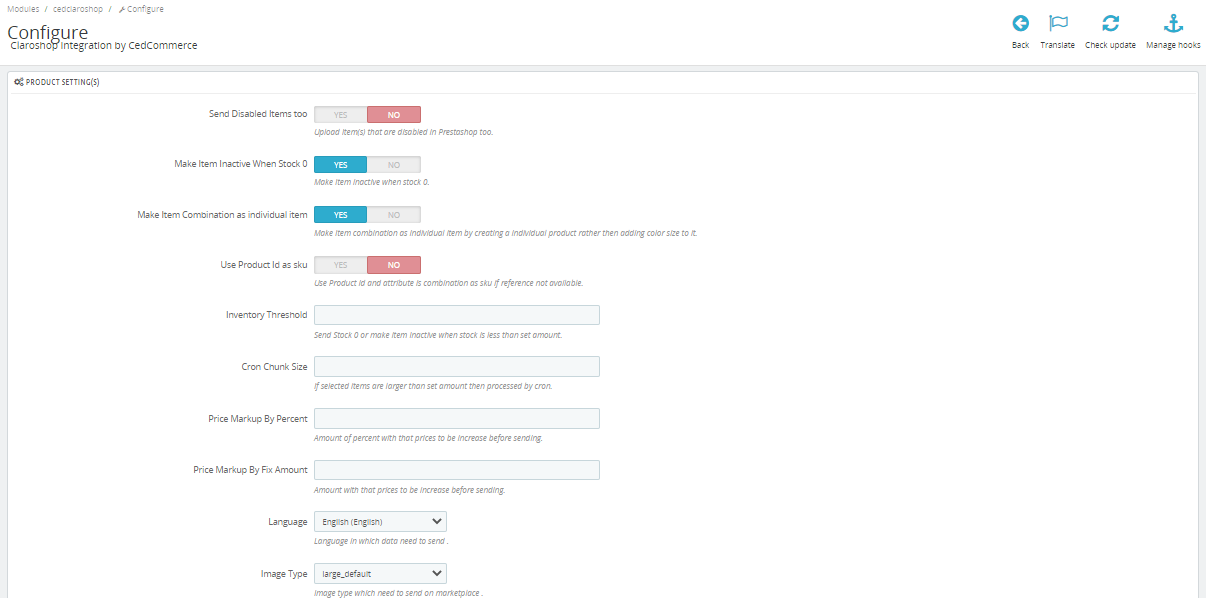
- In the Product Settings, do the following steps:
- In the Send Disabled products too, you can select ‘Yes to enable the feature through which you can send disabled products too.
- In the
- In the
- In the Use product Id as Sku, select ‘yes’ when SKU is not available and use product id as SKU.
- In the Inventory Threshold, you can send Stock 0 or make an item Inactive when stock is less than the set amount.
- In the Cron chunk size, If selected items are larger than the set amount then processed by cron.
- In the Price Markup by percent, You can enter the percentage price which you need to increase in product prices.
- In the Price Markup by fix amount, you can enter the amount which you need to increase in product prices.
- In the Language, you can choose your language.
- In the Image type, you can choose Image type.
- In the Customer Group ID, you can choose customer groups and send prices.
- In the Currency, you can choose the currency which you want to use.
- Now move to Order Settings, The page appears as shown in figure:
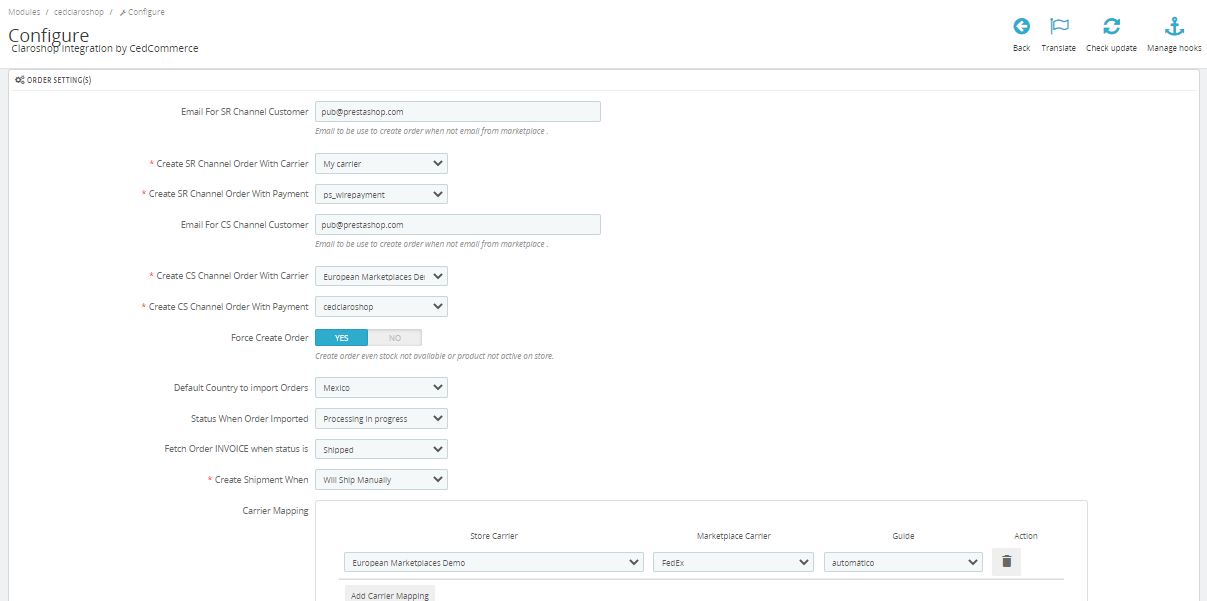
- In the Orders settings, do the following steps:
-
In the Email to be used to create orders when not email from the marketplace.
- In the
- In the
- In the
- In the Force create orders, select ‘yes’ to enable the cron like if product is not active or availeble on your store still you will get orders.
- In the
- In the
- In the Order Status mapping, map your store order status with Claroshop order status on the right side.
-
- At last now move to Cron settings,
The page appears as shown in figure:

- In the Cron Settings, do the following steps:
- In Cron Secure Key, you can make a combination of secure key consisting of the alphabet, number, and special characters.
- You may see cron URL, name and recommended time.
- Click the Save button and the configuration will be saved.
×


